Spring Garden Prep Timeline: When to Prep

Your Climate Zone Determines When to Start

Before you dive into gardening, knowing your climate zone is crucial.

It dictates the types of plants that will thrive and the timing for planting in your area.

Here’s how to determine yours:

  • Find Your USDA Hardiness Zone: The USDA Plant Hardiness Zone Map is the standard by which gardeners can determine which plants are most likely to thrive at a location.

    You can easily find your zone by visiting USDA’s interactive map.

  • Consider Your Local Weather Patterns: Beyond the hardiness zone, your local microclimate plays an influential role.

    This includes:

    • Average rainfall
    • Wind patterns
    • Exposure to sun and shade
    • Risk of frost
  • Keep an Eye on Last Frost Dates: Your local frost dates guide when to plant.

    Most gardening schedules revolve around these crucial timelines.

    For accuracy, consult your nearest weather station or a reliable gardening website.

  • Understand the Seasonal Extremes: Extreme weather, be it summer scorchers or winter freezes, can impact your garden prep and plant selection.
    Season Considerations
    Winter Is your area prone to deep freezes or mild winters?
    Summer Does your summer bring drought conditions or high humidity?

Assessing and Preparing the Soil

Before planting a single seed, you need to assess and prepare your garden’s soil.

It’s the bedrock of a flourishing garden, ensuring that your plants have the best start possible.

Soil Testing

To create an optimal environment for your plants, start with a soil test.

This will give you a detailed view of your soil’s pH level and nutrient profile.

  • pH Level: Most plants thrive in soil with a pH between 6 and 7.
  • Nutrient Profile: A soil test can reveal deficiencies in key nutrients like nitrogen, phosphorus, and potassium.

You can purchase a home testing kit or send a sample to a local extension service for more comprehensive analysis.

Soil Amendment

Armed with knowledge from your soil test, you can make precise amendments to your soil to improve its condition.

  • For Acidic Soil (low pH): Apply lime to raise the pH.
  • For Alkaline Soil (high pH): Add sulfur or organic mulch like peat to lower the pH.

To enhance soil structure and fertility, incorporate organic matter such as:

  1. Compost
  2. Aged manure
  3. Leaf mold

Opt for a generous layer of mulch to nourish the soil as it decomposes.

This will also help to keep those pesky weeds at bay!

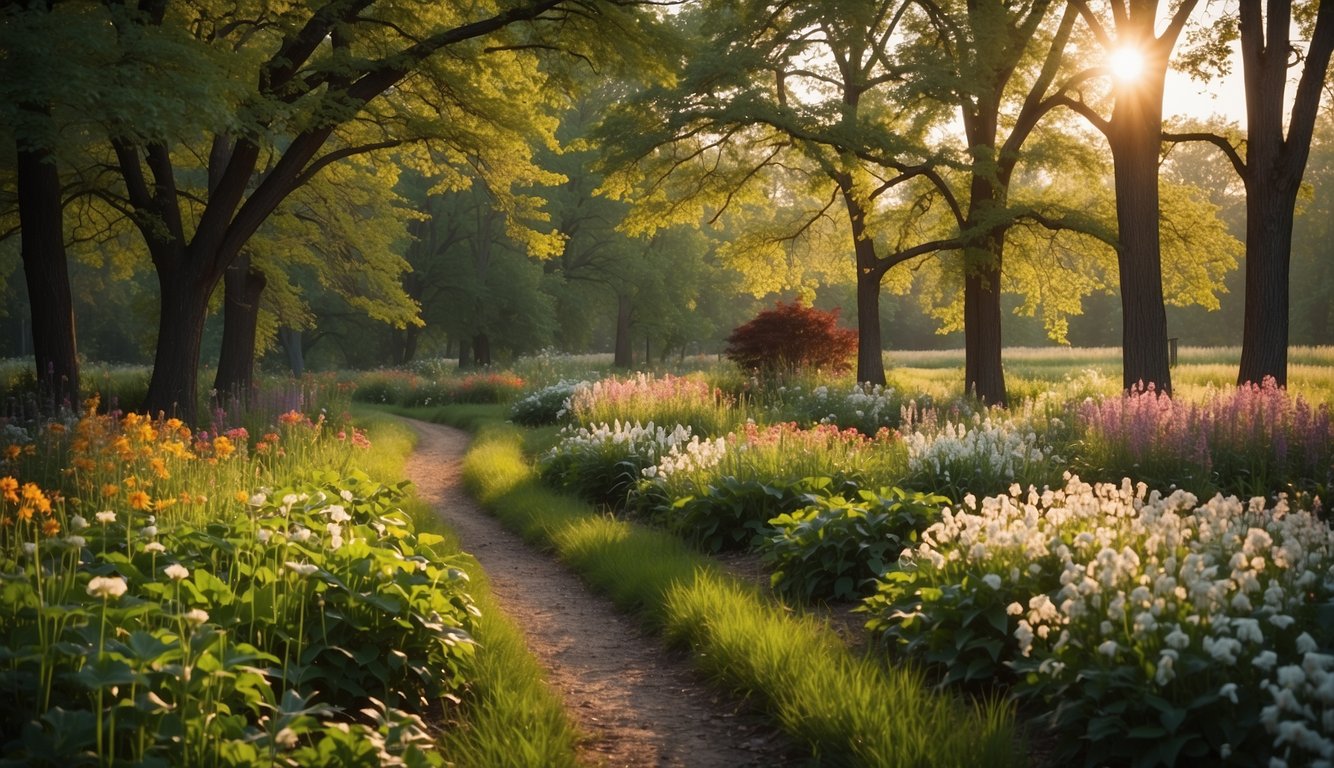
Planning Your Garden Layout

When you’re eager to jump-start your garden for spring, planning your garden layout is a critical first step to ensure a thriving outdoor space. Here’s how you can map out your green haven:

  • Identify the Space: Measure the area you have available for gardening. This will determine how much you can plant and where.
  • Consider Sunlight: Observe the patterns of sunlight and shade in your garden.

Some plants require full sun, while others thrive in partial shade.

Draft a Design:

  1. Create a scale drawing of your garden space.
  2. Use symbols or color codes to represent different plant types.

Choose Your Plants:

  • Select plants that will grow well in your climate zone.
  • Research plants’ spacing requirements to avoid overcrowding.

Focus on Accessibility:

  • Place paths between beds to ensure you have easy access for maintenance.
  • Consider raised beds or containers if bending or kneeling is difficult.

Rotation and Companion Planting:

  • Plan to rotate crops each year to prevent soil depletion.
  • Mix in companion plants that can help deter pests and diseases naturally.

Selecting the Right Plants

Before you start prepping your garden, choosing plants that will thrive in your local climate and soil conditions during the spring season is essential.

Hardy Varieties for Early Planting

When selecting plants for your spring garden, consider hardy varieties that can withstand cooler temperatures. These plants are typically your best bet for early planting:

  • Peas: These can be sown directly into the ground as soon as the soil is workable.
  • Kale: Known for its cold tolerance, kale can jump start your garden.
  • Spinach: Spinach is another cold-weather champion that you can plant early.
  • Carrots: They can endure frost and should be sown directly into the soil.

For more detailed guidance, explore comprehensive resources on prepping garden soil for spring planting.

Starting Seeds Indoors

Starting certain seeds indoors can be a smart move to get a head start on the growing season. Here’s a concise strategy for indoor seed starting:

  1. Begin with quality seeds: Select seeds from reliable suppliers to ensure germination and plant health.
  2. Use suitable soil: Opt for seed-starting mix to provide the best medium for your seedlings’ growth.
  3. Provide ample light: Seedlings need lots of light, so a sunny window or artificial grow lights are imperative to avoid weak, leggy plants.
  4. Maintain correct temperatures: Keep your seedlings warm, ideally between 65-75°F (18-24°C), to promote steady growth.

For step-by-step instructions on soil preparation and more, consider the expert advice in Spring Garden Prep: What You Need To Do.

How to Extend the Growing Season

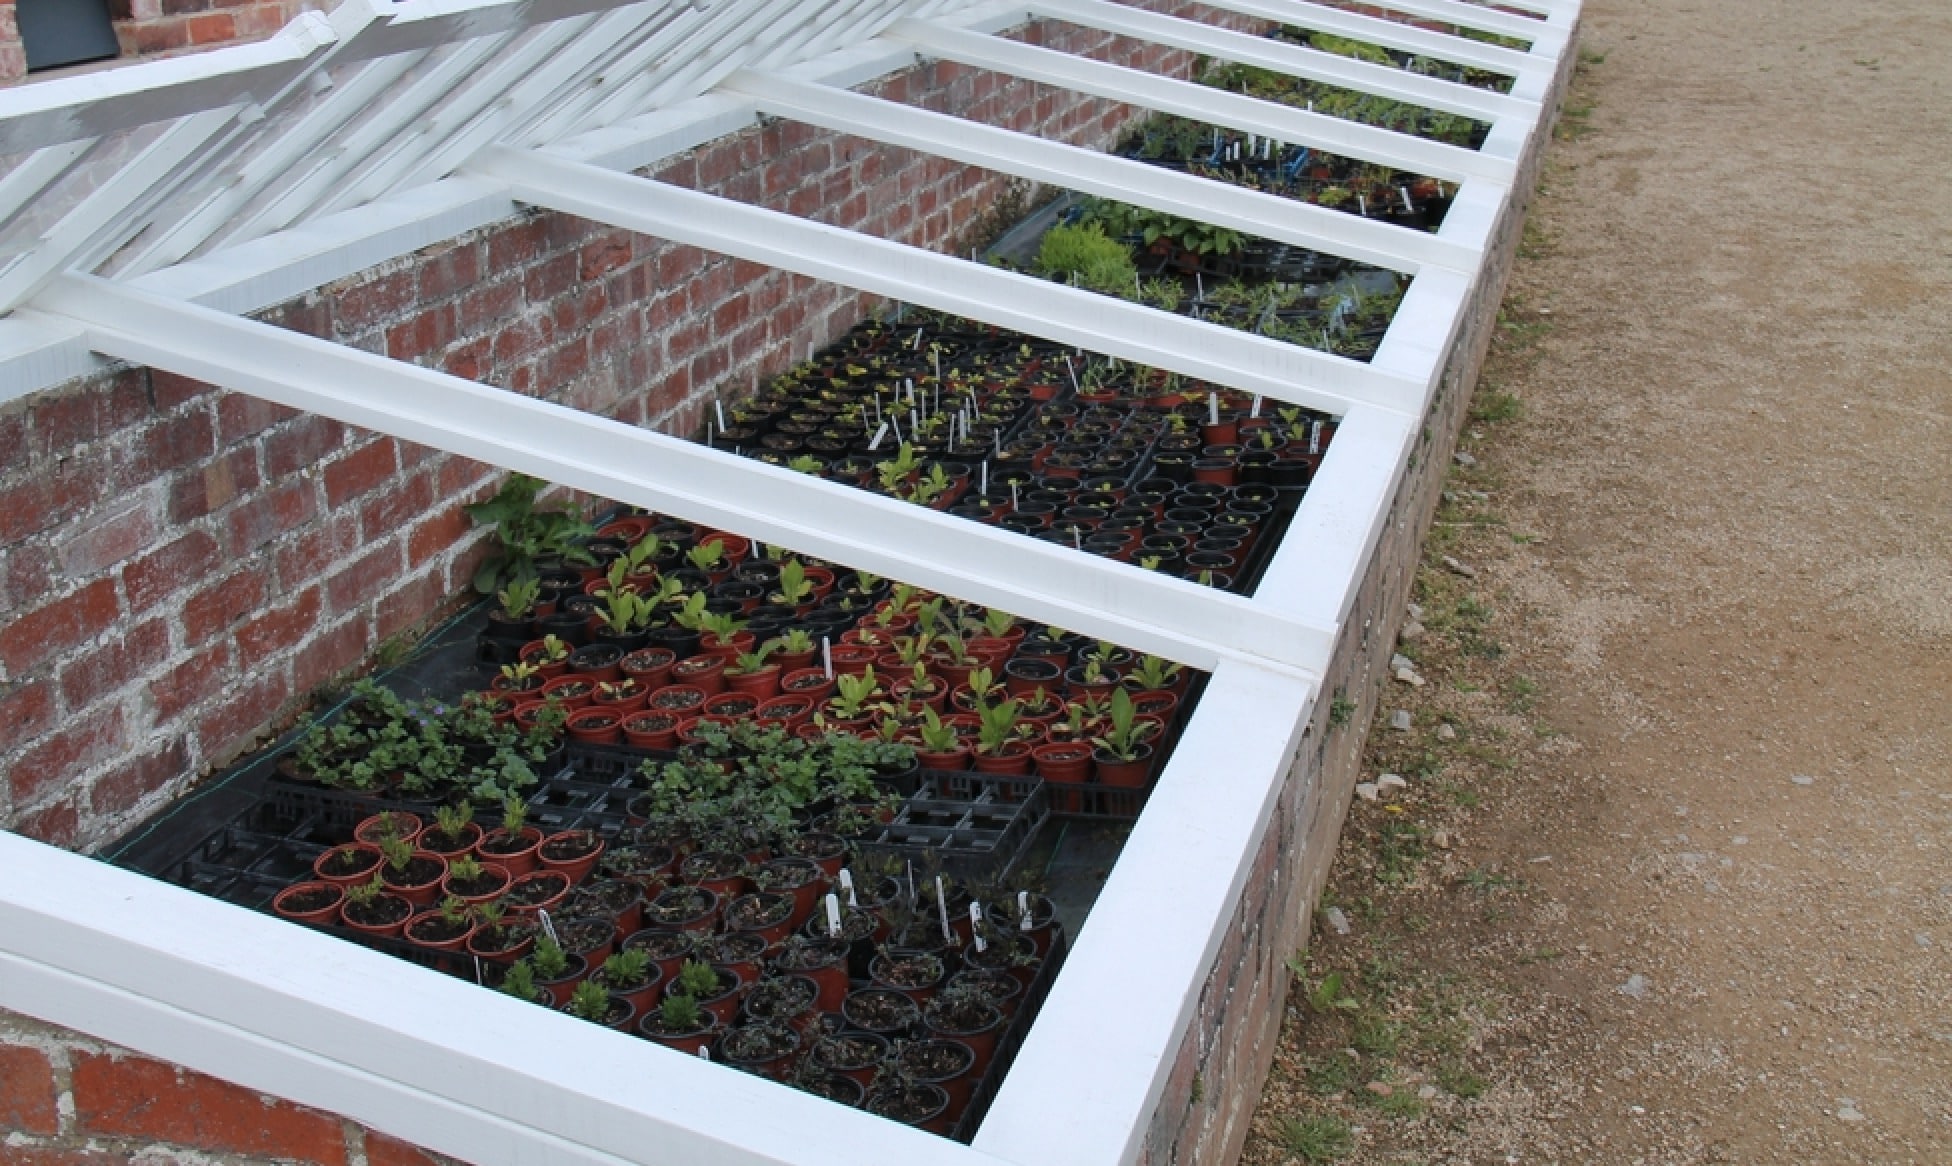
To maximize your garden’s productivity, utilizing season extenders can be a game-changer. They enable an earlier start for your plantings and can protect sensitive seedlings from late frosts.

Using Cold Frames

  • What Are They: Cold frames are enclosed spaces with a transparent top designed to use solar energy to create a warmer microclimate.
  • Benefits:
    • Protects plants from extreme weather.
    • Expedites the warming of soil.
  • How to Use Them:
    1. Place cold frames over garden beds where early seedlings are or will be planted.
    2. Ensure they are south-facing to maximize sunlight exposure.
    3. Monitor temperature and open the lid on warmer days to avoid overheating.

For more information, you might find the discussion about heat and humidity management with cold frames useful.

Applying Mulch for Insulation

  • Role of Mulch: Mulch acts as an insulating layer, trapping heat in the soil and reducing temperature fluctuation.
  • Types of Mulch:
    • Straw
    • Leaves
    • Wood chips
  • Method:
    1. Spread a 2-3 inch layer of mulch over your garden beds.
    2. Keep mulch a few inches away from plant stems to prevent rot.

What is the best way to prepare garden soil in late winter for upcoming spring planting?

  • Test your soil to determine its current nutrient profile and pH level.
  • Incorporate organic matter such as compost to enrich the soil and improve its structure.

When is the ideal time to begin soil preparation for a spring vegetable garden?

  • Begin soil preparation as soon as the ground is workable and not too wet, typically several weeks before the last expected frost date.
  • The risk of spring frost should influence your timing, avoiding any work that might be undone by a late freeze.

What steps should I take to get my perennial garden beds ready for the spring season?

  1. Remove any dead plant material and debris that has accumulated over winter.
  2. Cut back dead perennial foliage and clean your garden tools thoroughly before use.

How can I protect and prepare my garden during winter for a vibrant spring bloom?

  • Mulching in late autumn can protect plant roots and soil from the harsh conditions of winter.
  • Ensure your soil isn’t compacted after winter by gently loosening it without disturbing early spring growth.

What preparations are necessary for starting a new garden bed in early spring?

  • Choose a sunny location and remove any weeds or grass to clear the area.
  • Perform a soil test and prep the area by tilling and adding necessary amendments based on the soil test results.

Are there specific soil amendments I should consider before planting spring vegetables?

  • Fertilize spring flowering bulbs with a balanced 10-10-10 fertilizer once their leaves emerge.
  • For your vegetable garden, consider adding amendments like bone meal or blood meal for phosphorus and nitrogen.
  • This is especially important if you’re planting heavy feeders like tomatoes or corn.