Having a vegetable garden doesn’t have to mean giving up all the hardy vegetables that you enjoy eating during the winter months. As long as you take precautions for the climate, it is possible to have a successful winter vegetable garden in zone 7.
You can plant in row crops so your vegetables will be spaced out and your garden will look neat. If you are not ready to start gardening now, you can wait until the following spring and start filling up your veggie garden. Growing vegetables is a lot of fun when you do it right, so ensure you grow some veggies this winter!
Winter Veggies zone 7
Types of winter veggies you can plant in USDA climate zone 7
Broccoli

Broccoli is a cool-season crop mainly grown in the fall and spring in USDA climate zone 7. It can be planted in late summer for a harvest in early fall for warmer climates. Sow seeds directly into the ground approximately six weeks before the first frost in the fall.
That is considered maturity date A (50 days from seeding). In spring planting, sow seeds 5-6 weeks before the last frost date when soil temperatures are at least 65 degrees F. Sow seeds in a warm season greenhouse or where temperatures can be kept warmer than 70 degrees F. Broccoli matures in 60-75 days.
Brussel Sprouts
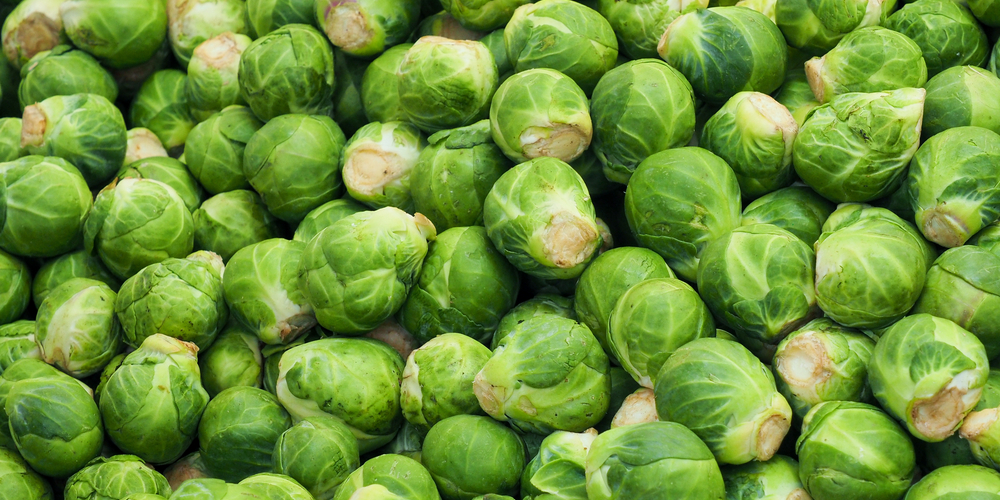
Brussel sprouts are a cool-season vegetable that can be planted in the fall and spring for a harvest around Thanksgiving time in USDA climate zone 7. Brussel sprouts can be planted from seed directly into the ground, or you can use a warm-season frame for planting and harvesting earlier in the fall.
Sow seeds directly into the ground approximately 6-8 weeks before the first frost in fall. That is considered to be the maturity date. For warmer climates, it is best to plant potatoes as a companion crop around the same time as Brussel sprouts because both will benefit from the heat, and each crop will help keep the soil cool enough for others.
Related Article: Flowering Brussel Sprout Plant
Cauliflower
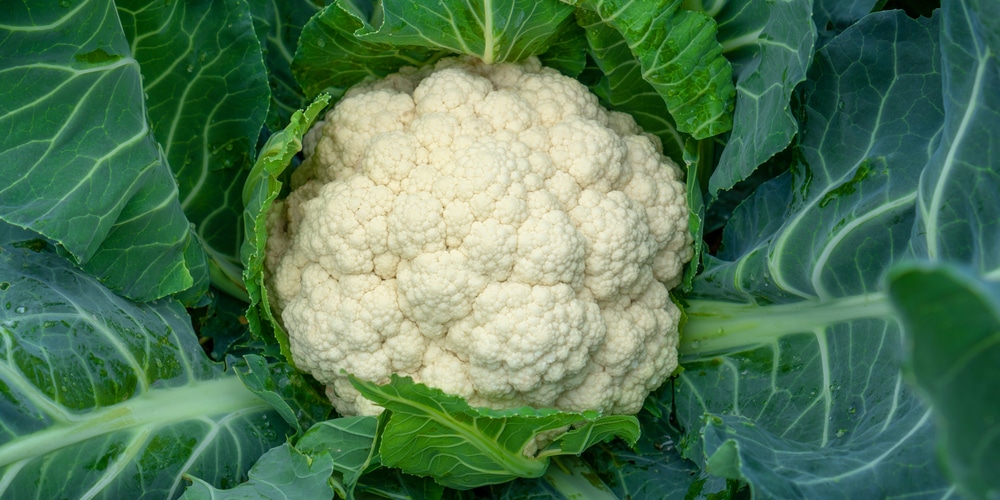
Cauliflower is a cool-season vegetable with small white flowers, small brown pods, and dark green leaves as part of the brassica family like Brussel sprouts and cabbage plants do. It is often considered a member of the cabbage family (Brassica oleracea). You can sow the cauliflower seeds into the ground in early fall for a harvest in late fall.
Garden Peas (Green Peas)
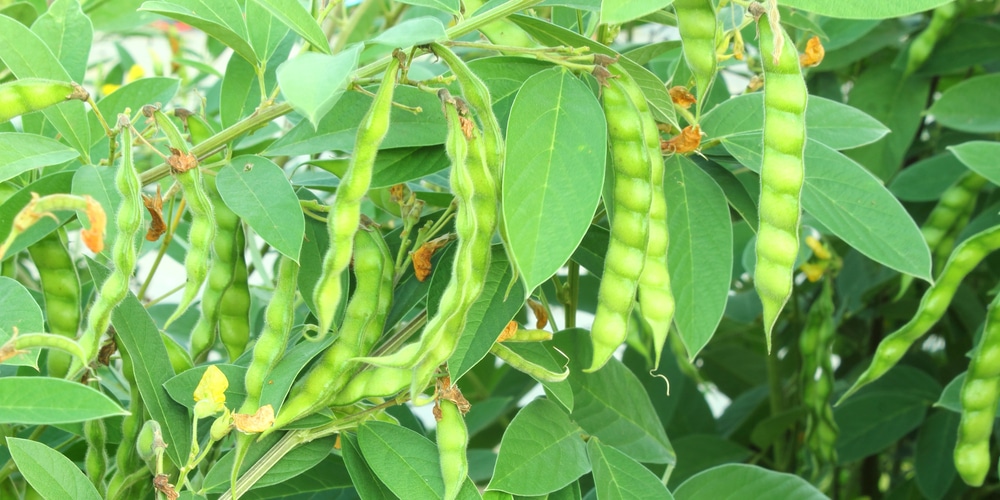
Peas are primarily grown in the spring, although you can sometimes find fresh peas in the supermarket for purchase during the summer. For this reason, you may want to experiment with growing peas in hot/warm season frames if you live in USDA climate zone 7 and wish to grow them during those months. For planting, sow direct into the ground about 6-8 weeks before the last frost and harvest when pods are full-sized (approximately 60 days).
How to Take Care of the Winter Veggies
When growing winter veggies indoors or outdoors, you can start from seed or a transplant. If you are going to start from seeds, they should be planted 1/2 inch deep and 4 inches apart in rows 16 to 24 inches apart. If you choose to start a crop of root crops directly into the ground, keep the seeds equally spaced and cover them with 2 inches of soil.
When starting from seeds, the most important thing is to ensure that your soil pH is 6.0-6.5, which is the ideal range for growing winter veggies. You can check the pH level and adjust the soil as necessary with fertilizer based on the needs of your crop, but you have to be careful not to use too much nitrogen or too little calcium or phosphorus.
If you choose to start from rooted crops in the ground, ensure that you have prepared your garden soil according to the requirements above, including 2 inches of manure or compost, weed-free seed depth, and proper spacing. When planting winter veggies into the ground, make sure that you keep them equally spaced at 16 or 24 inches apart in rows.
Winter veggies are particularly vulnerable during the first few weeks of life to several pests, diseases, and temperature fluctuations. Ensure to inspect your crop daily and remove any damaged leaves or shoots. You can easily eliminate insects by using an organic insecticide (organically grown vegetable plants are preferable) or a homemade mixture such as water and dish detergent.
Watering
You should keep your newly growing winter veggies well-watered. Water your veggies at least twice a day if it is hot outside, but make sure not to overwater them, which is just as harmful as underwatering.
Light
For your winter vegetables to thrive, they need at least 10 hours of direct sunlight each day. If you do not have a spot that gets that much sun, you will need to supplement with light using fluorescent or incandescent grow lights. You can also use a full-spectrum lamp (often called a “grow light”), which puts out more visible blue light than an incandescent bulb does. The grow lights will allow you to get more light in the winter and do it for less money.
Fertilizer
In the colder months, you will want to feed your plants with more nitrogen than phosphorus because they use much more phosphorous when they are active. A 2-1-1 or 3-1-2 ratio of ammonium sulfate and potassium nitrate with about 6 to 8 inches of compost or manure will meet your needs.
Use this mixture at the rate of 20 pounds per 100 square feet as you would use a nitrogen feeder fertilizer. Apply the nitrogen at 10 pounds per 100 square feet every two weeks during the growing season, and then every three weeks after plants start to flower, through to the first frost.
You can also broadcast a slow-release nitrogen fertilizer around the plants as they grow. Though it takes longer for plants to absorb this type of fertilizer, it will help them maintain a healthier appearance. Ensure to read the instructions on your slow-release nitrogen fertilizer for dilution rates to use the right amount for your vegetables.
Winter Veggies zone 7: Conclusion
If you plant the winter veggies in your own US climate zone 7, you should know that the seeds need to be sown between September and October.
As well as this, you will need to prepare the seedlings for their new home by digging holes in moist but not wet soil – usually 3 inches deep and 18 inches apart. You can also use well-drained soil and put it under a protective netting from birds. Then spread some compost on top before sowing your seeds.