Ginger is easy to grow, incredibly useful, and one of the most satisfying plants to start at home.
You don’t need a large garden. You don’t need special equipment. In fact, all you need is a healthy piece of ginger, a container, good soil, and a little patience.
That single root from the grocery store can produce a beautiful leafy plant—and eventually, more fresh ginger to use in your kitchen.
Why Grow Ginger at Home?
Fresh ginger is useful in countless recipes. You can add it to tea, stir-fries, soups, sauces, marinades, baked goods, smoothies, and homemade dressings.
Growing your own also gives you a steady supply on hand. Instead of buying a small piece every time a recipe calls for ginger, you can harvest what you need and leave the rest of the plant growing.
Ginger is especially well suited to container gardening. It grows well on patios, balconies, porches, and in warm, sunny indoor spaces.
Start with one healthy piece of ginger, and you could be growing your own supply in a single pot.
Choose the Right Piece of Ginger
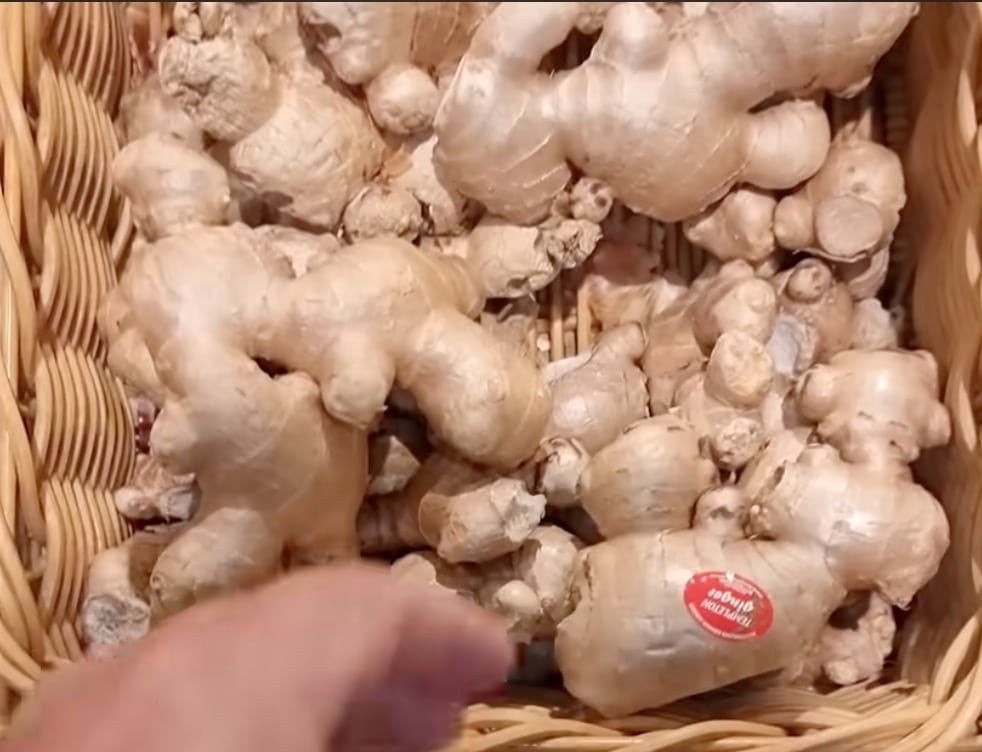
Begin with fresh ginger that feels firm and heavy for its size. The skin should look healthy, and the root should have several small bumps or buds.
These buds look a little like the eyes on a potato. They are the points where new shoots will begin to grow.
Avoid ginger that is soft, shriveled, dried out, or covered in mold. Organic ginger can be a good choice, although regular grocery-store ginger may also grow successfully.
If your ginger looks slightly dry, soak it in room-temperature water overnight. This can help restore moisture before planting.
Prepare the Ginger for Planting
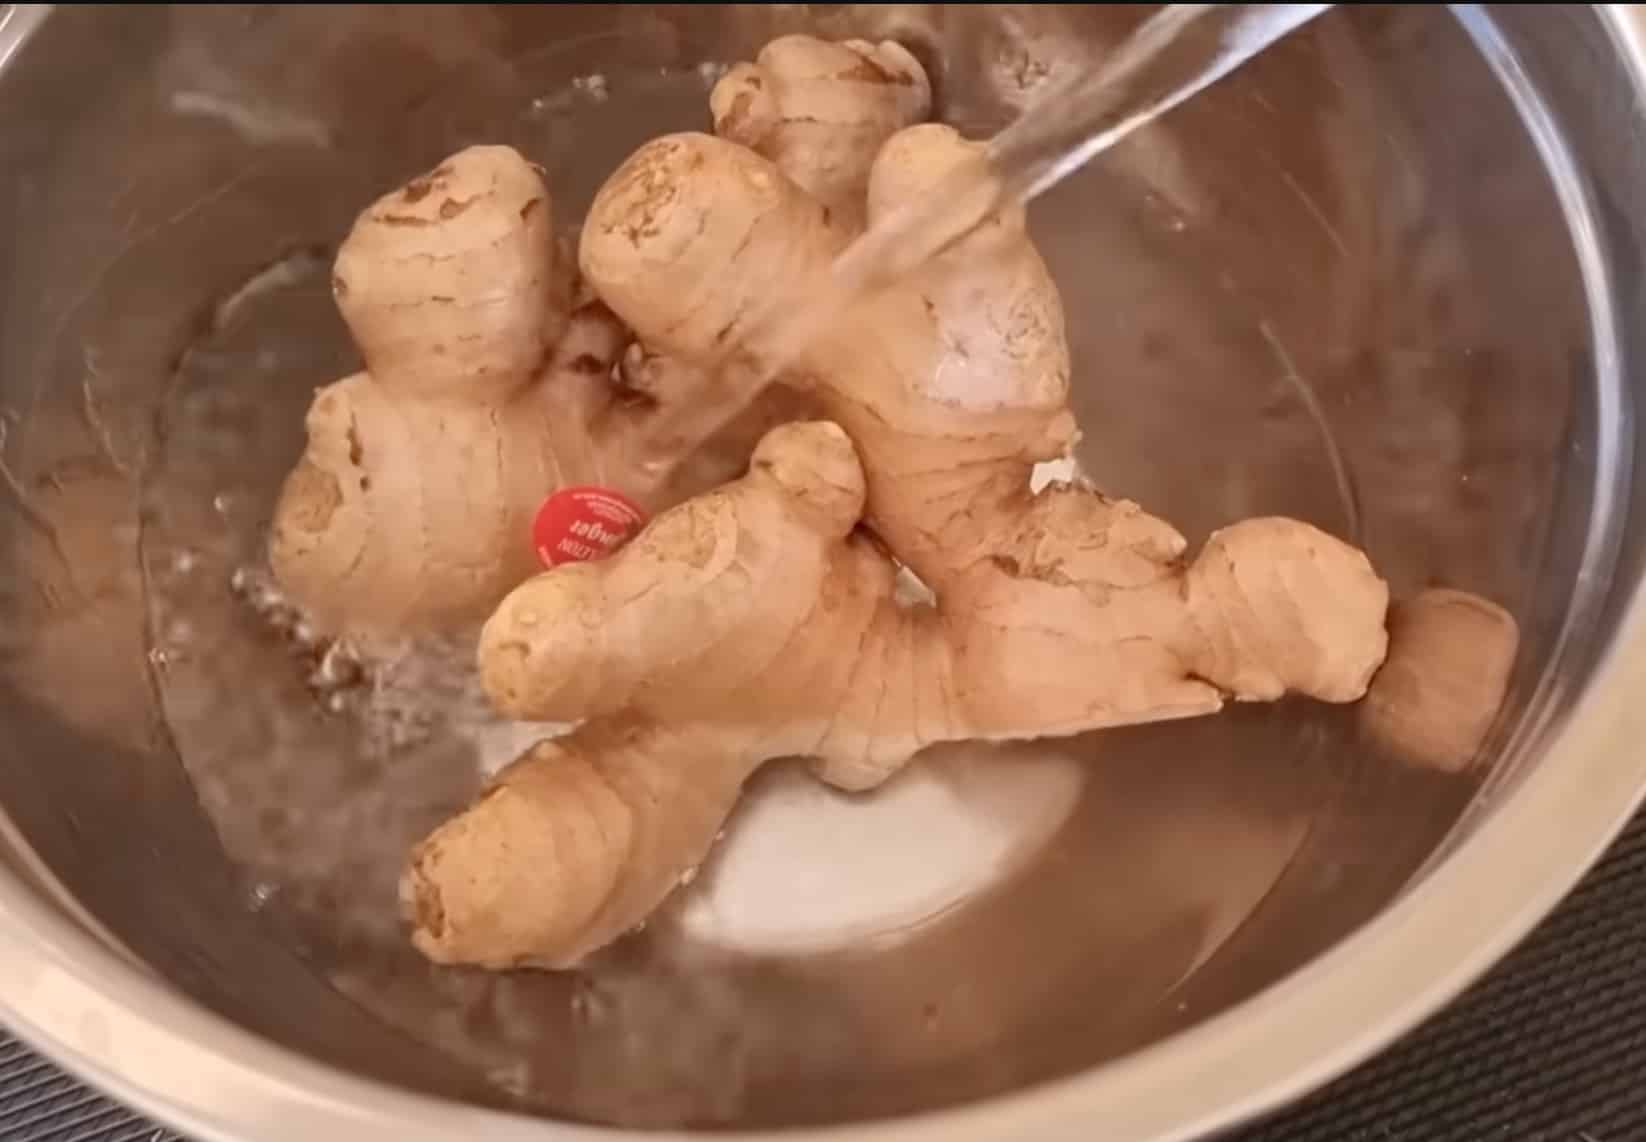
You can plant the entire root, but cutting it into smaller pieces allows you to grow multiple plants.
Use a clean knife to divide the ginger into sections approximately 1 to 2 inches long. Make sure each piece includes at least one or two healthy growth buds.
After cutting, place the pieces somewhere dry at room temperature for a day or two. This allows the cut surfaces to dry and form a protective layer before they go into the soil.
This small step can help reduce the risk of the pieces breaking down in damp soil.
Use a Wide Container
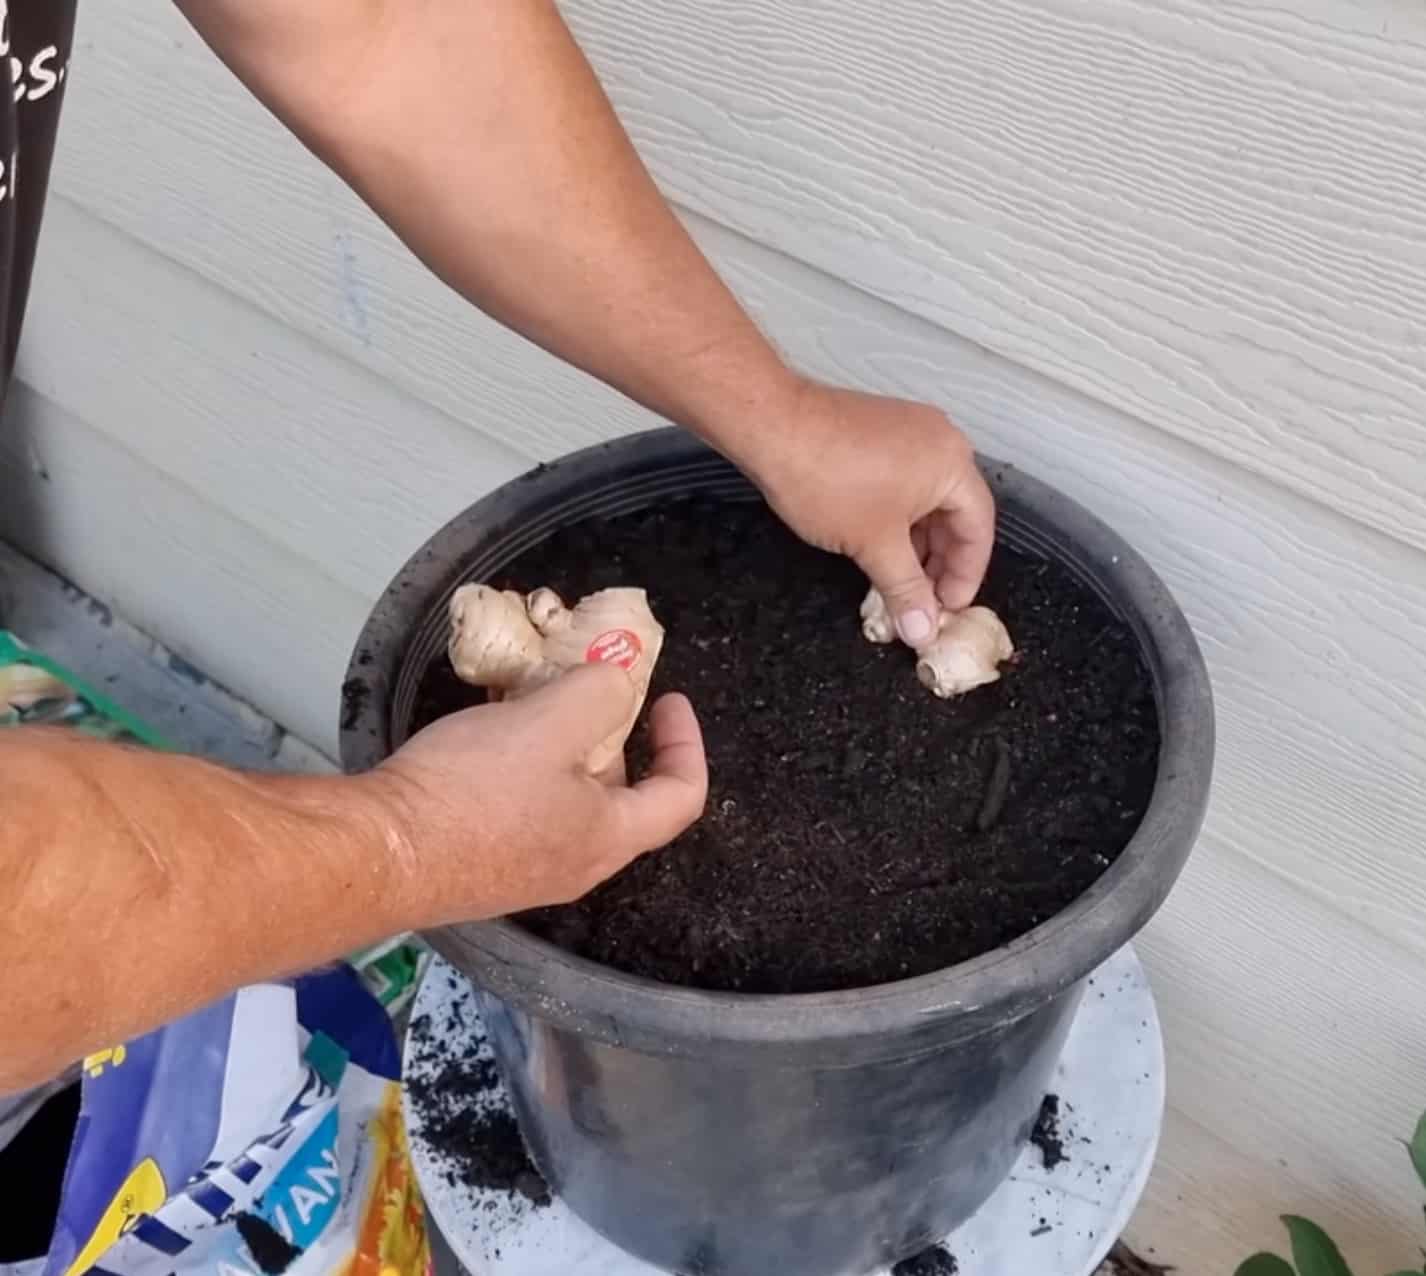
Ginger spreads horizontally as it grows, so choose a wide container rather than a tall, narrow one.
The pot must have drainage holes. Ginger enjoys moisture, but it does not like sitting in water. Excess moisture can lead to rot.
Fill the container with loose, well-draining potting soil. A quality vegetable or container mix works well. Mixing in a little compost can improve the soil and give the plant a gentle nutrient boost.
Place the ginger pieces on the surface of the soil with the buds facing upward. Cover them with approximately 1 to 2 inches of soil.
Water gently until the soil is evenly moist.
Find a Warm Growing Spot
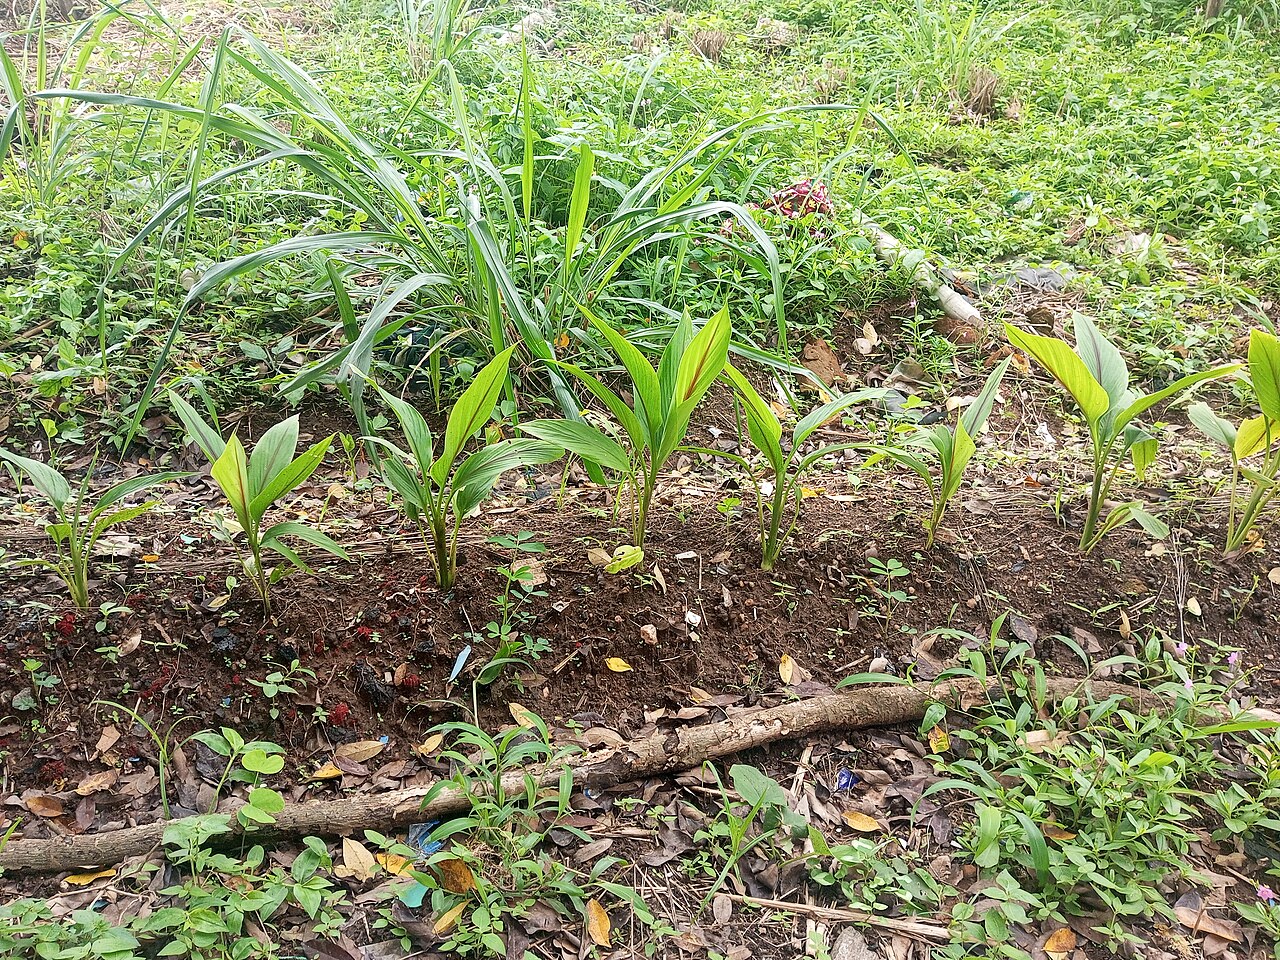
Ginger is a tropical plant, so warmth is essential for success.
Place the container somewhere warm with bright, indirect sunlight. A covered porch, greenhouse, balcony, or bright indoor window can work well.
Avoid cold drafts and protect the pot from temperatures that may fall below about 55 degrees Fahrenheit.
Ginger can take several weeks to sprout. During this time, keep the soil lightly moist, but never water it so heavily that it becomes soggy.
Once the shoots appear, continue providing warmth and light. If you are growing ginger outdoors in a hot climate, protect it from harsh afternoon sun.
Keep the Plant Growing Strong

As the ginger develops, tall green stems and narrow leaves will emerge from the soil.
Water whenever the top inch of soil begins to dry. The goal is consistent moisture—not constantly wet soil.
Every few weeks, add a mild organic fertilizer or a small amount of compost. This helps support leafy growth and encourages the ginger rhizomes beneath the soil to develop.
You can add a light layer of mulch to help the soil retain moisture. Just keep the mulch slightly away from the stems to improve airflow.
When to Harvest Your Ginger
Young ginger may be ready to harvest after four to six months. It will usually have thinner skin and a fresher, milder flavor.
For larger, more mature ginger, wait eight to ten months. When the leaves begin to yellow, dry, and fall back, the plant is signaling that the rhizomes beneath the soil are ready.
Carefully loosen the soil and remove the ginger. You do not always have to harvest the entire plant at once.
You can also break off a section for cooking and leave the remaining rhizome in the pot. Make sure the piece left behind has at least one healthy bud, then cover it with soil and continue watering lightly.
With proper care, the plant can keep producing.
Make Your Harvest Last
Wash and dry your harvested ginger before storing it. Extra ginger can be kept in the refrigerator or frozen for longer storage.
Frozen ginger is especially convenient because you can grate it directly into recipes without peeling the entire root first.
Growing ginger at home is simple, practical, and rewarding. A small piece from the grocery store can become a lush container plant and a continuing source of fresh flavor for your kitchen.
Start with one root, give it warmth and patience, and you may never look at grocery-store ginger the same way again.