By late summer, a raised bed can look as tired as the gardener tending it. Sprawling vines, weeds, and empty patches make it tempting to walk away until spring.
A thoughtful reset now can reduce next season’s problems and leave room for another harvest. Start with the plants that have finished, check the soil before adding anything, and give every cleared patch a plan. You can tackle one section at a time while healthy crops keep producing.
1. Clear What’s Finished—and Keep What’s Still Producing

Start by harvesting anything ready to pick. Then look at each plant separately. A productive pepper or a healthy patch of chard can stay; a collapsed cucumber vine that has stopped yielding is taking up valuable space.
Remove diseased plants, rotting produce, and fallen crop debris from the bed. Those leftovers can carry problems into the next planting. Work when foliage is dry, especially around plants with leaf spots, to reduce the chance of spreading disease while you handle them.
Healthy spent growth can go into your compost pile. Keep diseased material out of a casual, cool home pile that will not reliably destroy pathogens. Use an approved local disposal option instead, checking whether your yard-waste service accepts it.

Pull weeds before they drop more seed, including the little ones tucked against the boards. Lift perennial weeds carefully enough to remove their roots rather than snapping off only the tops. A clean-looking surface is temporary if living roots remain underneath.
Around healthy crops, work gently so you do not damage their roots. In a patch you are about to direct-sow, remove bulky stalks and root masses that would interfere with making an even seedbed.
Use the cleared space to check the bed itself. Tighten loose corners, look for boards that need attention, and inspect irrigation tubing for leaks, blocked outlets, or kinks. These are much easier to see before new plants fill the gaps.
Brush soil and plant debris off tools before storing them. Clean and disinfect tools that have contacted diseased plants before using them on healthy ones. Finally, jot down what grew where and which problems appeared; those notes will help you plan the next planting.
2. Check the Soil Before You Reach for Another Bag

A lower soil level does not automatically mean the bed is worn out. Organic materials break down and the growing mix settles. Most established raised beds can be refreshed without emptying them and starting over. First, work out whether you are dealing with settling, compaction, drainage, or a nutrient problem.
If you have no recent soil test, take a sample before adding amendments. Follow the testing lab’s sampling instructions, collecting from several places within the bed. Keep samples from beds with different soil mixes or growing histories separate, and tell the lab you are growing vegetables.
A basic test can help you decide whether lime, fertilizer, or more organic matter is useful. Dark soil can still have an imbalance. Repeated heavy compost applications can build up more phosphorus than plants need. Adding another rich layer by habit may make that problem worse.

Where organic matter is needed, use finished, plant-based compost and let the test results guide the amount. For a modest top-dressing on an established bed, about a half inch may be plenty; some beds need none. Skip fresh or merely aged manure where fall vegetables will be harvested soon; it can carry harmful microbes.
To picture the quantity, a half-inch layer over a 4-by-8-foot bed takes about 1⅓ cubic feet of compost. Measuring first can save you from buying—and spreading—several unnecessary bags.
If the soil level has dropped substantially, restore the needed depth with a suitable raised-bed soil blend. Choose the material to suit the existing mix and drainage rather than filling every missing inch with compost.
Keep your feet on the paths and avoid working wet soil. If a handful smears or stays in a sticky lump, wait for it to dry enough to crumble. Where soil is genuinely compacted, loosen it carefully with a garden fork, rocking it without repeatedly turning the whole bed over.
Rake the planting surface level and check how water enters it. Persistent puddling deserves attention before you sow again; another bag of fertilizer will not correct poor drainage.
3. Give the Empty Space a Crop or a Cover

An empty patch is an invitation for weeds. Once it is cleared and ready, choose between another edible crop, a cover crop, or mulch. The right choice depends on your local growing season and when you want to use the bed next.
For another harvest, check your local fall planting calendar and average first frost date. Count backward using the variety’s days to maturity, allowing extra time as shorter days and cooler weather slow growth. A seed packet’s fastest harvest time is not a guarantee for an autumn planting.
Leaf lettuce, spinach, radishes, and kale are possibilities where timing allows. Choose quick varieties, and consider harvesting leafy crops young. Keep newly sown soil evenly moist during germination; late-summer heat can dry the surface long before established plants nearby look thirsty.
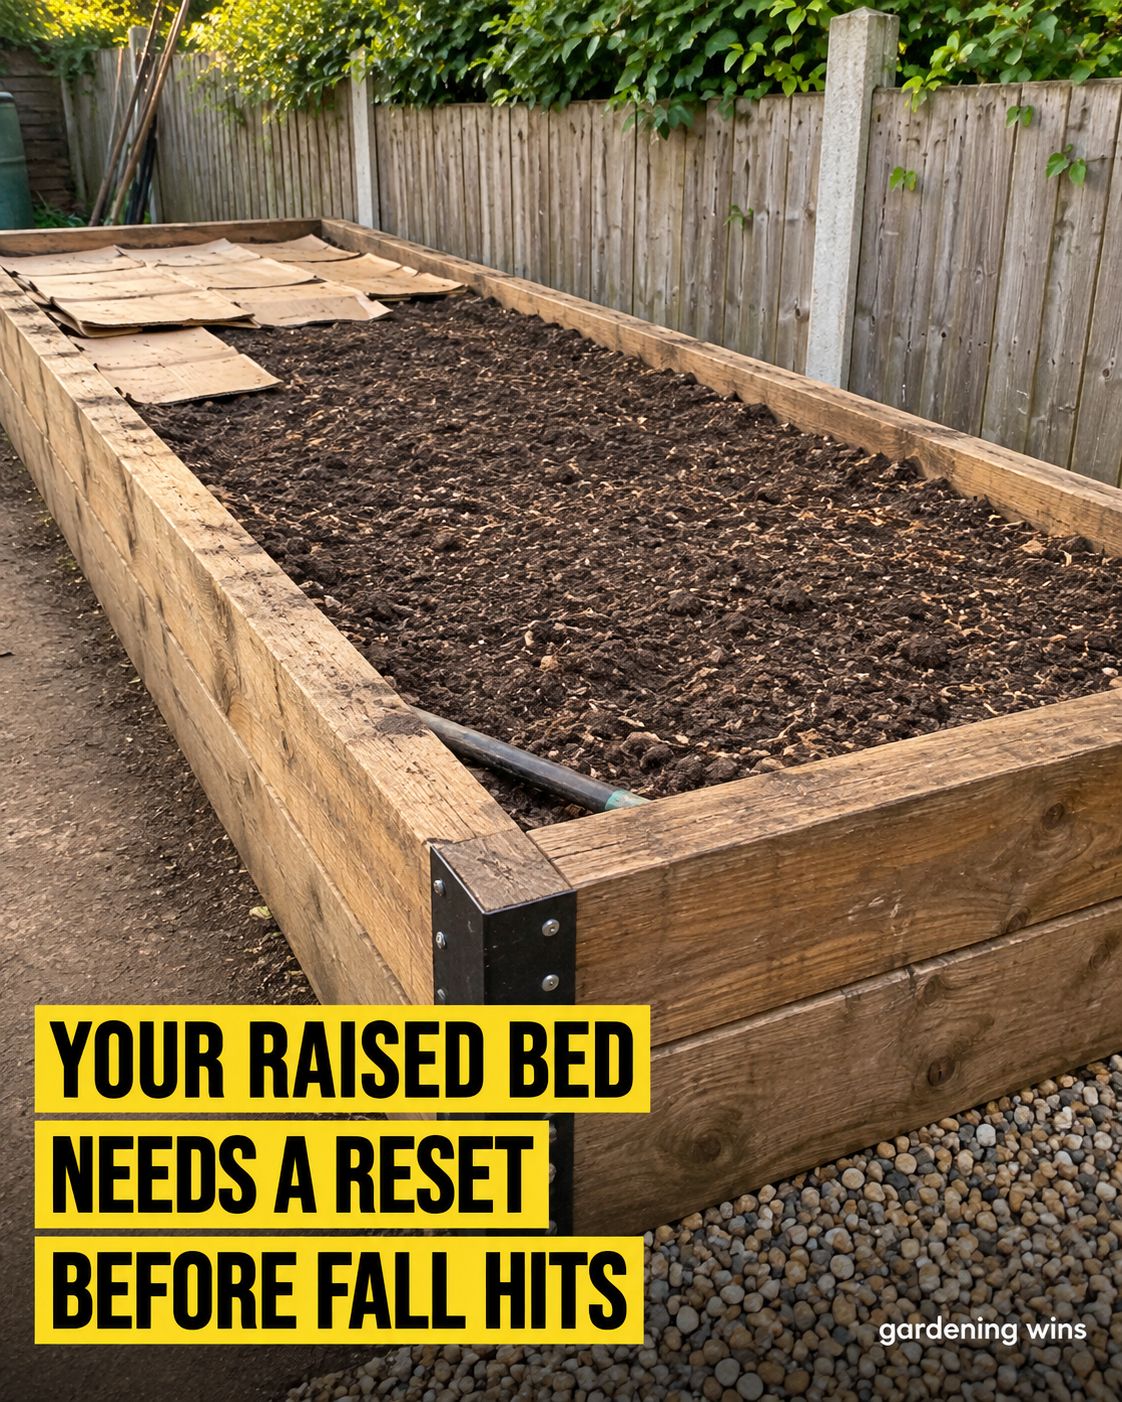
If the bed is taking a break, spread a loose layer of shredded leaves or clean, weed-free straw over the cleared soil. About 2–3 inches is a useful starting point. Keep mulch away from the stems of any plants you retain, and leave seed rows uncovered until seedlings are established.
A cover crop is another option, provided there is time for it to establish. Spring oats can be manageable in climates cold enough to kill them over winter, leaving protective residue. In milder areas, they may survive and need to be cut down.
Choose a cover crop with its spring removal in mind. Winter rye can make vigorous growth and needs a termination plan before vegetables go back in. Check regional sowing dates, use garden cover-crop seed, and stop the crop before it sets seed.
Before you put the tools away, label each cleared section with its next job: fall greens, a cover crop, or mulch until spring. That small decision keeps a freshly tidied bed from quietly becoming a weed nursery again.
References
- University of Minnesota Extension: Managing Plant Diseases in the Home Garden
- University of Minnesota Extension: How to Clean and Disinfect Gardening Tools and Containers
- University of Minnesota Extension: Soil Testing for Lawns and Gardens
- University of Minnesota Extension: Too Much Compost and Manure
- University of Maryland Extension: Soil to Fill Raised Beds
- University of Maryland Extension: Bay-Wise Landscape Management Yardstick (PDF)
- University of Minnesota Extension: Planting Vegetables in Midsummer for Fall Harvest
- University of Maryland Extension: Cover Crops for Gardens
- University of Minnesota Extension: Applying Composted Manure and Food Safety
- University of Minnesota Extension: Fall Planting and Day Length (August 6, 2026)
Image Attributions
Featured graphic: Gardening Wins artwork supplied by the publisher. Article photographs are from Wikimedia Commons and are resized for web display; the site-hosted radish photograph is also compressed. No cropping has been added.
1. Clear What’s Finished—and Keep What’s Still Producing
- “Raised vegetable bed 1.jpg” by Kerstin Namuth, licensed under CC BY-SA 4.0.
- “Preparing raised flower-beds 1.jpg” by W.carter, made available under CC0 1.0.


2. Check the Soil Before You Reach for Another Bag
- “Dirt on garden trowel 2.jpg” by PumpkinSky, licensed under CC BY-SA 4.0.
- “Compost final.jpg” by Bernard Dejean, licensed under CC BY-SA 4.0.


3. Give the Empty Space a Crop or a Cover
- “Radish Raphanus sativus raised bed Harmony Gardens Broadwater Farm Estate Haringey London England 01.jpg” by Acabashi, licensed under CC BY-SA 4.0.
- “Green lettuce in a kitchen garden.jpg” by Basile Morin, licensed under CC BY-SA 4.0.

