Most vegetables ask you to start over every spring. Asparagus offers a different deal: do the groundwork once, then return to the same patch for years of fresh spears. A well-established bed can last for decades, and 30 years is possible—not a promise. The catch is patience. Those first tempting shoots need time to build a strong plant. Get the location, harvest timing, and summer care right, and this becomes a garden investment worth waiting for.
1. Give asparagus a permanent home, not a spare corner
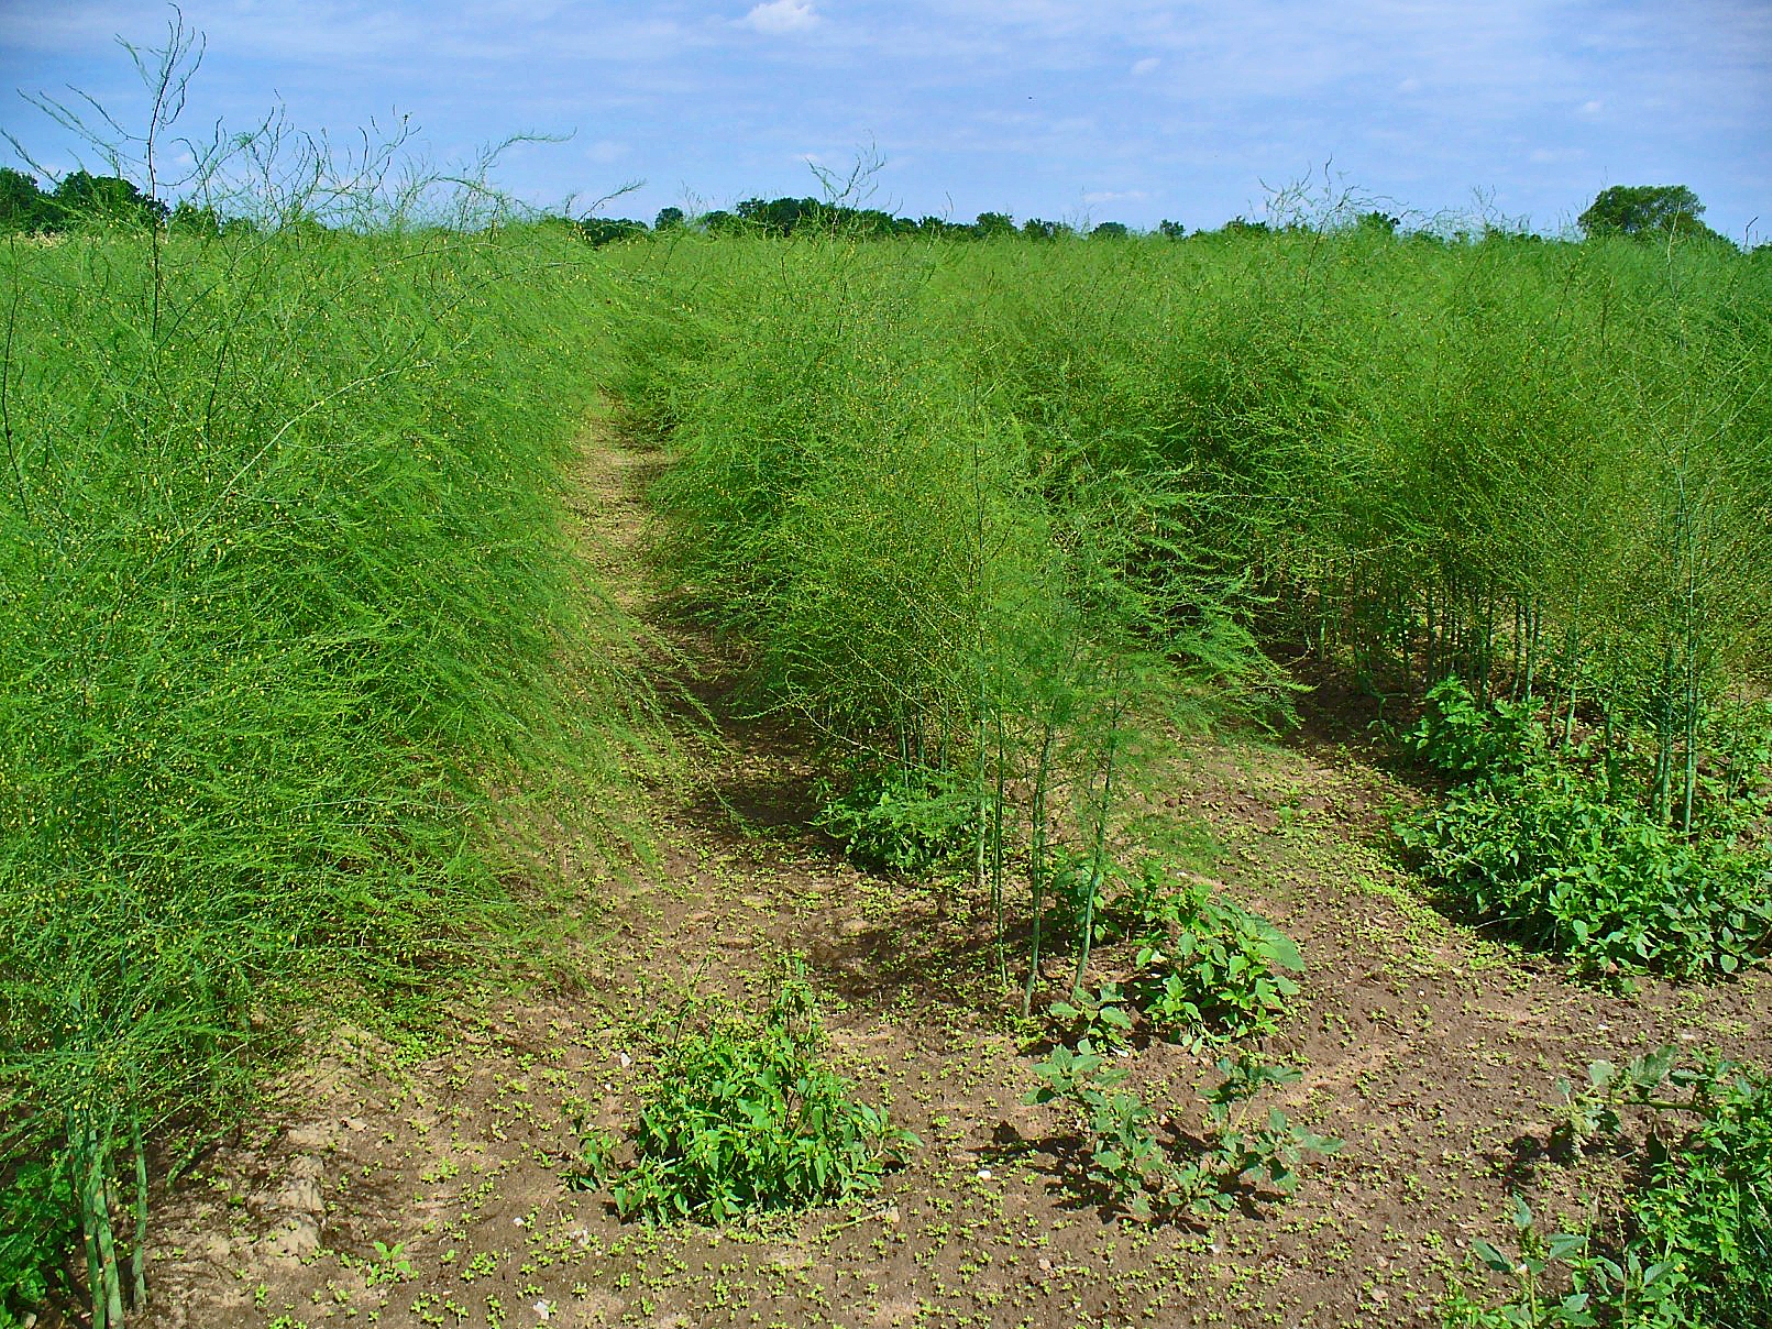
That decades-long promise has a real basis. University of Georgia Extension says a correctly established asparagus bed can last 30 years. Other university guides give shorter expectations: Maryland describes 12 to 15 years or longer. Think long-lived spring crop, not guaranteed lifetime supply. Drainage, climate, disease, and the way you harvest all affect the result. [1] [2]
And “one bed” is not a useful measure of how much food you will get. Maryland estimates roughly 3 to 4 pounds annually from a productive 10-foot row. That is a planning estimate, not a yield guarantee—and definitely not enough to feed a household year-round. Measure your space before ordering crowns. [2]
Choose full sun and soil that drains freely. Avoid a low spot where rainwater lingers. An asparagus bed belongs somewhere you will not dig up for next year’s tomatoes, with room for the tall summer growth to spread without shading shorter crops. [3] [2]
Prepare the soil before the roots move in. Clear perennial weeds, incorporate finished compost where needed, and get a soil test. A pH around 6.5 to 7.0 suits asparagus well; use the test to decide whether lime or fertilizer is needed. Guessing now can create a problem that stays with the bed for years. [3]
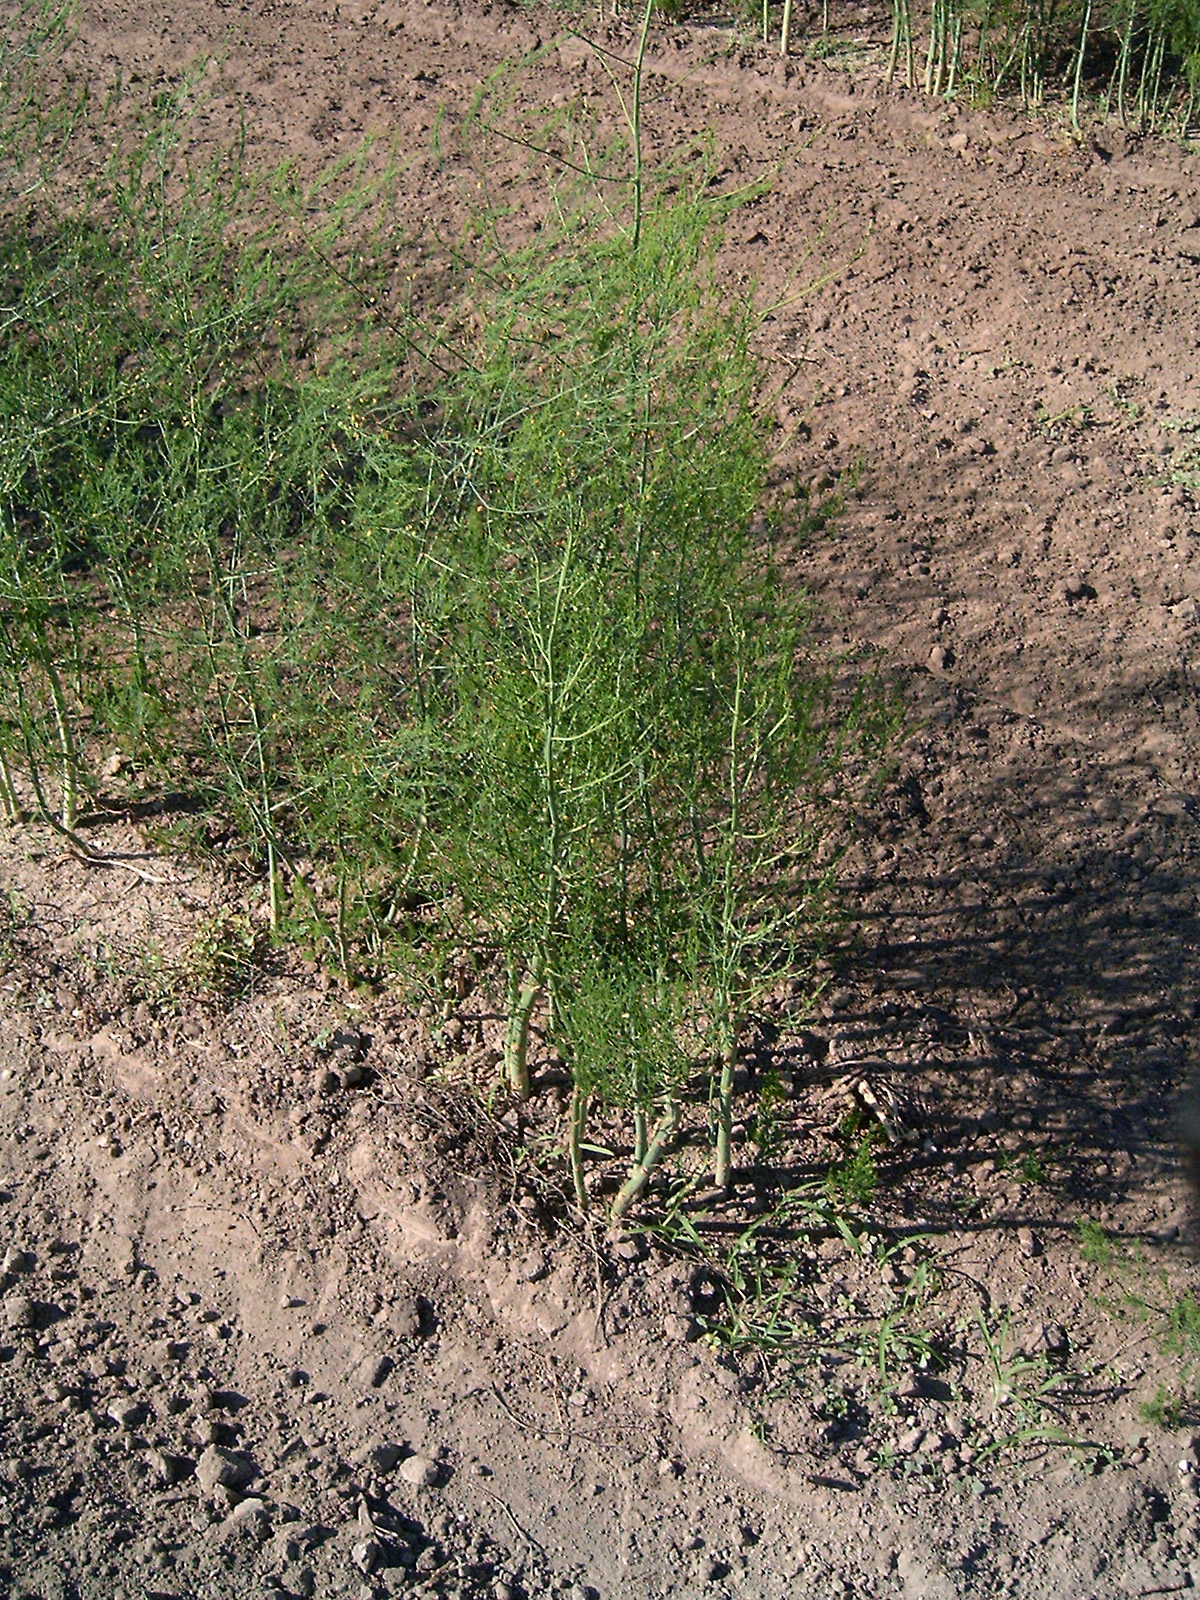
For a head start, buy healthy one-year-old crowns of edible asparagus, Asparagus officinalis, from a reputable nursery. Crowns are the underground roots and growing buds—not bunches of supermarket spears. Choose a cultivar recommended for your region; an all-male hybrid can reduce unwanted seedlings. [3]
Look for plump, slightly moist roots and viable buds. Pass over crowns that are badly shriveled or rotting, and do not let good ones dry out while waiting to plant. A common home-garden layout is 15 to 18 inches between crowns, with 4 to 5 feet between rows. [2]
Plant during your region’s spring planting window. A practical method is a trench about 6 inches deep: set the buds upward, spread the roots, cover initially with about 2 inches of soil, and water. Gradually backfill as the shoots grow. Follow your local extension or nursery guidance where soil type calls for a different depth. [1]
2. Let the bed earn its first harvest

The first spear is exciting. It is also easy to mistake for permission.
A one-year-old crown is not a one-year-established garden bed. Its age at purchase does not erase the settling-in period after planting. Harvesting heavily too soon takes growth away from the plant just when it needs to build reserves. [4]
For a conservative start with crowns, use this schedule, based on Minnesota’s home-garden guidance. Count the planting season as year one:
- Year one: Do not harvest. Let the shoots develop into leafy, fernlike growth.
- Year two: Keep building the plant; leave the spears to grow again.
- Year three: If the plants are vigorous, try a short harvest of about two weeks, then stop.
- Later years: Lengthen harvesting only as the bed becomes robust. A mature bed often supplies a season of about six to eight weeks, depending on location and conditions.
Some extension guides allow a small harvest sooner. Waiting is the cautious choice, especially after a weak first summer. If the plants are struggling, skip the harvest rather than obeying a calendar. Seed-grown plants require additional establishment time. [4] [6]

Once the bed is ready, check it frequently and harvest spears around 6 to 8 inches tall, while the tips remain tight. Snap them near ground level, or cut carefully without digging into the crown or injuring neighboring shoots. Refrigerate the harvest promptly. [2] [5]
Know when to put the basket away. Slow emergence, a run of spears thinner than a pencil, or tips opening on very short spears are warning signs to stop. Do not keep picking simply because another shoot appears. [5]
A late-June stopping date may work in Minnesota, but it is not a nationwide rule. Use your local harvest window and the bed’s vigor together. The goal is a good harvest this spring without borrowing too much from next spring. [5]
3. Protect the summer growth that pays for next spring

When harvesting ends, asparagus changes character. The tidy spears stretch upward, branch, and become a feathery green thicket. That is not the bed getting away from you. It is the plant rebuilding.
The green growth captures sunlight and sends stored energy into the underground crown for future growth. Cutting it down while it is healthy and green interrupts that process. Leave it standing; if it flops across a path, support it instead of giving it a summer haircut. [3] [2]
Keep watering after the last harvest. About an inch of water weekly, including rain, is a useful starting point during dry growing weather, especially for young plants. Adjust for rainfall, drainage, and soil moisture; raised beds may dry faster. Moist soil is the target, not a permanently soggy trench. [1]
Feed according to a soil test, not a bigger-is-better rule. Established beds can receive needed nutrients before spring emergence or after harvest. Retest periodically rather than adding fertilizer automatically every time growth looks disappointing. [4]
Stay ahead of weeds with hand pulling and shallow cultivation that avoids emerging spears. Mulch can help suppress new weeds. Skip the old salt-on-the-bed trick: excess salt can damage soil structure and move into neighboring planting areas. [8] [6]

Keep checking for asparagus beetles after picking season. Common asparagus beetles and their larvae can damage the ferns, reducing the plant’s ability to rebuild. In a small bed, handpick confirmed pests and drop them into soapy water. Do not remove every insect you find—lady beetles and other beneficial insects help control pests. Use an extension identification guide rather than guessing from one photograph. [7]
Wait until the foliage is fully brown and dead before cutting it down. Removing dead ferns from the bed helps reduce overwintering beetles. If winter weather arrives before the plants finish dying back, do that cleanup in early spring before new growth begins. [7]
One useful habit costs nothing: label the bed with its planting year and record when you start and stop harvesting. Next spring, you will know whether you are tending a young planting that needs another quiet season or an established bed ready to fill the basket.
References
- University of Georgia Cooperative Extension: Home Garden Asparagus—potential longevity, crown planting, and watering.
- University of Maryland Extension: Growing Asparagus in a Home Garden—yield estimates, crown quality, spacing, and harvesting.
- University of Minnesota Extension: Planting Asparagus—plant biology, site preparation, soil pH, and variety selection.
- University of Minnesota Extension: Growing Asparagus in Home Gardens—conservative establishment schedule and soil-test-based fertility.
- University of Minnesota Extension: Harvesting Asparagus—harvesting methods, refrigeration, and signs to stop picking.
- University of Illinois Extension: How to Successfully Grow Asparagus in Your Garden—establishment, mulching, and reasons to avoid salt.
- University of Minnesota Extension: Asparagus Beetles—identification, hand removal, beneficial insects, and fern cleanup.
- Iowa State University Extension and Outreach: How Do I Control Weeds in My Asparagus Planting?—weed competition and careful cultivation.
Image Attributions
Article photographs are reproduced without cropping or other creative alterations and scaled for display. They illustrate asparagus growth stages, not a single bed’s progress or a guaranteed yield.
1. Give asparagus a permanent home, not a spare corner
- “Asparagus officinalis 001.JPG” by H. Zell, licensed under Creative Commons Attribution-Share Alike 3.0 Unported.
- “Asparagus officinalis plant.jpg” by Titantoma, licensed under Creative Commons Attribution-Share Alike 3.0 Unported.


2. Let the bed earn its first harvest
- “Asparagus – first shoot – DSCF8812.JPG” by Vmenkov, licensed under Creative Commons Attribution-Share Alike 3.0 Unported.
- “Asparagus image.jpg” by Muffet, licensed under Creative Commons Attribution 2.0 Generic. Also used as the featured image.


3. Protect the summer growth that pays for next spring
- “20180428Asparagus officinalis1.jpg” by AnRo0002, made available under the Creative Commons CC0 1.0 Universal Public Domain Dedication.
- “Asparagus-officinalis-autumn-1.jpg” by Sten Porse, licensed under Creative Commons Attribution-Share Alike 3.0 Unported.

