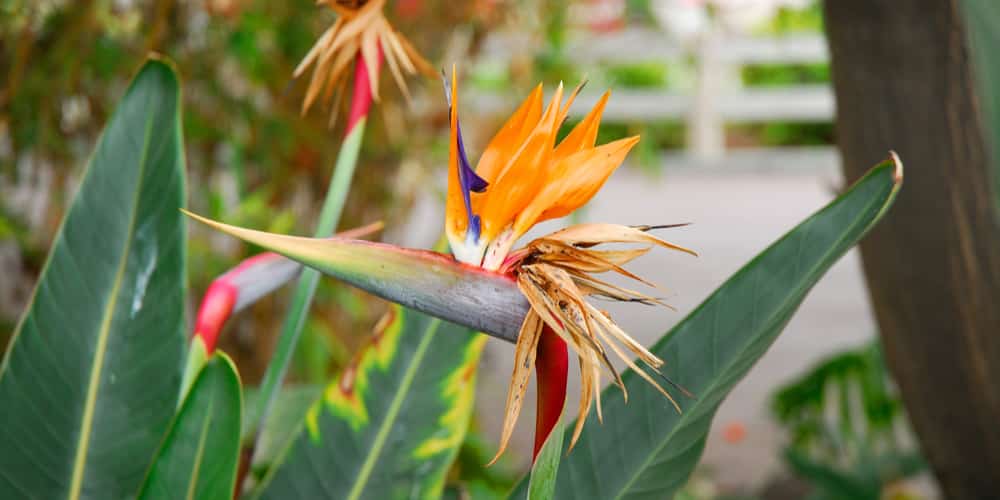
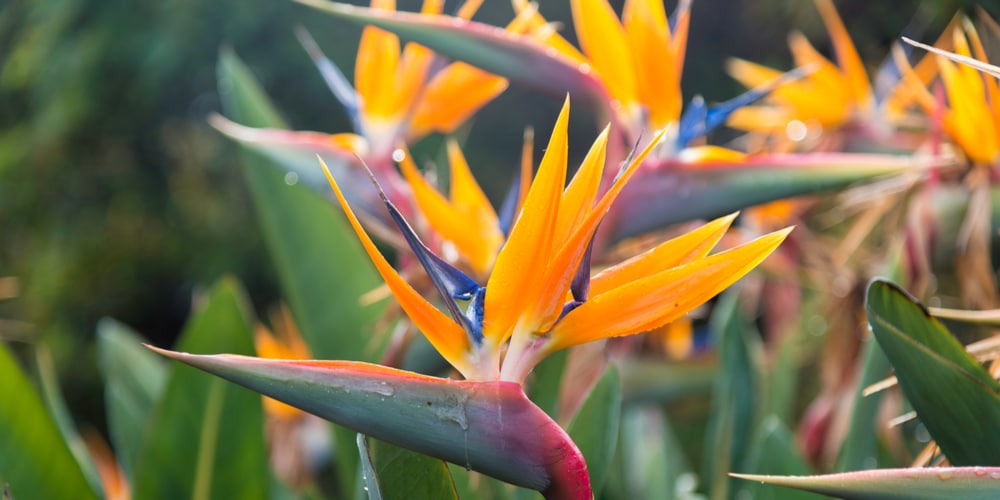
Having plants in your home can bring a sense of calm and serenity to your space and provide that extra pop of color, especially with plants like a bird of paradise. Depending on when you get your plant and its size, you may need to repot the lush greenery to keep it healthy. Read on to find out how to repot a bird of paradise and keep it alive for longer.
Repotting a Bird of Paradise
Generally, a bird of paradise should be repotted every two years, granting it has been taken care of properly in that time. There are several benefits to repotting indoor plants, including growth, boosting nutrients, and aerating new soil. Before you start the process of repotting your plant baby, assemble some basic tools and supplies, including:
- A new pot at least two inches bigger than the previous one
- A pair of pruning shears
- A bag of potting soil or compost mixture
- A tarp or a large floor covering
Step 1: Remove the Bird of Paradise Plant From the Old Pot
With all your supplies handy, take the base of your current pot in one hand and grab the base of the stalk of the bird of paradise with the other. Using a gentle motion, ease the plant out of the container. If the bird of paradise is too large, you may have to lean it on its side to achieve this.
Brush off any old soil debris without disturbing the roots unless they have become wound tightly together, then try to break them up slightly. Using the pruning shears now is the time to cut off any root pieces that look unhealthy.
Step 2: Add Soil to the New Pot
To the new pot, add potting mix until the soil has fully covered the bottom of the pot, continuing adding soil until it is about a quarter full from the bottom. The amount of soil you add depends on the size of your new pot, but generally, you should still be able to add the plant and have some space left at the top of the planter.
Step 3: Add the Bird of Paradise to the New Pot
Now you can add the bird of paradise plant to the new pot. If your greenery is too large to pick up by itself, you can slide it in on its side, making sure not to agitate the roots. Once upright, you can fill in the sides of the pot with potting soil. It’s best not to overpack it so that the plant has room to absorb water.
Step 4: Water the Bird of Paradise
Finally, you can add water to the new pot, letting it drain from the bottom into the saucer and then emptying it. Watering your bird of paradise is essential in repotting as it helps the plant adjust to its new home. After the repotting process, continue caring for your plant with a familiar watering routine and keep it in the same or similar location as before.
When Should I Repot a Bird of Paradise Plant?
Typically, a bird of paradise plant should be repotted every two years, though you may need to repot sooner if you notice that it isn’t responding to being watered or has started to outgrow its pot.
What Potting Soil Should I Use for a Bird of Paradise?
Any indoor potting mix available at your local garden center should be acceptable when potting a bird of paradise. Additives like perlite can help liven up the soil mixture, causing the plant to drain water which will help it dry and not become too soggy. In addition to choosing the correct soil, a bird of paradise plant thrives in plastic or ceramic planters, so choose pot types that retain water and won’t dry out.
Wrap Up
An orange bird of paradise is a beautiful plant that requires little maintenance, but every couple of years, you should repot it for continued growth and longevity. Be sure to supply fresh soil and ample water for the best results.