Daylilies can look pretty worn out by fall: yellowing leaves, empty flower stalks, and a tangle that seems to be asking for the shears.
But the best fall care starts with leaving healthy green leaves alone and removing what is truly finished.
A little selective cleanup, sensible watering, and well-timed division can help the clump head into winter in better shape. The trick is knowing which jobs matter now—and which should wait until spring.
1. Keep the Green Leaves—Clean Up What’s Finished
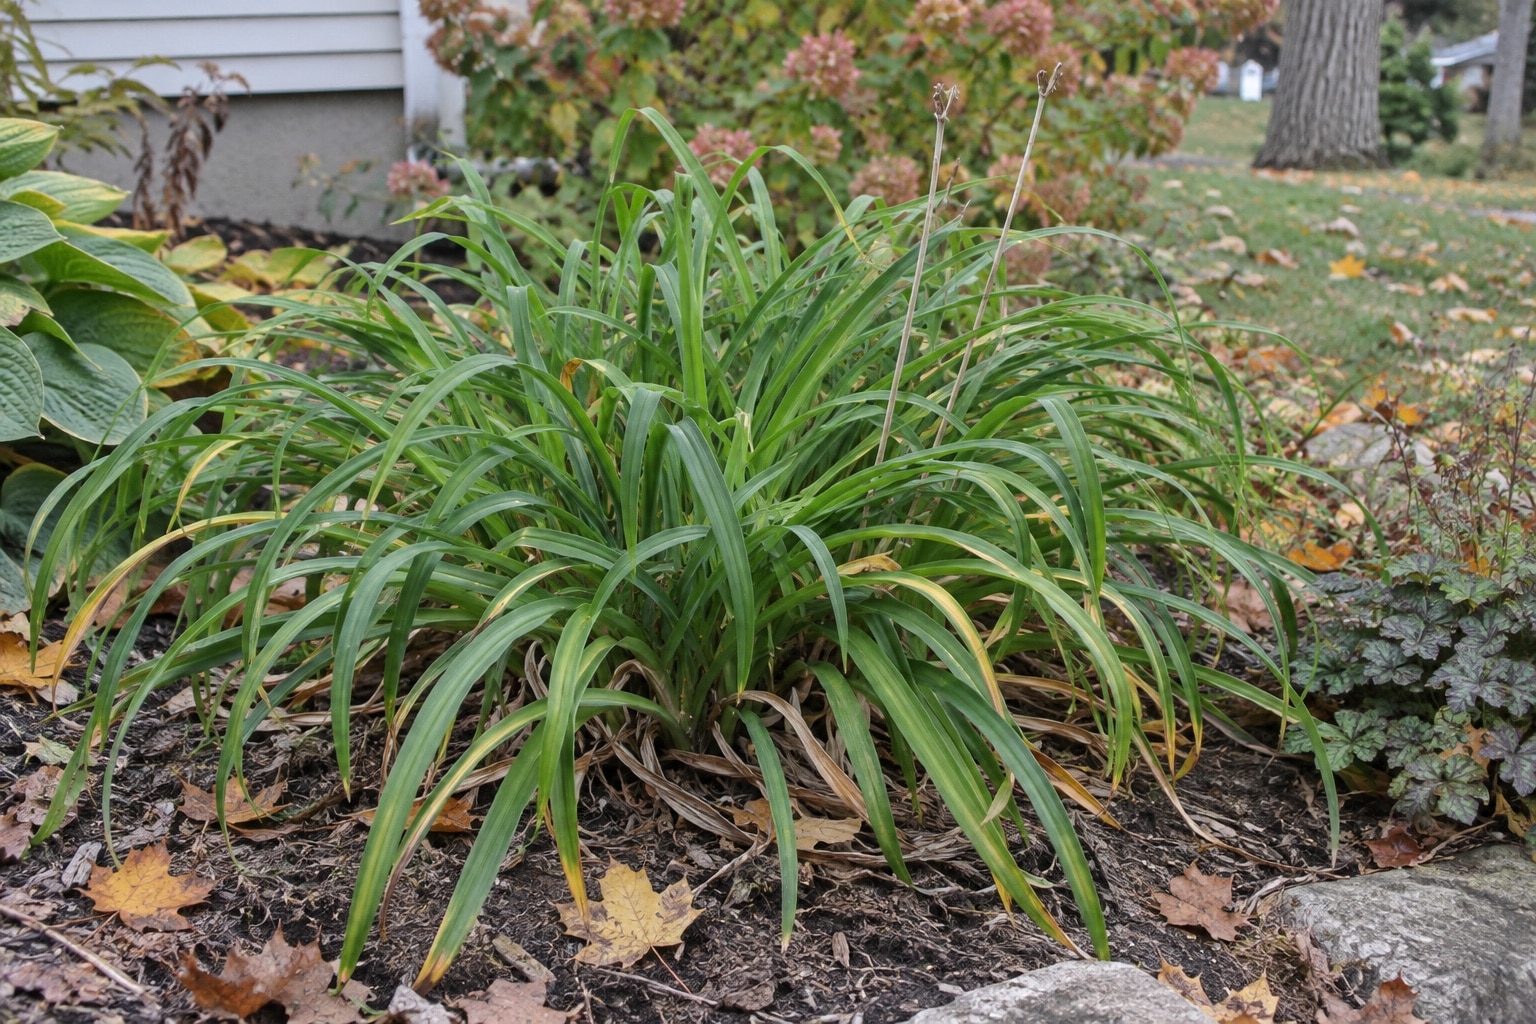
Do not give every daylily a haircut just because the calendar says fall. Green leaves are still photosynthesizing, helping the plant build reserves. A clump with healthy foliage does not need to be stripped bare to look tidy.
Daylilies also differ in their winter habits. Deciduous types lose their leaves as winter approaches; evergreen and semi-evergreen types can keep some foliage, especially in mild climates. Follow the plant’s condition, not a universal September or October deadline.
Remove fully brown, loose leaves and spent flower stalks carefully. Use clean, sharp tools for attached dead material rather than yanking against the crown—the growing point where leaves and roots meet. Leave any stalk that still carries developing flower buds.
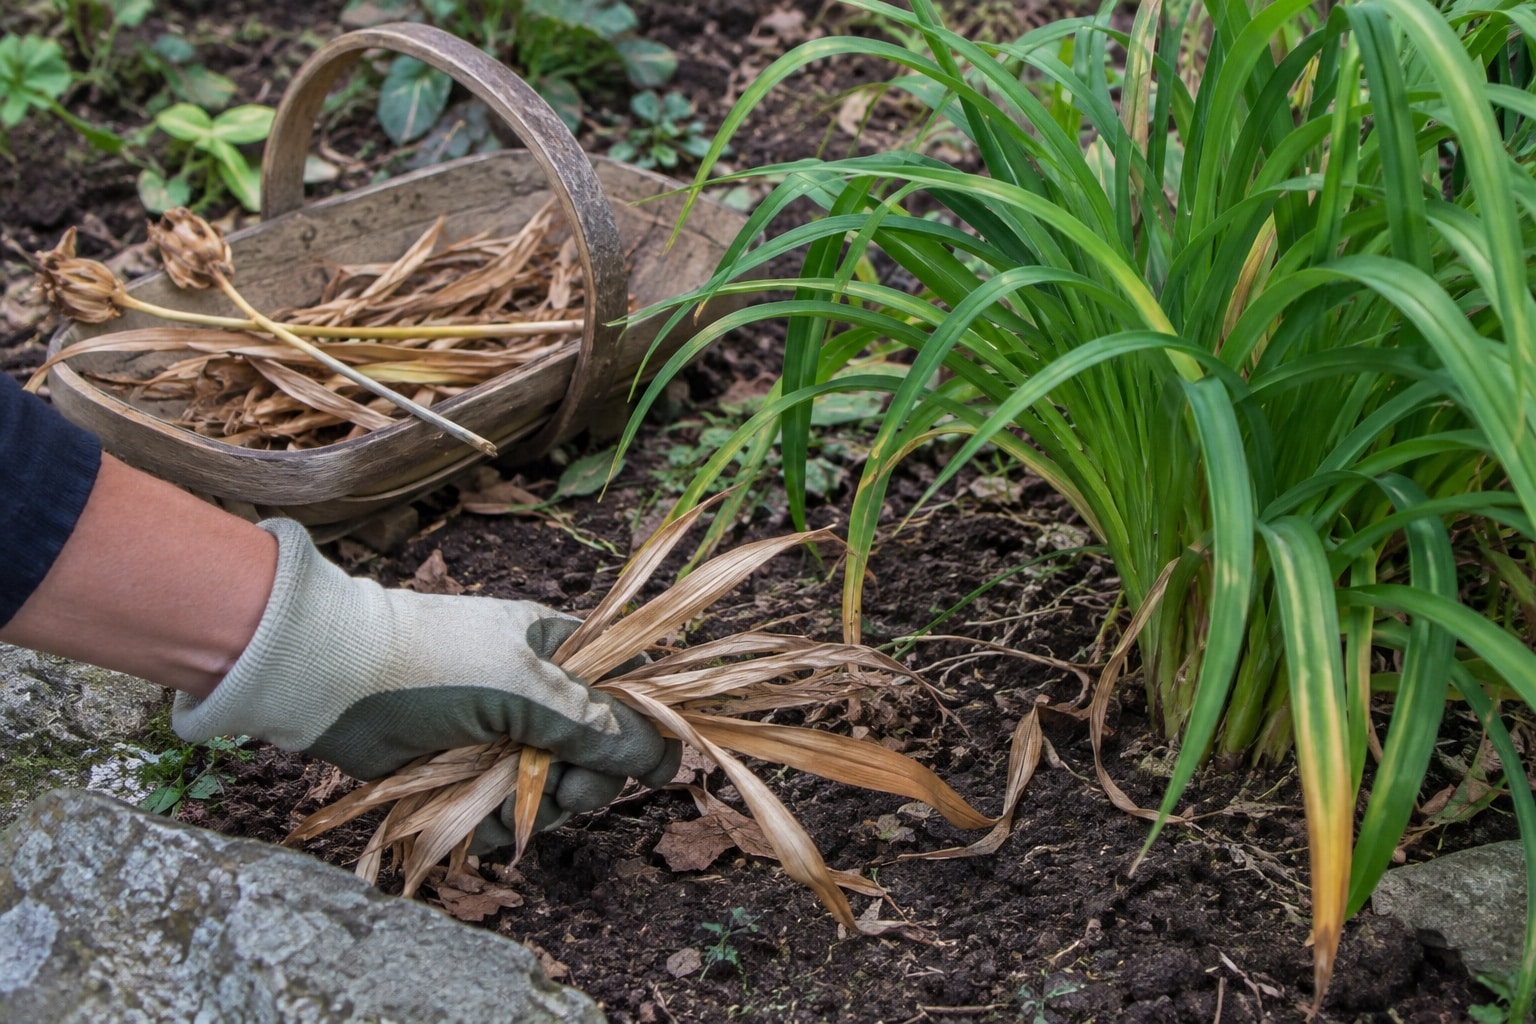
Once foliage has died back, trim away the dead growth without cutting into the crown or emerging shoots. For healthy plants, late-fall cleanup is an option, not a race: the Royal Horticultural Society also allows removal of old faded foliage in early spring.
A history of leaf disease changes the priority. University of Wisconsin Extension explains that the fungus causing daylily leaf streak survives in dead leaf debris. Removing that material in fall helps reduce a source of infection the following spring.
Do not assume that every yellow leaf is diseased. Leaf streak can produce yellowing along the midrib and reddish-brown spots, but symptoms overlap with other problems. Ask your local Extension office for help with unusual or persistent damage instead of diagnosing it from one photograph.
Keep suspect foliage out of an ordinary cool compost pile; use an appropriate local disposal route or a properly managed hot-composting process. Work when the leaves are dry, and avoid scattering infected trimmings through the bed.
Keep daylilies and their clippings away from cats. Hemerocallis can cause life-threatening kidney injury if eaten. If a cat may have chewed the plant or encountered its pollen, contact a veterinarian immediately; do not wait for symptoms.
2. Divide Crowded Clumps Only When the Timing Is Right
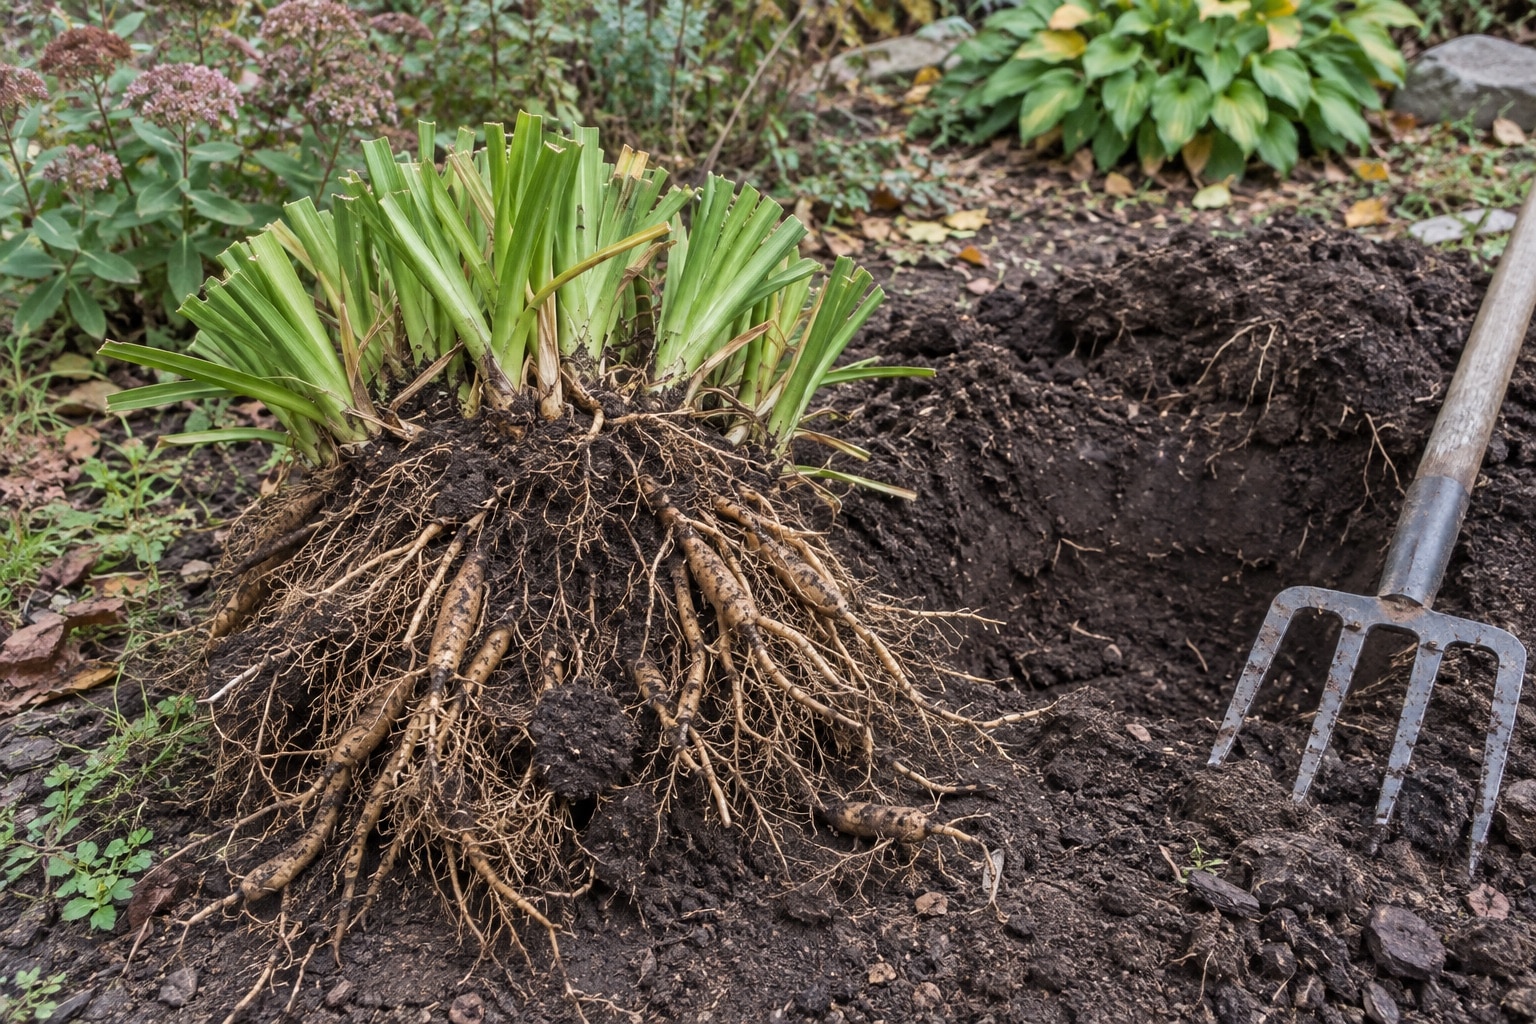
An established clump that flowered well this summer can usually stay put. Consider division when plants have become crowded, flowering has declined, or you want to make more plants. This is an occasional renovation job, not an annual fall requirement.
Fall division needs time for roots to establish before winter. University of Minnesota Extension gives a general window of four to six weeks before the ground freezes. That means sustained soil freezing—not simply the first chilly night or light frost.
The American Daylily Society generally favors spring planting in the North because late planting can leave roots poorly anchored. In the far South, early spring or very late fall may be better than hot, humid early-fall weather. Local conditions matter more than a date printed on a national checklist.
If your window is closing, label the crowded clump and divide it in spring. There is no prize for turning a healthy, established plant into a stressed new transplant just before winter.
When conditions are suitable, choose a cool, cloudy day. Water dry soil the day before, then dig around and lift the clump with a spade or fork. Loosen enough soil to see where the individual fans and their attached roots separate.
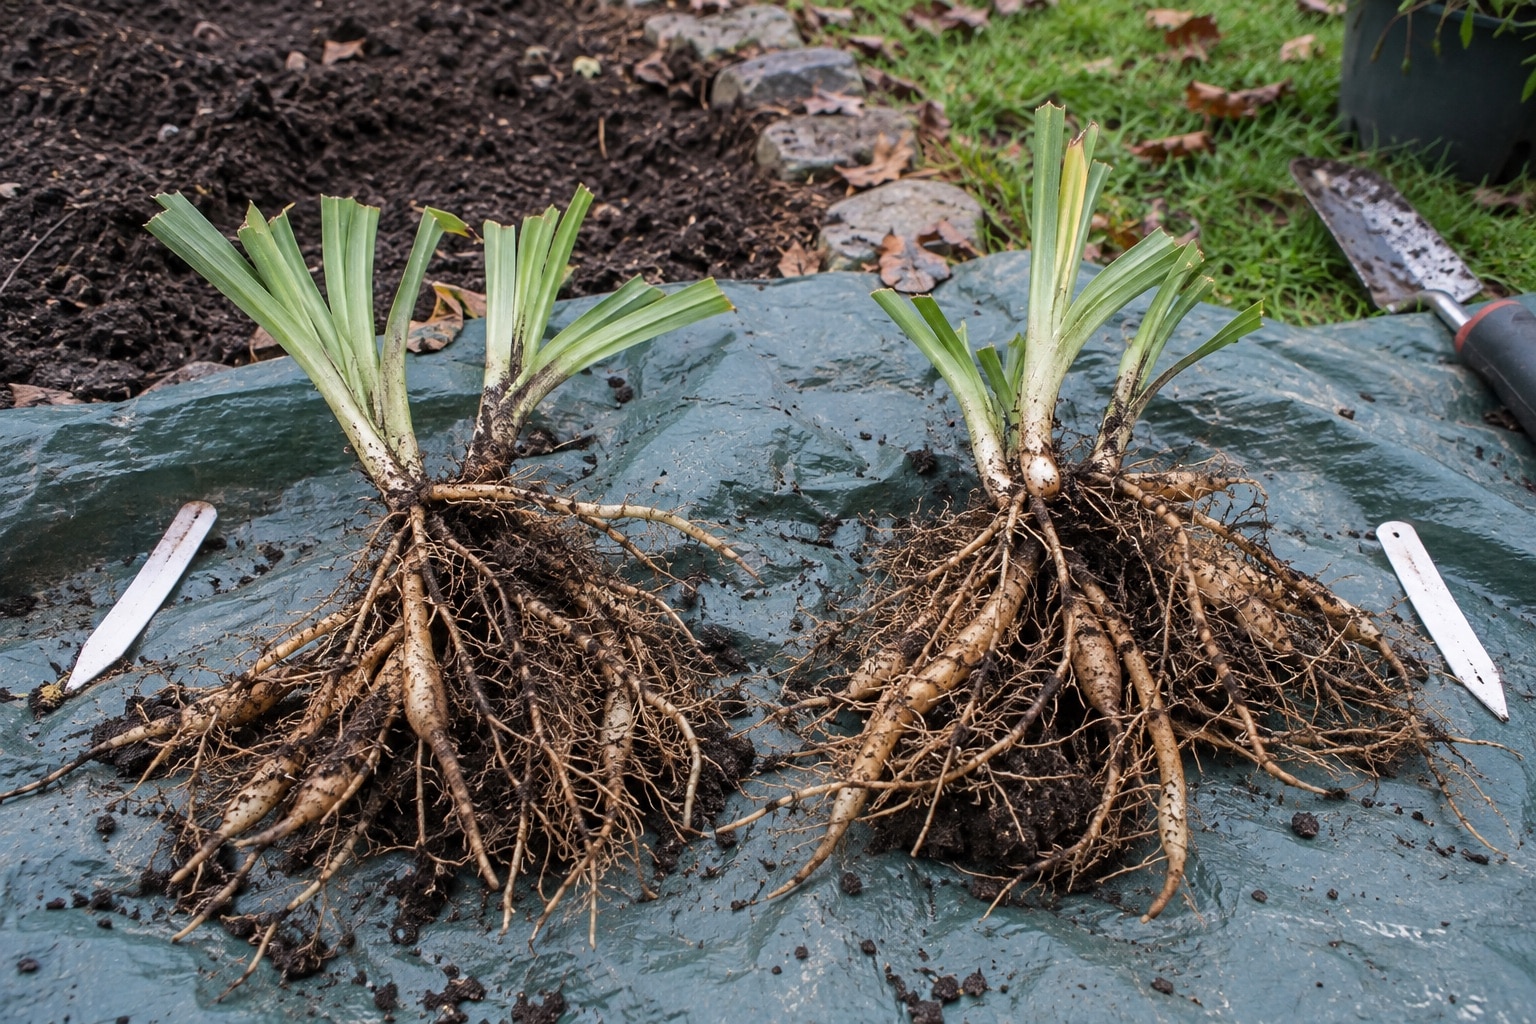
Separate the clump gently, using a clean, sharp knife where necessary. For a practical division, keep two or three healthy fans with a good supply of attached roots. Keep the roots shaded and moist while you work; do not leave divisions baking on a path.
Foliage on lifted divisions can be shortened to roughly 5–6 inches to make handling easier. That is a transplanting step, not a reason to shear every established clump in the border.
Replant in a sunny, well-drained site with room for the cultivar’s mature size. Spread the roots into a roomy hole and set the crown about 1 inch below the soil surface, then firm gently and water thoroughly. Do not bury the crown several inches deep.
Division can improve a crowded planting over time, but it does not guarantee a bigger show immediately. Recently divided plants may need a season to recover, and reduced flowering can also reflect shade or other growing conditions.
3. Water, Mulch, and Skip the Unnecessary Extras
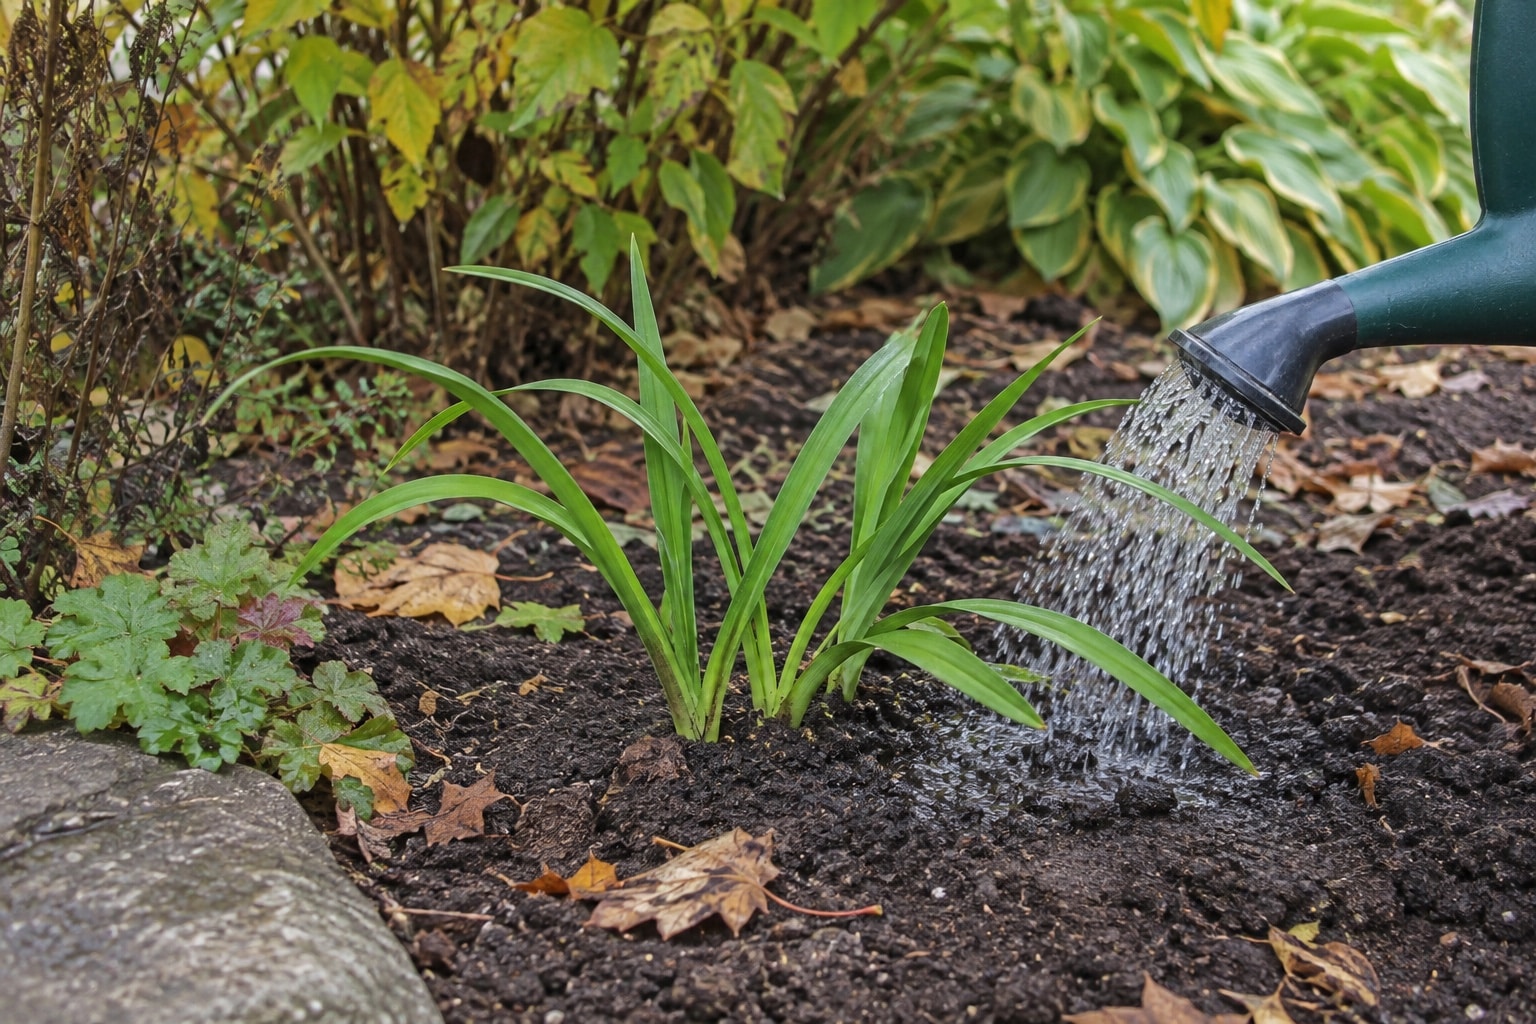
Autumn rain does not always reach the roots, especially beneath dense foliage. Check the soil before watering, and pay particular attention to new divisions. Water the root zone when it is drying out; skip irrigation when the ground is already moist.
Daylilies tolerate dry spells, but they perform best in moist, well-drained soil. The goal is even moisture, not a permanently soggy crown. Direct water onto the soil rather than repeatedly wetting the leaves, particularly where leaf streak has been a problem.
Pull weeds while they are easy to see. Grassy weeds tangled among daylily fans are much harder to remove once everything starts growing together in spring. Work gently around the crown rather than digging blindly through it.
Winter protection is most useful for new or recently divided plants. Iowa State Extension notes that most established daylilies need little winter protection, although cultivar hardiness matters. A plant that is unsuitable for your climate is not made reliably hardy by a bigger mulch pile.
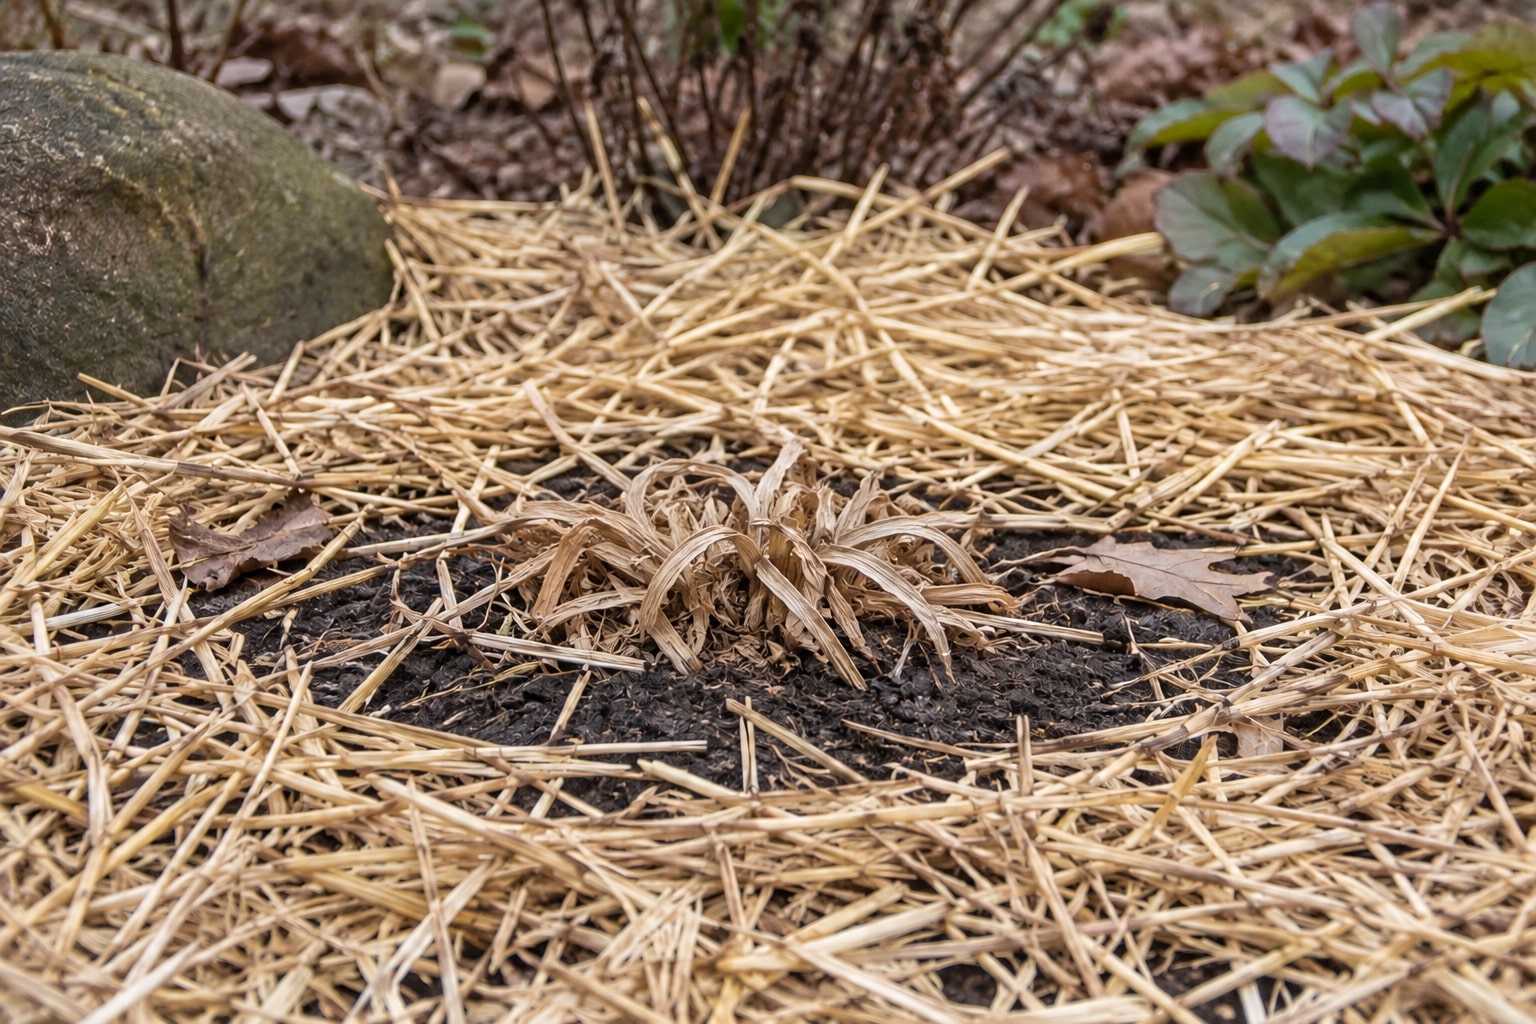
Distinguish ordinary bed mulch from an insulating winter cover. In cold-winter areas, wait until the soil begins to freeze before adding protective winter mulch. Minnesota Extension explains that covering too early can encourage growth beneath it and weaken plants.
Use a loose, airy material such as clean straw or shredded leaves where winter protection is needed, following local Extension guidance for depth. Avoid a wet, compacted mat over the crown. Loosen or remove the temporary winter cover as spring growth resumes; do not leave new shoots trapped beneath it.
Skip an automatic dose of “bloom booster.” Daylilies do not generally need heavy feeding, and a soil test is a better guide than an unhappy-looking autumn leaf. Where fertilizer is needed, spring feeding is a common recommendation; avoid treating normal seasonal dieback as a nutrient emergency.
Before you put the tools away, label any clump you intend to divide and note which plants flowered poorly. Next spring, those notes will tell you where to work—without making every healthy daylily start over.
References
- American Daylily Society — Daylily FAQs: foliage habits, planting, and care
- University of Minnesota Extension — Daylilies
- University of Minnesota Extension — How and When to Divide Perennials
- Royal Horticultural Society — How to Grow Hemerocallis
- Ask Extension — Hostas, Day Lilies, Grasses: When Best to Cut Back
- University of Wisconsin Extension — Daylily Leaf Streak
- Iowa State University Extension — Daylilies, RG 0303
- University of Minnesota Extension — Mulch Perennials and Bulbs After the Soil Freezes
- FDA — Lovely Lilies and Curious Cats: A Dangerous Combination