Rusty pruners can look ready for the trash long before they are actually worn out. Plain white vinegar can loosen surface rust on suitable bare-steel parts, making it easier to scrub away.
But the rescue is not finished when the orange coating disappears. Drying, lubrication, and a quick check of the cutting edge matter just as much.
Here is how to bring a neglected pair back into service without damaging the tool or overlooking a safety problem.
1. Check the Pruners Before You Reach for Vinegar
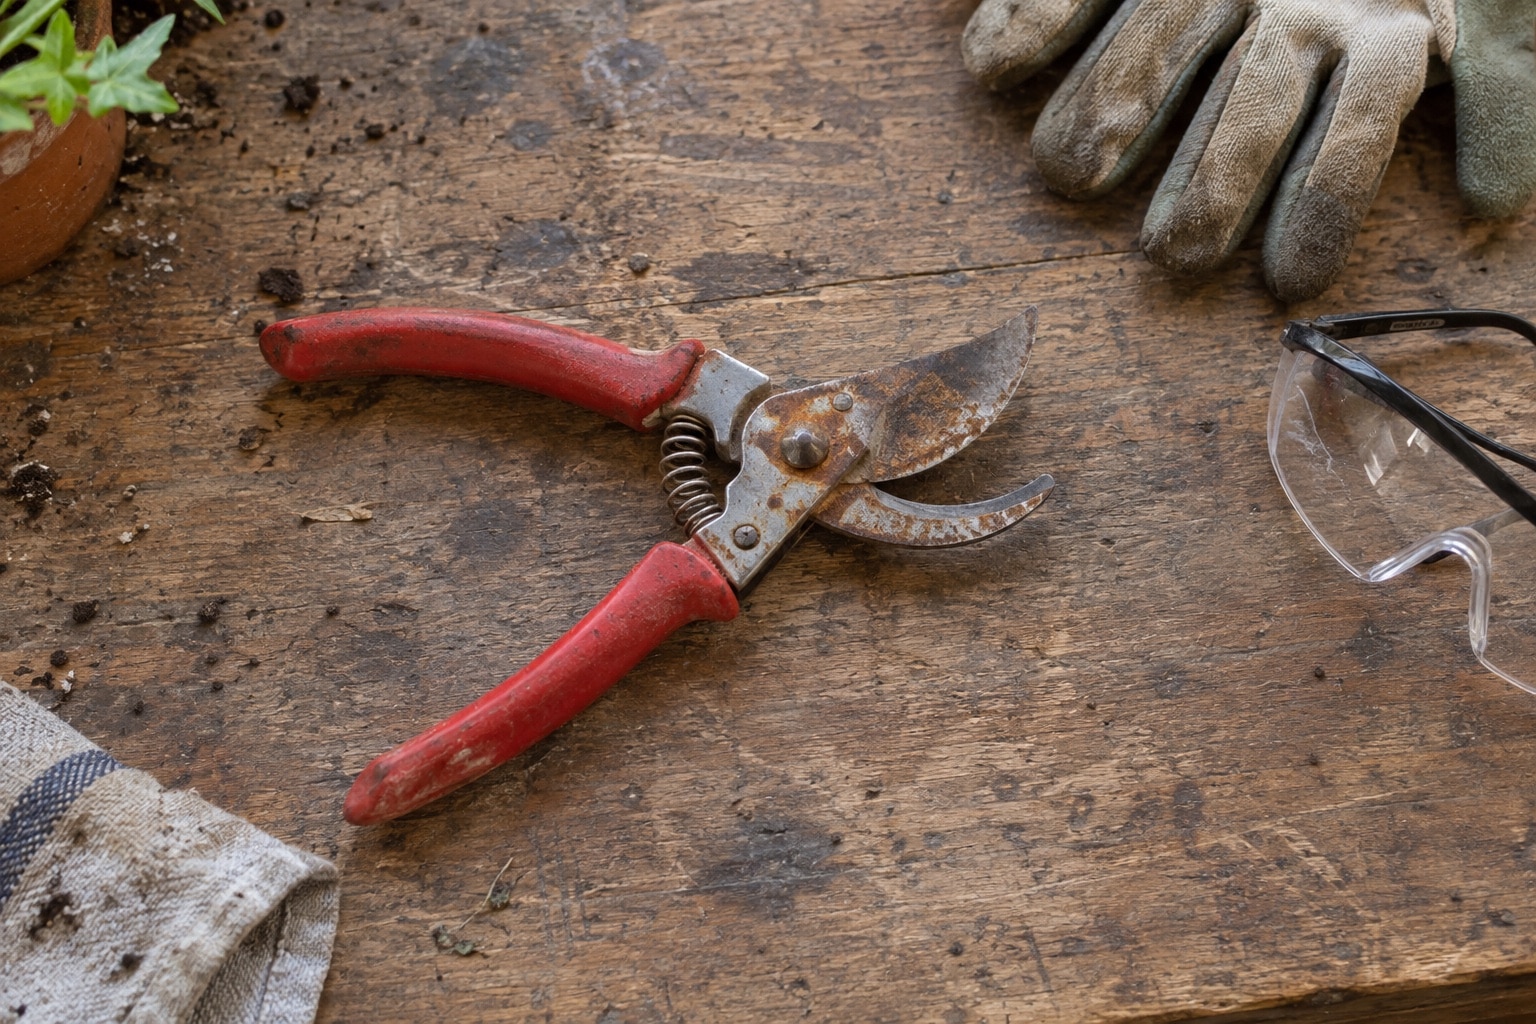
Start with the question that saves the most frustration: is this surface rust, or has corrosion damaged the tool? A rusty film on otherwise solid metal is a reasonable cleanup project. A cracked handle, deeply pitted cutting edge, broken lock, or badly damaged pivot needs repair or replacement.
Cleaning removes corrosion; it does not put missing metal back. If you cannot tell whether a damaged part is safe, ask the manufacturer or a tool-repair service. Many serviceable pruners have replaceable blades and springs, so one worn component does not always mean replacing the whole tool.
Check your model’s care instructions before choosing an abrasive or a soaking treatment. Some blades have protective coatings, and an assembled pruner can include aluminum, plated hardware, grips, and other materials that need different care. Do not assume that every metal-looking part is bare steel.
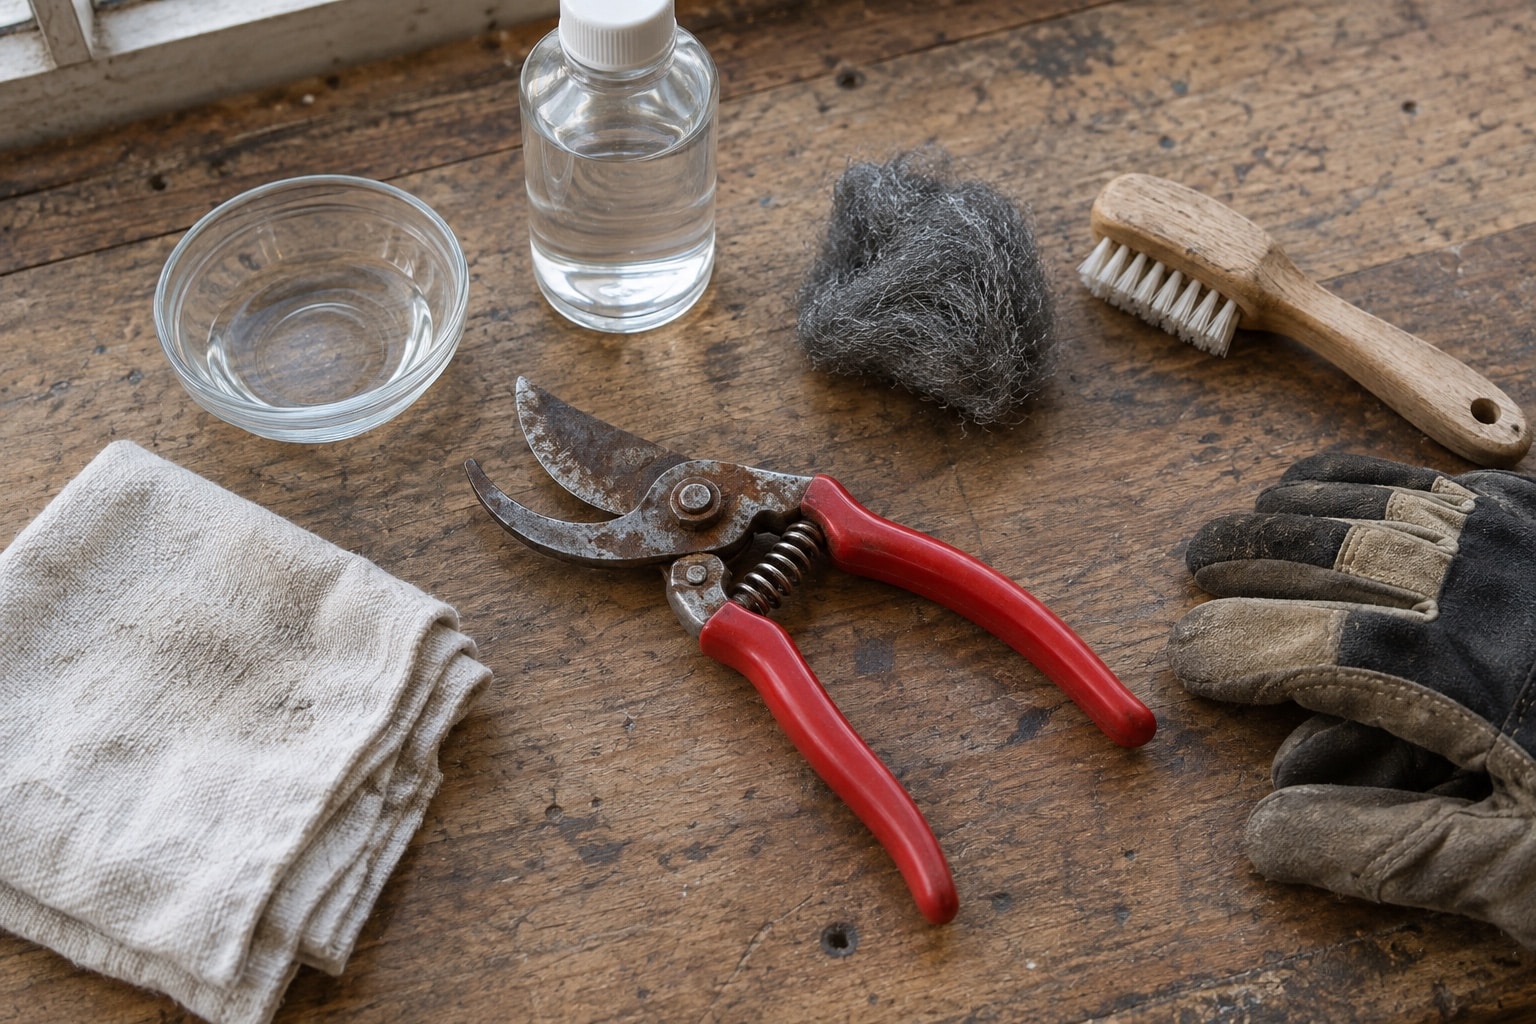
Gather a nylon brush, mild dish soap, clean cloths, protective gloves, and eye protection. For a compatible bare-steel blade, add ordinary distilled white vinegar labeled about 5% acidity, a glass or suitable plastic container, and a fine abrasive approved for the tool. Set out the recommended lubricant before starting.
Wash off dirt and plant residue first, then rinse and dry. Sticky sap and packed debris can make the action stiff even without much rust. Keep your fingers away from the cutting edge, and do not force a seized pair open.
FELCO’s maintenance guidance recommends a wire brush or rust eraser for a pruner left outdoors. For light rust, an approved mechanical cleanup may be all you need. If your manual rules out acid cleaners—or the materials are uncertain—skip the vinegar and follow that tool’s maintenance method.
2. Loosen the Rust, Scrub Gently, and Dry Immediately
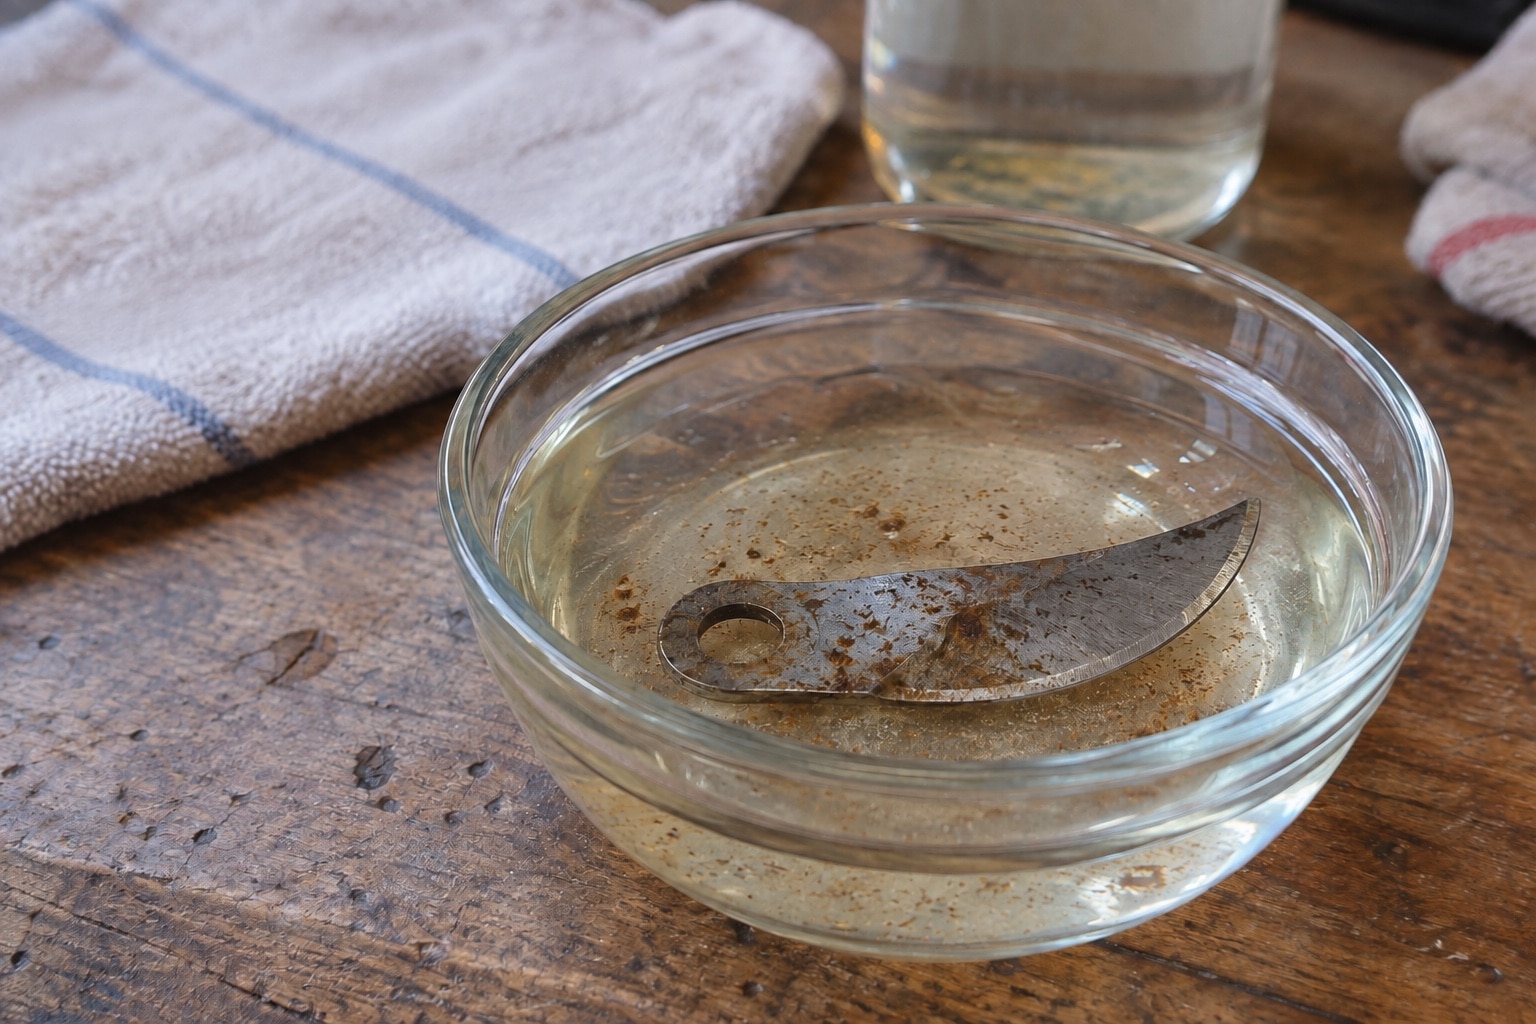
For suitable uncoated steel, the trick is a controlled vinegar soak followed by gentle scrubbing. The mild acetic acid helps loosen rust. University of Maine Extension documents this approach, and UC Master Gardeners describe soaking significant rust for a few hours to overnight, depending on need.
That is not a reason to submerge every pair overnight. Treat only compatible steel parts, keep handles and other materials out of the liquid, and check progress regularly. Use the shortest treatment that lets the rust come away; do not leave parts forgotten in the container for days.
If the maker provides disassembly instructions, remove the blade accordingly so you can treat it separately. Take a photo of the assembly and keep washers, screws, and springs in a small tray. Do not dismantle a riveted or unfamiliar mechanism by guesswork.
Put the compatible steel part in the container and cover it with vinegar. Work in a ventilated area where children and pets cannot reach the dish. Use household vinegar, not concentrated horticultural vinegar, and do not add other cleaners.
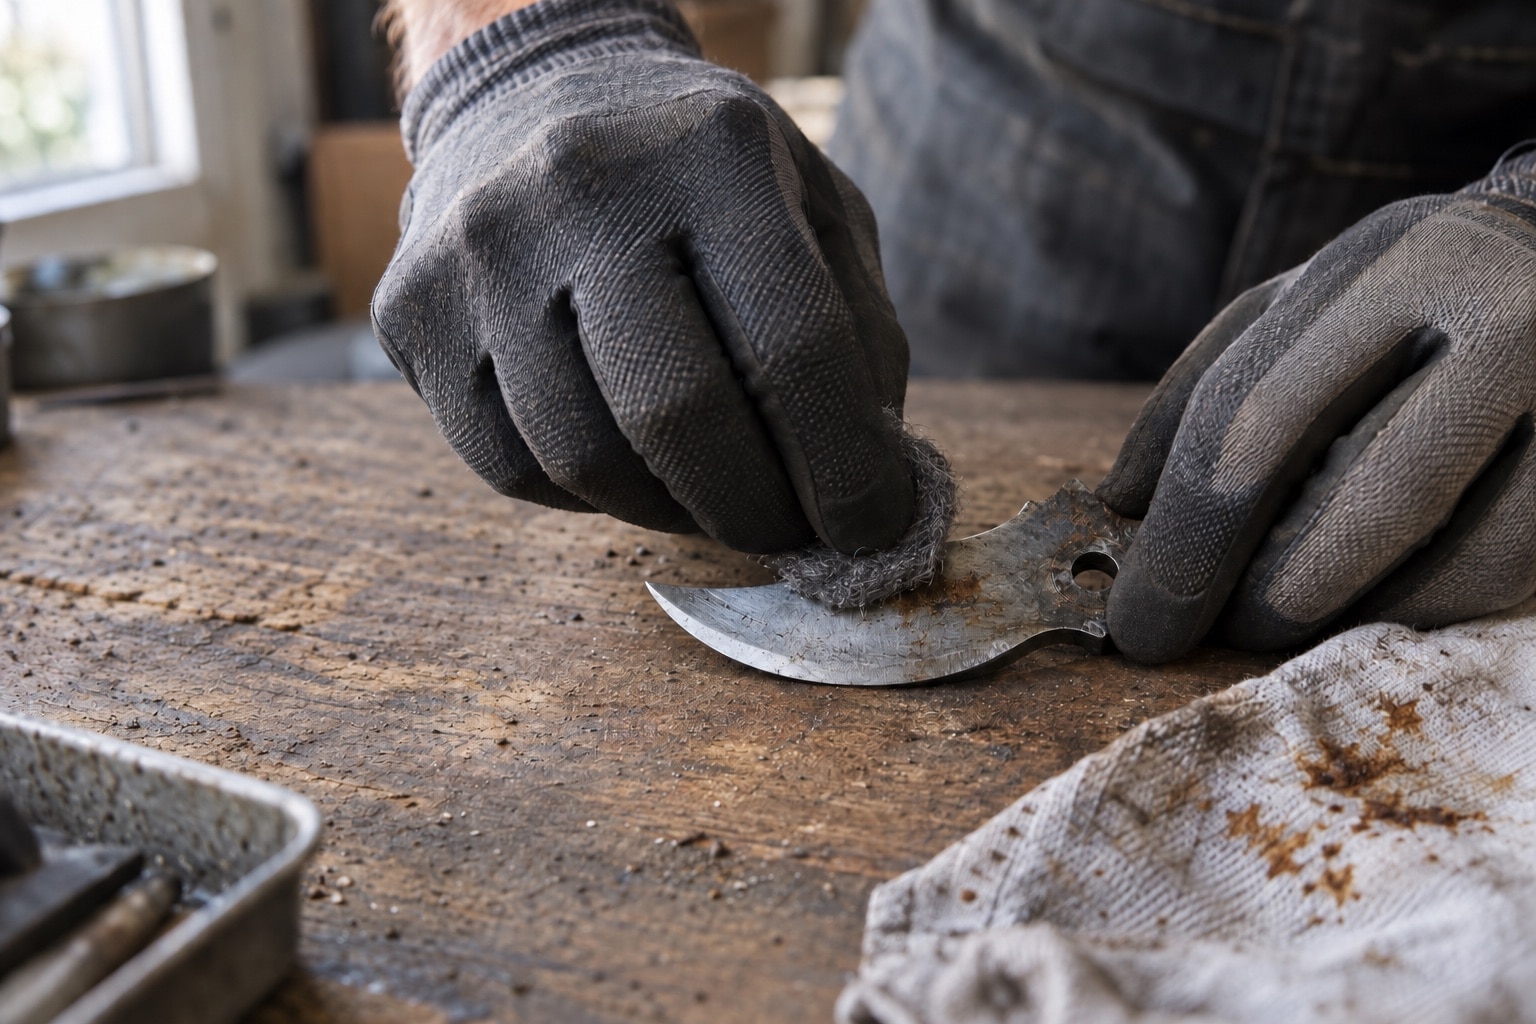
Lift the part out carefully and try a gentle scrub. UC Master Gardeners suggest very fine steel wool, such as 000 or 0000, for appropriate uncoated metal. Use a rust eraser or another manufacturer-approved abrasive when that is the better match.
Support the blade securely and work on its broad face without dragging fingers across the edge. Stop if the surface finish is being removed. A dark stain is not an invitation to keep grinding away sound metal until the blade looks brand-new.
Rinse away vinegar and loosened residue, then dry every part immediately and thoroughly. Pay attention to the pivot, screw holes, spring, and overlapping surfaces. A clean exterior can hide moisture in the joint.
Never mix vinegar with bleach. That combination releases dangerous chlorine gas. Rust removal and disinfecting are separate jobs; do not turn the soaking dish into a mixture of cleaning products. Poison Control explains the vinegar-and-bleach hazard.
3. Restore the Cut—and Stop the Rust From Returning
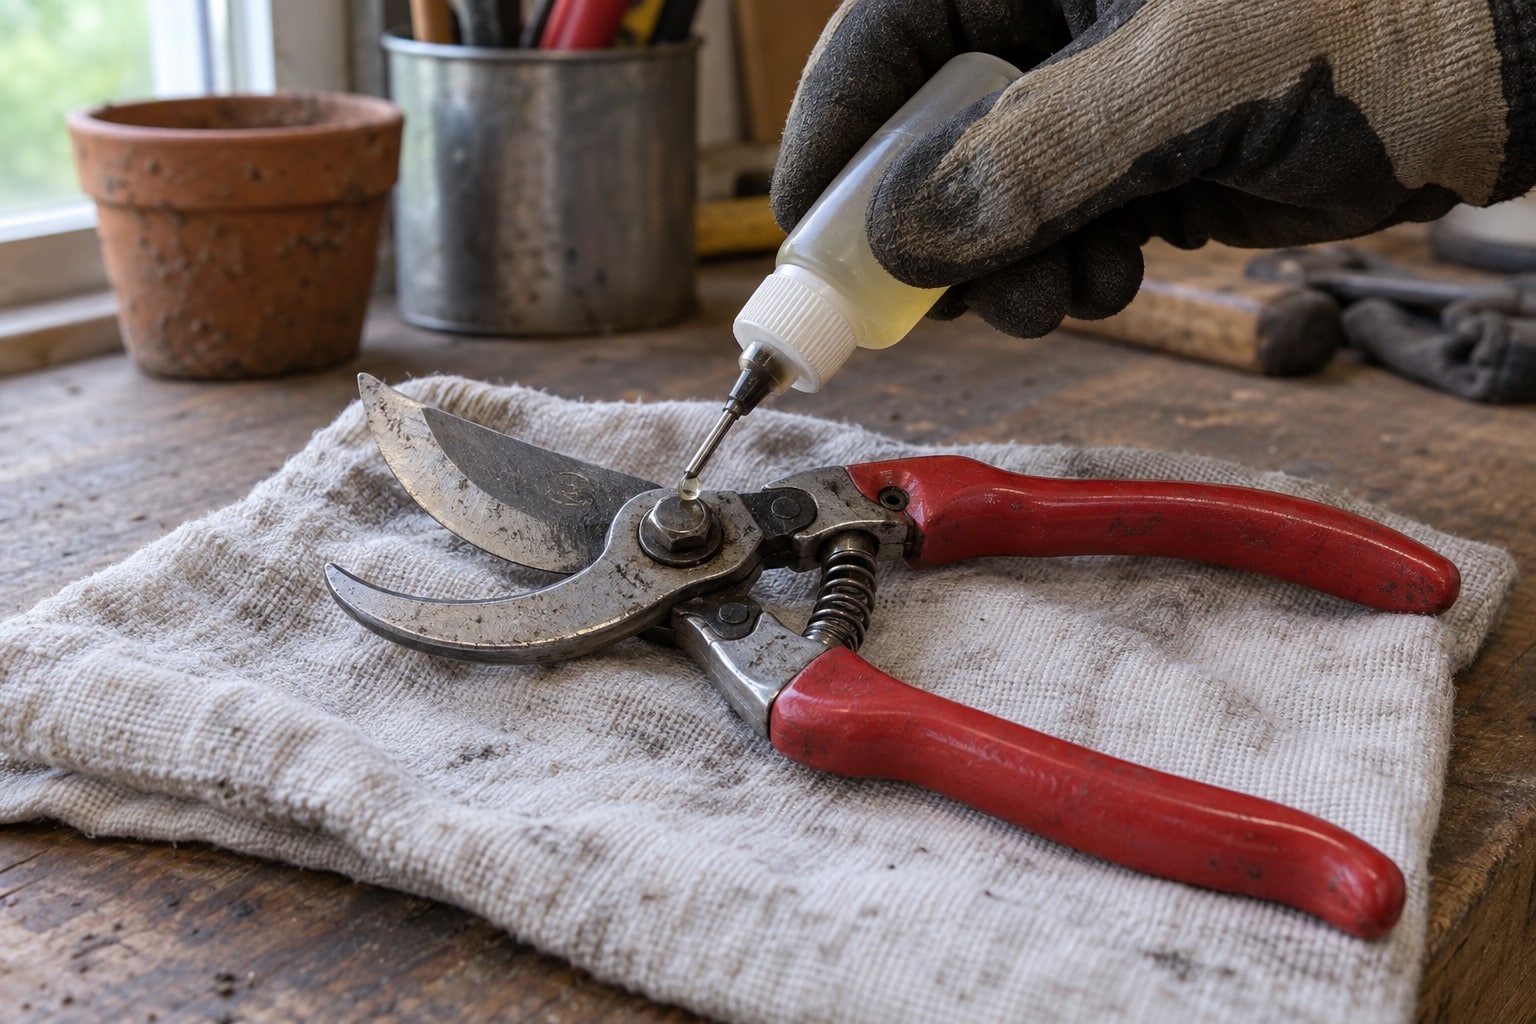
Once the parts are completely dry, lubricate and reassemble according to the manual. Use the maker’s recommended tool oil or grease where specified. A thin protective film on exposed steel and lubrication at the moving joints finish the job. Wipe off excess so the tool is not dripping.
Use a purpose-made maintenance product rather than guessing at a substitute. Keep oil off the grips so the tool remains easy to hold. Products differ, so follow the tool and lubricant labels, including instructions for storing or disposing of oily cloths.
Check the blade’s movement and alignment after reassembly. The pruners should open and close smoothly without excessive side-to-side play. Adjust the pivot as instructed; overtightening until the blades bind is not an improvement.
Rust removal does not sharpen a dull edge. If sharpening is needed, use the recommended sharpener and preserve the original bevel. Major chips or deep pitting may call for a replacement blade or professional service. Test on a small, suitable stem within the tool’s rated cutting capacity—not on wire or an oversized branch.
Clean-looking is not the same as disinfected. Plant pathogens can remain on tools even after visible grime is gone. Clean and disinfect cutting surfaces when moving from diseased plants to healthy ones, and follow local Extension advice for the disease involved.
University of Minnesota Extension lists 70% isopropyl alcohol as an option for cleaned hand-pruner blades, but notes that it may not effectively disinfect tools used on fire-blight-infected apple trees. Follow the appropriate disinfection directions; keep alcohol away from heat and flames. Do not combine it with the vinegar treatment.
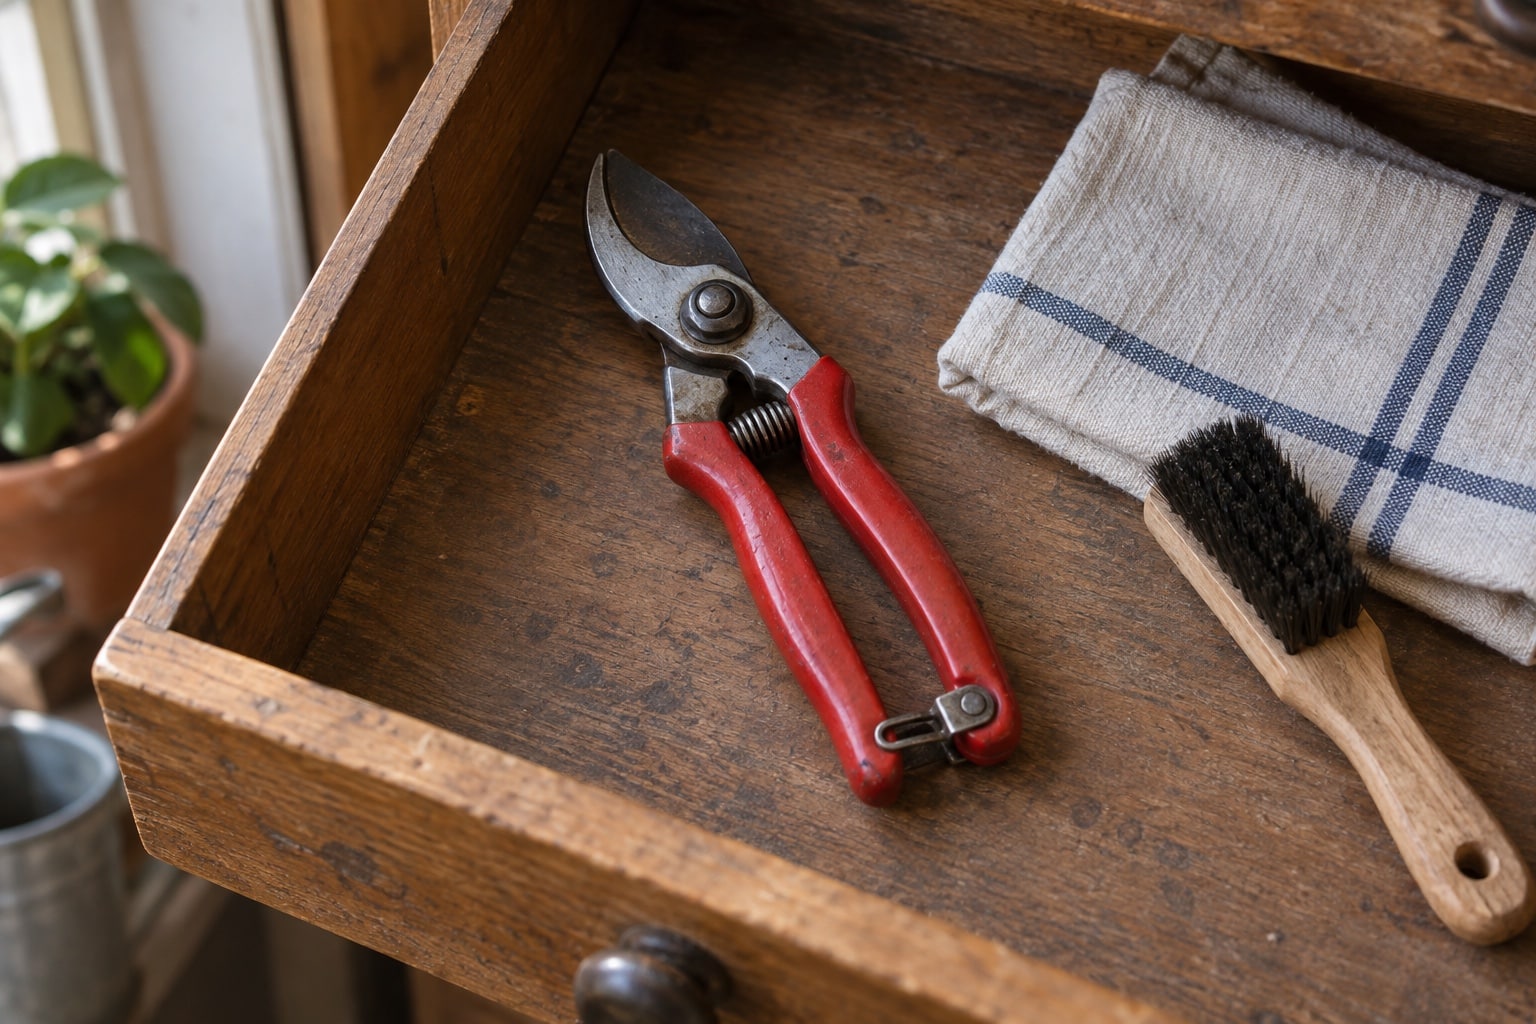
At the end of a pruning session, remove sap and debris, dry the tool, and maintain its protective oil film. Close and lock the blades for storage. Choose a dry location, not a damp pocket, a wet holster, or a bench exposed to rain.
Put a small brush and a dry cloth beside the place your pruners live. That simple setup makes the final cleanup easy to remember—and is a better long-term rescue plan than finding the tool under wet leaves next spring.
References
- FELCO North America — Pruner Maintenance FAQs
- UC Master Gardeners of San Diego County — Garden Tool Care
- University of Maine Cooperative Extension — Renovating Hopeless Tools
- Fiskars — Garden Tool Care
- University of Minnesota Extension — Clean and Disinfect Gardening Tools and Containers
- Poison Control — No, Vinegar Is Not Always Safe
- UC Master Gardeners of Solano County — Seeds for Thought, Winter 2022, Tool Care