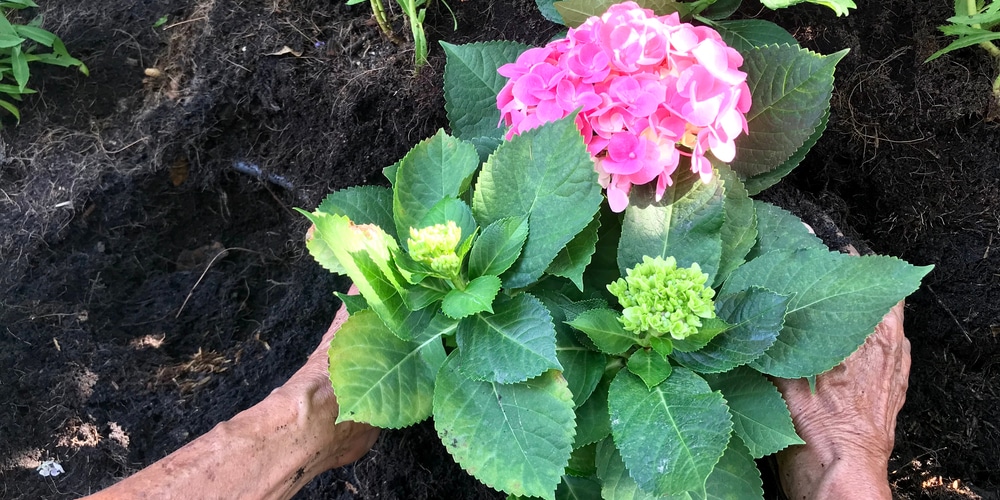
Hydrangeas are beautiful trees that add value to your property while also improving the appearance of your home. Depending on the species and soil pH, you may anticipate a wide range of hues, including vivid pink, lavender, and blue. This plant is simple to cultivate and adapts well to any type of soil.
But there might come a time when your hydrangeas will likely experience slow growth or fail to thrive in their present locations.
When Is The Best Time To Transplant Hydrangeas?
One of the most important things to consider when transplanting hydrangeas is the timing.
In regions with colder climates, the best time to transplant is November. The bush is dormant, but the soil isn’t yet completely frozen. This gives the roots a chance to establish themselves before winter arrives.
In regions where the ground does not freeze, you may transplant your hydrangea between December and February. This helps the plant to adjust to its new home before the summer months arrive.
Whichever transplanting timeframe you choose, be sure to water your hydrangea regularly during its first growing season in its new home to help it adjust to its new surroundings. With a bit of attention and care, your transplanted hydrangea will thrive in its new location.
How To Transplant Hydrangeas
Once you have chosen the best time to transplant your hydrangea, it’s time to move it. Here’s a step-by-step guide:
1) Prepare the new site.
Choose a location that receives at least four hours of sunlight daily and has well-draining soil. If you are unsure about the drainage, do a simple test by digging a hole in the proposed location. Fill it with water and see how long it takes for the water to drain.
If it drains within an hour, you’re good to go. If it takes longer, you may need to improve the drainage by adding organic matter such as compost or peat moss.
Remember that hydrangeas prefer soil with a pH of around 6.0 to 6.2. You can test the pH of your soil with a simple kit from your local nursery or garden center. If the pH is too high or low, you can adjust it by adding the appropriate amount of lime or sulfur.
Once you have prepared the new site, dig a hole twice as wide as the root ball but not deeper if you transplant more than one hydrangea. Space the holes at least six feet apart.
2) Dig up the plant.
Using a shovel, carefully dig around the root ball of your hydrangea, being careful not to damage the roots.
Start by digging a trench that is about 12 inches away from the base of the plant. Then, insert your shovel under the root ball and gently lift it.
If the plant is too big or heavy to lift, you can cut through the roots with a spade and dig under the root ball to loosen it before lifting it out of the ground.
Once you have removed the plant from its old location, wrap the root ball in burlap or an old sheet to keep the roots moist.
3) Transplant the plant.
Carefully lower the root ball into the prepared hole and backfill with soil, careful not to compact it too much.
Water thoroughly and add a layer of mulch around the base of the plant to help retain moisture.
4) Add fertilizer and mulch.
After you have transplanted your hydrangea, giving it a little extra boost with some fertilizer is essential. Choose a fertilizer that is high in phosphorus, which will encourage blooming.
A layer of mulch around the base of the plant will also help retain moisture and keep the roots cool. Organic materials such as wood chips, bark, or leaves can be used. Or you can use inorganic materials such as gravel or stones. Just be sure to keep the mulch about two inches away from the base of the plant to prevent rot.
Indoor Hydrangeas
If you have hydrangeas indoors, the best time to transplant them is spring, after the last frost.
When ready to move your plant outdoors, start by acclimating it to the new environment. This process slowly introduces the plant to its new surroundings and helps to reduce transplant shock.
To acclimate your hydrangea, place it in a shady spot outdoors for two to three hours the first day. Then, increase the time it spends each day outdoors until it can tolerate being in direct sunlight.
Once your plant has acclimated to its new environment, you can transplant it into a sunny spot in your garden. Be sure to water it regularly and fertilize it according to the package directions.
Best time to transplant hydrangea: Conclusion
Transplanting hydrangeas is a relatively straightforward process, but choosing the right time of year and taking care of your plant during the transition is essential. By following these simple tips, you can enjoy beautiful blooms for years.
Related Article: How to Plant Hydrangeas in Texas, Little Lime Hydrangea Companions

