Pea gravel, when used in patios or walks, can be prone to shifting. If you do not care for your path with regular sweeping and cleanings, it may become more susceptible to shifting, which makes stabilizing pea gravel highly important.
You can help prevent the stones from migrating by using a stabilizing agent such as epoxy resin, cement, plaster, or polyurethane.
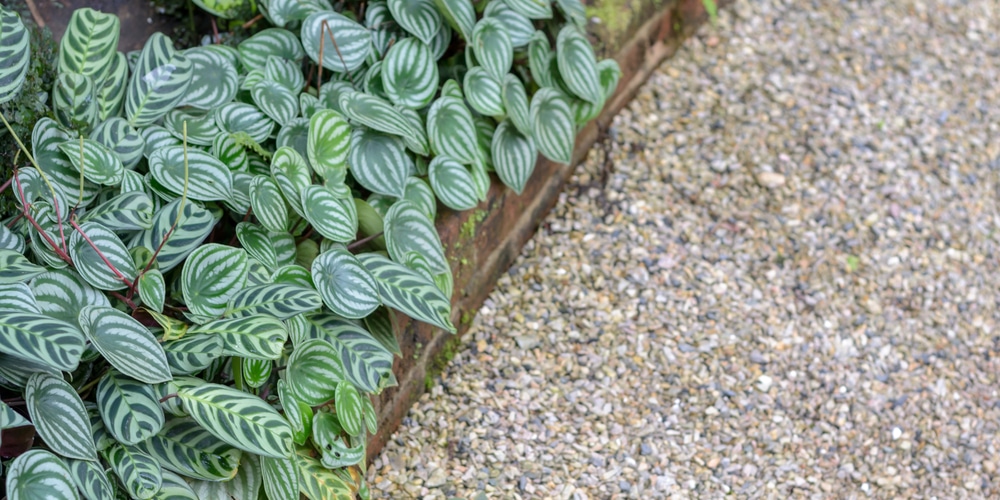
Installing a curb along the edges may also help reduce the volume of puddle formation and stop the stones from shifting in high traffic areas; this, however, is not entirely necessary. Let’s look at stabilizing pea gravel on a new patio or path and also on an existing walkway.
How to Install a New Pea Gravel Patio or Path

There are many different types of gravels on the market today that can be used for driveways, paths, and patios. Using pea gravel in your projects is a great way to add some color when landscaping with natural stone products. Follow the steps below to create a stable path or patio with pea gravel.
1. Excavation
Excavate to a depth of 6 inches, adding more soil as necessary to bring the subgrade up to the proper height.
2. Level the area
The second step in stabilizing pea gravel is to level the area.
Level and compact the sub-grade material, if necessary, using a roller. You can also tamp the ground to flatten it, using a hand tamper.
3. Add coarse base rock
You can then add a 2-inch layer of coarse base rock or pour in a layer of concrete and let it set slightly before adding the gravel. If you’re using larger gravel as a base, you’ll need to ensure it’s compacted before laying the pea gravel.
4. Lay weed control fabric
Lay weed control fabric over the entire area that you are planning on building your path or patio on top of. This is needed to hold the pea gravel in place and to prevent grass and weeds from growing up through it.
5. Spread the pea gravel
Rake or drag your gravel down and spread it out over the concrete. Make your finished layer of pea gravel about 3 inches thick. This will create less pressure, when you walk on it and help, prevent stones from shifting if you are using pea gravel for a patio.
6. Compact the gravel
The most important step in stabilizing pea gravel is compacting it.
Use a compactor or roller to compact the pea gravel after you spread it out. If the gravel is slippery, you can add in some stone dust or sand to help with stabilization.
7. Add edging
Add your edging and sweep away the excess pea gravel to make it level with the stones this will keep your edging in place, and if you add a curb around the edge of your path or patio then it will also help prevent high volumes of water from puddling when it rains.
How to stabilize existing pea gravel
If you’ve already had pea gravel installed and don’t have a layer of base rock under the gravel, you may notice more movement or that the gravel often becomes slippery. You can stabilize your patio or path by raking or sweeping the pea gravel so that it’s flat again. Then go over the area with a roller to compact it. Finally, sweep in some stone dust or sand to further compact the area.
For extra stability, you can add a layer of polyurethane solution or an epoxy coating. It’s particularly important to stabilize patios and high-traffic walkways. Using a coating will mean that individual pieces of gravel are less likely to move due to bad weather or heavy foot traffic.
The binding solution should be layed by following the manufacturer’s instructions which can be found on the label. You can either pour or sprinkle the product on top of your pea gravel.
Conclusion
Pea gravel is a great way to add color to your garden or landscape. If you are using pea gravel in high traffic areas, it’s best to stabilize it using cement, epoxy resin, plaster, or polyurethane. This will help create a stable surface when walking over it, and it will also help keep weeds and grass from growing up between the spaces in your pea gravel.
If you periodically sweep out your path or patio, then you will be able to keep it looking pristine and new.