Pumpkins are a delicious and versatile fall vegetable that can be used in sweet and savory dishes. If you’re planning to grow pumpkins this year, you may be wonder what stages of growth the plants will go through. Pumpkins can be added to vegetable curries, eaten as a side dish, or used to make pumpkin pie. They can also be carved for Halloween!
Pumpkins can be grown across America as the plants can cope with the variations in climate. If you’re to have a bountiful pumpkin harvest, it’s wise to do your research before planting pumpkin seeds. Let’s look at the pumpkin growth stages.
Pumpkin Growth Stages
Your pumpkins will go through three key growth stages before they mature, and you’re able to eat your pumpkins. These are known as the starter stage when the seeds are planted, the growth stage, and finally harvesting in the fall. Let’s look at each of the pumpkin growth stages in more detail.
1. The Starter Stage
The best way to grow pumpkins is from a seed that can be planted in the spring. You can also buy young pumpkin plants for a garden center if you’d prefer. Most people find that it’s more fulfilling growing pumpkins from seed. If you start your pumpkins off correctly, the plants will flourish and grow vigorous vines, which will produce giant pumpkins in the fall.
Pumpkin seeds can be planted directly into the ground in the early spring after the last frost has thawed. Don’t plant your seeds too early, or they will be exposed to frost, making the seeds prone to rotting, which will kill the plants. It’s best not to plant your pumpkin seeds until the soil temperature is above 75 degrees F.
Many people build raised beds to grow their pumpkins as the soil will warm up quicker. Raised beds also provide protection for the young pumpkin plants as well as more efficient drainage and fewer issues with pests and weeds.
Pumpkin seeds should be planted one inch deep and about five feet apart. They require daily watering. It can take up to ten days for the seeds to germinate and sprouts to appear.
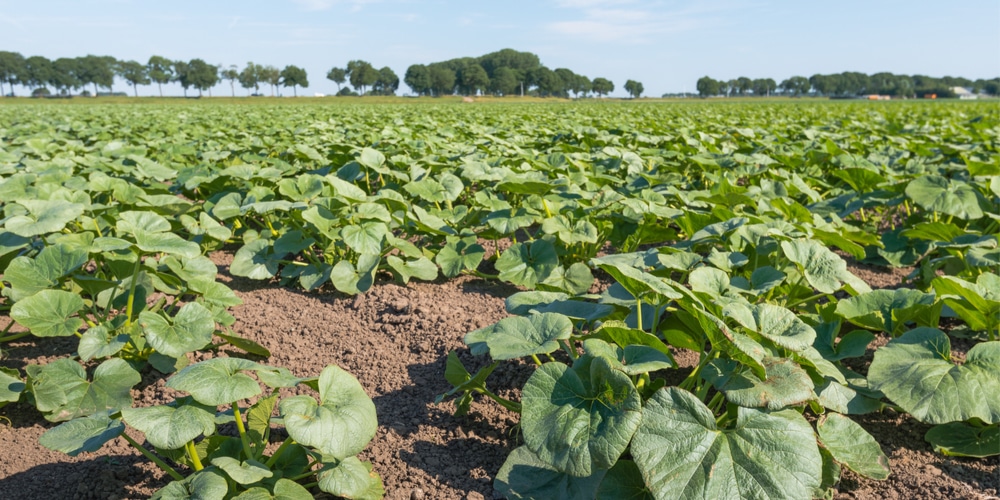
2. The Growth Stage
In the second stage of a pumpkins development, the young sprouts will begin to grow. Your pumpkin plant will have a small stems and two round leaves with jagged leaves. These are the first growth leaves and look different from the plant’s real leaves as they are greener. After a week, additional leaves will begin to grow. Once the plant’s real leaves have developed, the pumpkins plants are considered seedlings.
Need help with when to plant pumpkins?
Your seedlings will continue to grow taller and then begin developing vines. These vines will grow sideways and are very fast growing. It’s common for pumpkin vines to grow as much as five inches a day. Your pumpkin vines will then develop flowers that bees will pollinate. You may need to manually pollinate the flowers if there aren’t many pollinators in your neighborhood.
As your pumpkin seedlings grow, you’ll need to care for them correctly. Water daily and add mulch around the plant’s base once the vines start to grow. This will help to reduce evaporation and keep moisture in the soil. Be very careful when handling pumpkin vines as they are very delicate. Avoid damaging the vines as this will affect the pumpkins yield and the quality of the pumpkins.
It’s also a good idea to provide your growing pumpkin plant with the correct nutrients. This can be done by adding fertilizer to the ground. In the initial stages of growth, you can give your pumpkin plants a fertilizer that contains a lot of nitrogen. Begin feeding the young plants when they are about a foot high. You can also give your pumpkins a fertilizer containing phosphorus when they develop flowers.
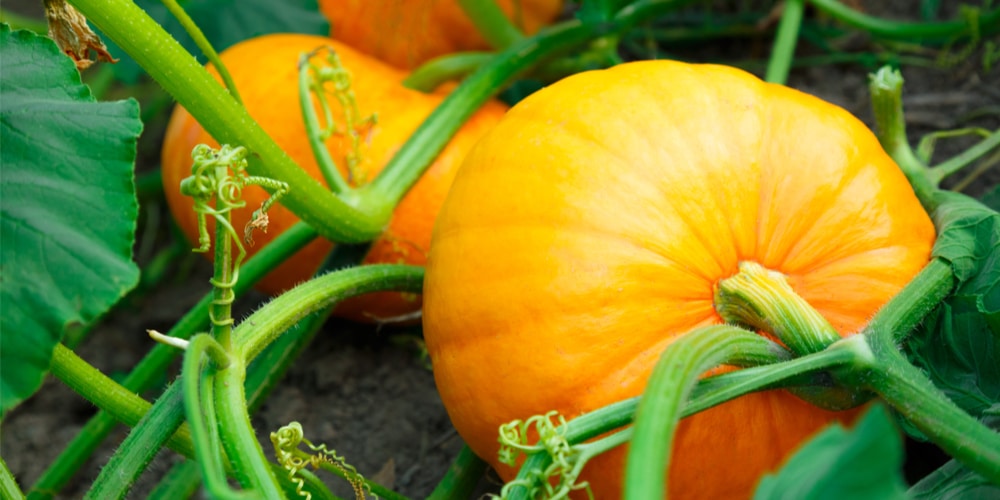
When your pumpkin plants begin to produce fruits on their vines, you can feed them with manure. This will ensure your plants have the correct nutrients to develop and mature. You can also prune the vines once the fruit has formed. This will ensure the plant focuses on growing the pumpkins rather than developing longer vines. It’s also a good idea to turn the pumpkin fruit every now and again to avoid rot. Be very careful that you don’t damage the vine when moving the fruit.
3. Harvesting Your Pumpkins
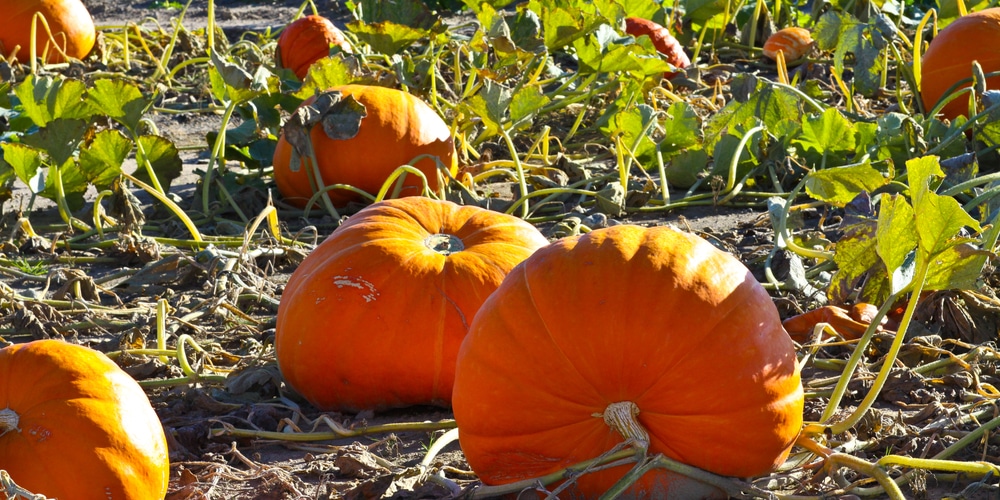
The last stage in pumpkin growth is the harvest stage. All you’ll need to do for this stage is allow your pumpkins to mature so that they can be harvested. People often harvest their pumpkins before they have had a chance to grow and ripen fully. It would help if you didn’t harvest the pumpkins until their vines start to die. This is an indication that the fruit is ready.
Another way to check whether your pumpkins are ripe is to tap the rind to see if it sounds hollow. If they, do you can harvest your pumpkins. It’s also worth noting that each pumpkin will ripen in its own time, so if there is more than one pumpkin on the same vine, they may not be ripe at the same time. It’s vital to check each pumpkin to determine whether it’s ripe before harvest. Don’t just check a couple and then harvest them all at the same time.
After harvesting your pumpkins, you can leave them sitting in the sun for between five and seven days. This allows them to cure, and they can then be stored in a cool, dry place. Pumpkins that are stored correctly can be kept for weeks or even months.
Conclusion
Pumpkins go through three growth stages and should be well cared for so that they can produce a good crop of fruit. It’s crucial to handle young pumpkin plants and vines carefully as they are very delicate. Pumpkins can be planted in the early spring directly into the ground. They can be harvested in the fall and stored throughout the winter. Your pumpkins will likely be ready around Halloween, when they can be carved to make a lantern. You can add pumpkin to soups, curries, and other savory dishes or even make an iconic pumpkin pie!