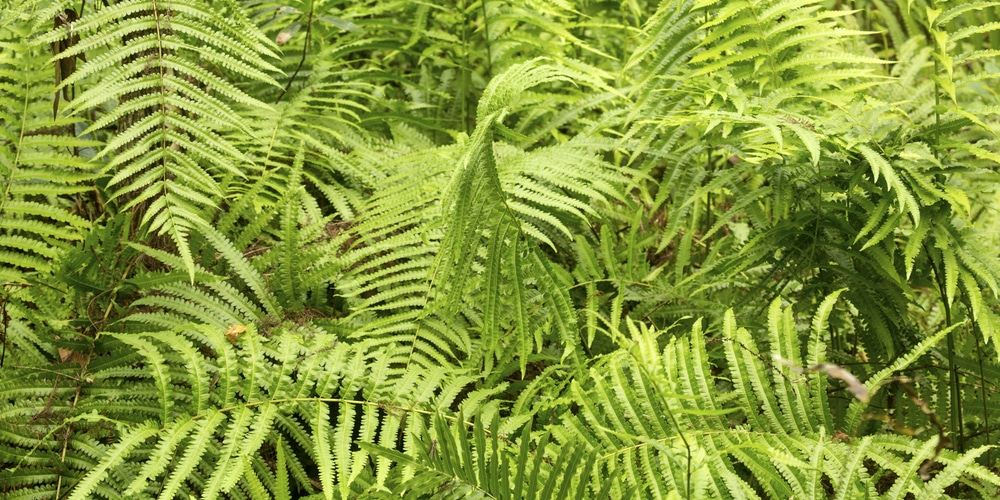
Ferns are beautiful plants in their own right, but sometimes they spring up in places you don’t want or spread through spores in cooler weather. Once you’ve decided that you don’t want them around, follow our step-by-step guide on how to remove ferns.
Why Remove Ferns in Your Garden or Yard?

Ferns can get in the way of plants you’d actually like to grow in your yard. In some instances, you could be dealing with an invasive species and want to clear them out of your garden.
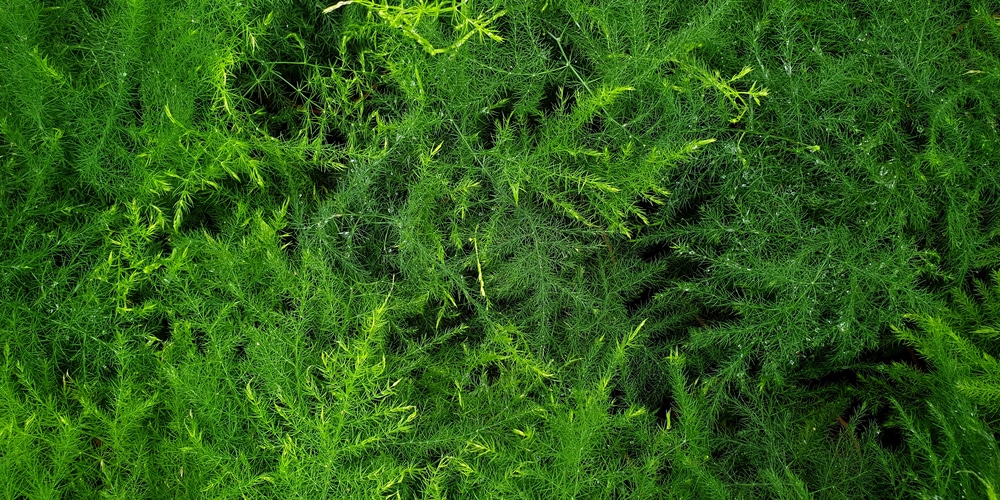
Some, such as the sword fern and bracken fern pose headaches as they can quickly overtake your yard. These plants can also take away nutrients in the soil, thus you should get rid of ferns before they spread aggressively.
Guide on How to Kill Ferns
Step 1. Destroy the Foliage
When dealing with ferns you’ll likely need an herbicide. While there are plenty of herbicide solutions on the market, you can use some of the ingredients that you already have in your home.
Pouring boiling water on ferns is arguably the simplest and most cost-effective solution available to you. Applied liberally, hot water will kill the surface leaves and the root system. Best of all, it won’t leave a harmful residue on the soil and serves as an organic alternative to chemical herbicides.
A kettle or two of boiling water should be enough to kill medium to large fern plants. A single application will give you immediate results- the fronds will have wilted and the roots scorched. Be careful when boiling and handling the kettle or pot as you might get burned when the liquid spills.
Alternatively, you can use pure white vinegar to kill the foliage and roots. Load up a gallon of vinegar and spray thoroughly on the leaves and soil. You will need to wear protective gloves and glasses as they can irritate the eyes and skin.
Step 2. Remove the Dead Material
After a few days and several applications of your chosen herbicide, you’ll have killed the unwanted ferns. The fronds will have wilted and turned brown or yellow, and there shouldn’t be any new growth.
Loosen the soil around the plant’s base using a shovel or a hoe. Dig a shallow trench until you see the roots of the fern, e.g., about a foot or two and depending on the species. Then, get a firm grasp on the fern’s trunk and pull firmly using both hands. The dead plant should come off the ground easily.
You may need to reapply vinegar or boiling water if you see signs of life. Dig a bit further to remove stubborn ferns with extensive root systems.
Step 3. Dig Up the Root Ball
To permanently get rid of the fern plants you will have to dig up all of their roots. Again, you’ll need to use the shovel or hoe and dig a bit deeper.
It’s recommended that you don’t dig straight down- assume the root ball’s diameter and create a curve to get all the roots. You may want to moisten the soil first so you can dig easier, or wait until the weather is just right (not too cold nor too hot) to complete this task.
Put all the debris in a designated spot so you can clean it up later. Also, it’s advisable that you dispose of the soil that contains the roots and rhizomes so there’s no chance of the fern coming back again.
Step 4. Clean Up
Once all the fern plants have been dug up, fill the hole with potting soil and turn your attention to the plant debris. The ferns’ leaves, roots, and stems will have to be disposed of immediately so spores won’t escape and make their way back to your yard.
You can collect all the debris and put them in a plastic bag. You can also use this time to inspect your yard and pick up dead leaves, branches, and trash and do a bit of tidying up.
After a few days, go back to the place where you found the fern and check for any signs of regrowth. Spores may be carried to nearby spots, so make sure to check the surrounding soil as well. For peace of mind, you can pour a gallon of boiling water in the same spot to kill any residue.
Related Article: How to Plant Ferns?