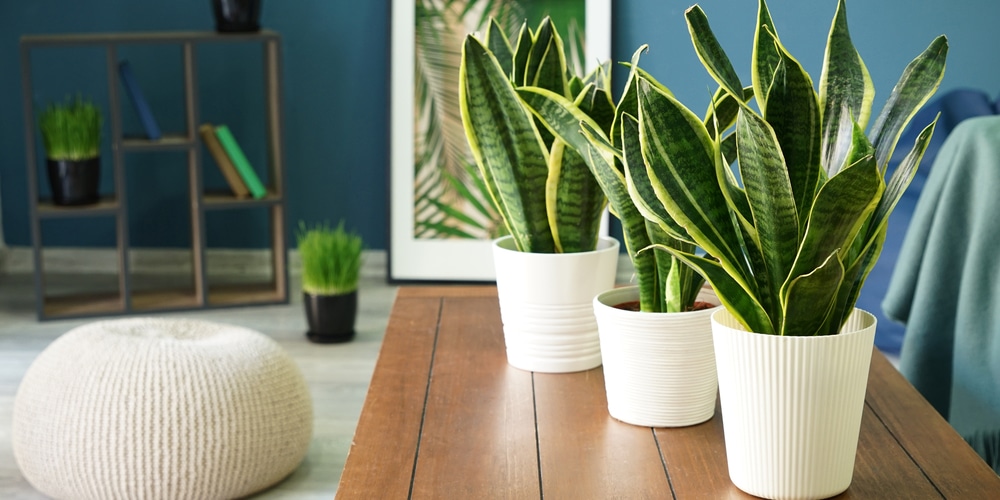
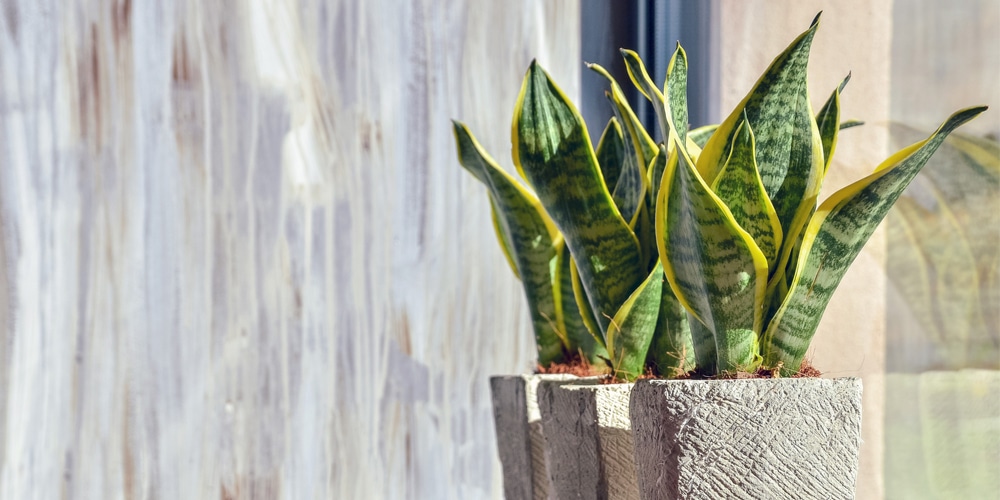
Snake plants are popular houseplants that are known for their ability to thrive in any environment. Sansevieria trifasciata, or ‘mother in law’s tongue’ have that distinctive sword-like foliage and are likely to survive even if you neglect them.
As time passes and your snake plant shows signs of being root bound, you may need to move them to a bigger pot. Here’s a simple step by step guide to transplanting a snake plant.
How to Repot a Snake Plant
Step 1. Prepare the New Pot and Soil
The first thing you’ll want to do when repotting a snake plant is to procure the necessary materials. This includes a new and bigger-sized pot, as well as a new soil mix you can use to fill up the container.
As a general rule, you’ll want to transplant your snake plant to a pot that’s one size larger than the current container. For instance, you can prepare an 8-inch pot if your snake plant is sitting in a 6-inch pot.
You may also want to get something that’s wider to prevent your plant from falling over since the foliage can become top-heavy.
Snake plants require a medium that has excellent draining capabilities or else they will develop root rot. Make sure that the pot has adequate drainage holes as well.
Garden soil should work, but it’s recommended that you amend with sand and gravel. Otherwise, a succulent potting mix will be just fine on its own.
Fill the new pot with soil about one-third full, then proceed to the next step.
Step 2. Carefully Remove the Snake Plant From the Old Pot
For this step, you’ll want to handle your snake plant as gently as possible to avoid damaging it. It helps if you would water the plant thoroughly first so it comes off the container easily.
Lay out several newspapers on the ground to catch the snake plant. Then, tip the pot over and slide out the snake plant.
Place your hand in support at the mouth of the pot and catch the plant as it falls out. It may not fall through completely, so it’s recommended that you give the container a solid thump to get it unstuck.
Step 3. Divide, Repot, or Transplant
Much of the work you’ll be doing in transplanting a snake plant will be in this step. At this point, you can choose to propagate your snake plants via division or replant the entire thing, roots and all into a new container.
If the snake plant is root bound, then you can loosen up the soil attached to the root ball. Using a sharp knife or garden shears, you can cut away outlying sections that form the pot shape.
You can divide your snake plant into sections by separating as much soil within the roots, then locating ‘pups’ or smaller versions of the plant.
These offshoots are connected to the parent plant via thick and white, L-shaped roots that are known as rhizomes. Cut off the connection while making sure that the offshoots have some of the roots.
Before transplanting, it’s best to cut away any brown or rotted roots, as well as undesirable leaves. The snake plant should be transplanted in the same depth as it was in the original container. Fill the pot and the rest of its space with soil, then water well.
You can do the same with offshoots or the divided snake plants by following steps 1 and 3.
Caring for a Snake Plant Afterwards
To prevent your newly-transplanted snake plant from being stressed or experiencing shock you should place it first in a location that gets bright and indirect light.
Let it stay there for a few days up to a week so the snake plant can acclimate to its new pot and soil. It’s recommended that you don’t fertilize it for a month so it won’t be susceptible to root burn. At this time, hold off on the watering and count several more days before you water when the top inch of the soil is dry.
Remember that snake plants do not need frequent irrigation, and they can usually survive a once-a-month watering. After a week or so you can now put the snake plant in its original location.
Related article: Snake Plant Wilting