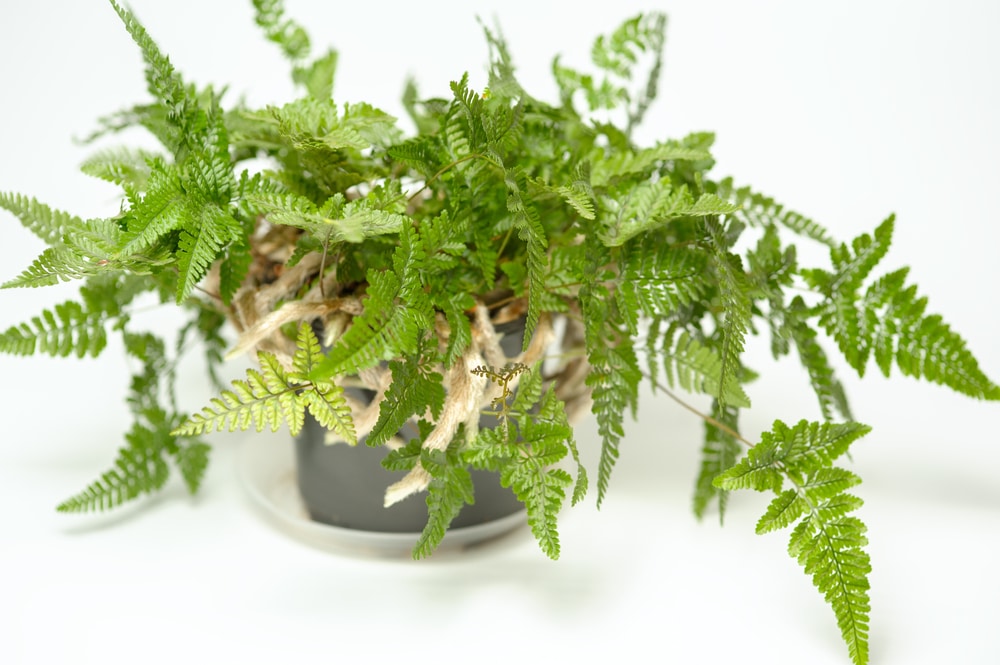
Rabbit foot fern is a tropical-looking plant that can spice up any indoor space. While these plants aren’t particularly challenging to grow, they require you to pay attention to their needs.
Native to Fiji, these plants need plenty of indirect light and constant temperatures to stay happy. Fulfilling these requirements (among others) will allow you to get the most out of your fern. And if you want to enjoy it in several places in your house, you won’t have to buy more plants.
Indeed, you will be able to get plenty of “sons” by propagating your plant. But do you want to learn the best ways to propagate rabbit foot fern? You will find all you need to know on this topic in this essential guide! Keep reading if you want to get our tips!
How to Propagate Rabbit Foot Fern
So, you got your rabbit foot fern. But what if you want more than one plant in your house? You must propagate it, as there is no need to buy more specimens! Luckily, there are various ways you can get more plants from a parent. For instance, you can do so by division and from rhizome cuttings or by planting spores.
Propagating Rabbit Foot Fern By Division
Propagation by division is arguably the easiest method to get more rabbit foot ferns. To do so, you must carefully dig your plant out of the soil and divide the root ball into the section.
Ensure you avoid stressing your ferns too much: the roots are one of the most sensitive parts of any plant. To get better results, divide your ferns in the spring when your plants emerge from the dormancy period.
However, avoid waiting for the temperatures to get too warm, as it might slow down the establishment process.
Transplant the divided section into a container about two inches wider than the rootball. Also, pick a pot with adequate drainage holes to avoid having issues with overwatering.
Use a well-draining potting mix and place your fern in a location that doesn’t receive direct sunlight (which may burn its leaves). Remember to keep the plant moist to encourage its adaptation to the new growing conditions.
You can cut your fern into two or four sections. If you don’t need so many plants for your indoors, you can always gift some to your friends!
Propagating By Cuttings
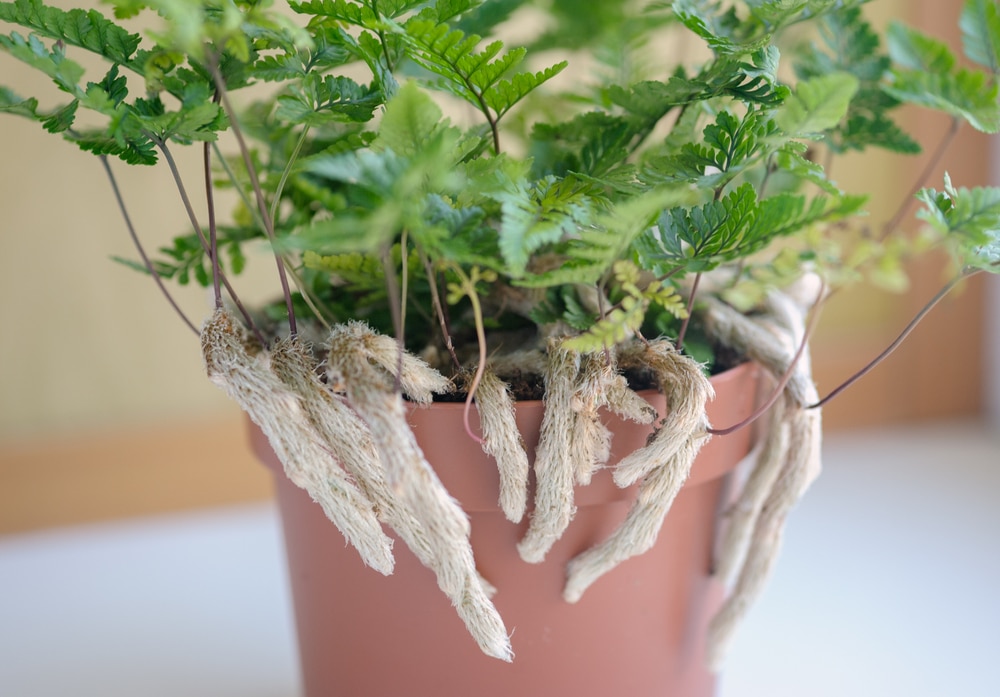
Ferns (including rabbit foot species) are seedless plants. They don’t produce flowers or fruits, so in nature, they reproduce through their spores.
However, they also display creeping rhizomes which you can use to grow new plants. For this practice, you must take 2-3 inches long cuttings from the top fronds and transplant them to containers with a peat-based potting mix. You can take sections with no foliage to start a new plant.
However, getting rhizomes with fronds on them will speed up the rotting process. Again, to maximize your chances of success, you must keep your cutting moist (without overwatering them).
Place the rhizomes horizontally along with the potting mix and ensure the fronds face upwards. Remember to keep them in a location that receives indirect sunlight to boost germination.
Propagation Through Spores
As we mentioned before, ferns reproduce naturally through spores. And while this might not be our favorite procedure (since it is more challenging than the previous two), many gardeners like to use it. Late summer is the best time to propagate your fern by spores. But be aware that not all fronds will contain spores, so you might not get satisfactory results if you only cut one piece off your plant.
When you select a couple of fronds, place each of them on a sheet of white paper. Put one on top to protect them from the air and other external elements.
Then, check the bottom sheet after a couple of weeks. If there is a brown-reddish substance, your fern has released its spores. Of course, that is not the end of the story. Then, it is time to sow the spores: doing so will allow you to produce new plants.
Take a glass or plastic container and fill it with peat or well-draining potting soil. To grow spores, you must heat the substrate. You can do so by placing the container in the microwave for about 5 minutes.
Wait for the soil to cool and disperse the spores on the surface. Apply a lid on the container and only check the substrate to ensure it’s damp. In two months, you might see some growth. When they are large enough, transplant your little ferns to a bigger pot.