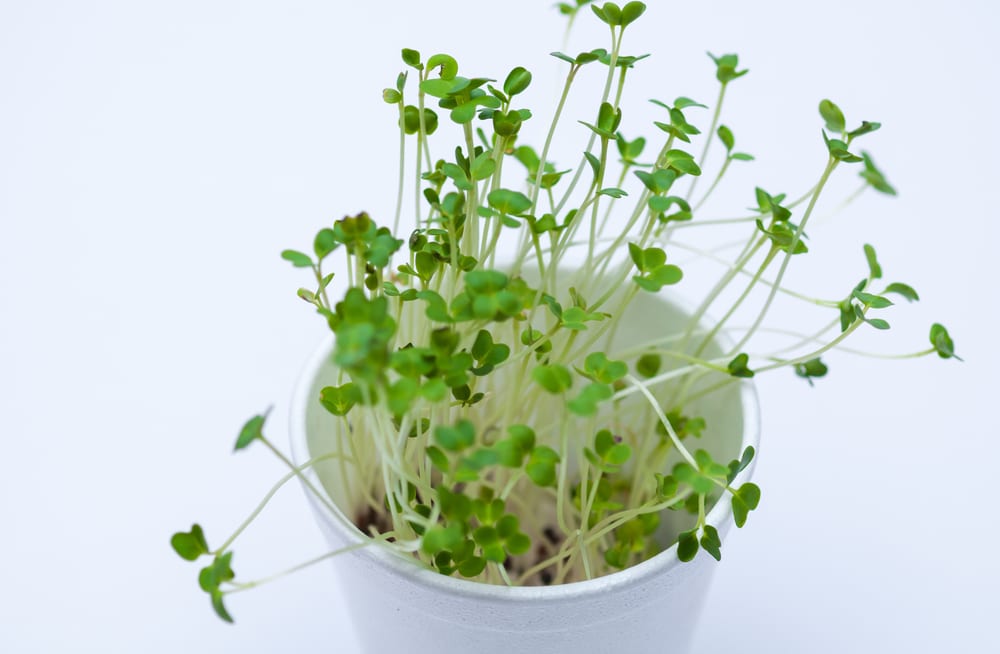
Styrofoam is notoriously known for leaving a large carbon footprint. But with a little creativity, that same material can be used to start your very own garden indoors! Let’s admit it – those coffee cups you had this morning probably won’t decompose in your lifetime. You might as well put them to good use.
If you’re thinking of starting your own garden (or adding some more plants to your already thriving collection), planting seeds in styrofoam cups might be a great way to get started.
If you haven’t done this before and would like to know more, here’s a beginner’s guide on how to do it:
Why Grow Seeds in Styrofoam Cups?

It might seem odd to some, but growing seeds in styrofoam cups are quite common. Many gardeners have had success doing this, and there are several reasons why it can be beneficial. Growing seeds indoors is common practice. Many gardeners start their seeds indoors, slowly acclimating those seedlings outdoors once the growing season begins.
Some of the advantages of growing seeds in styrofoam cups include:
Recycled Material
If you’re looking to lessen your carbon footprint, you can use the old styrofoam cups you would otherwise throw away. Whether it be from the coffee that you buy every morning or takeout containers – these can all be reused as seedling pots.
Lightweight and Easy to Transport
Another great thing about styrofoam cups is that they’re incredibly lightweight. Smaller than most pots, these cups can be easily transported from one place to another. This is especially helpful if you’re moving your plants around often or if you have a small space and need to be able to rearrange your plants frequently.
If you have seedlings that are particularly finicky about the amount of sunlight they’re getting, styrofoam cups make it easy to move them around to ensure they’re getting the right amount of light.
Affordable
Perhaps one of the best things about growing seeds in styrofoam cups is that they’re incredibly affordable. Rather than spending money on fancy pots or planters, you can simply use what you have lying around the house. You’ll probably need to transfer your seedlings to a larger pot eventually, so using them to temporarily grow your plants can save you a lot of money in the long run.
Additionally, a pack of new styrofoam cups can cost as little as a dollar or two, which is significantly cheaper than most pots or planters.
Steps on How to Plant Seeds in Styrofoam Cups
Whether you’re germinating seeds and want to get a kickstart on the growing season, or you’re looking for an affordable and want to make use of some styrofoam cups you have in your home, here’s how you can get started.
Decide How Many Cups You’ll Need
The first thing you need to do is figure out how many styrofoam cups or planters you’ll need. This will depend on the number of plants you want to grow, as well as the size of your cups or planters. If you’re using small cups, you might need more than if you were using large ones.
A good rule of thumb is to have one plant per cup. This will give your plants enough room to grow without overcrowding them.
Poke a Hole in the Bottom of Each Cup
Drainage is an important part of growing plants in pots or planters, and this is especially true for styrofoam cups. Poke a few small holes in the bottom of each cup to allow water to drain out. You may poke a few holes with a pencil or pen or use a small knife or screwdriver.
Just be careful not to make the holes too big, as this can cause your potting mix to fall out.
Fill Each Cup With Potting Mix
Once you’ve punched some drainage holes in the bottom of your cups, it’s time to fill them with potting mix. You can use any type of potting mix, but make sure it’s light and airy. Avoid using garden soil, as this can be too dense and compacted for seedlings.
Fill each cup about an inch from the top. Once you’ve filled all of your cups, give them a good tap on the counter to settle the mix.
Seeds need light to germinate, so make sure you don’t cover them with too much potting mix. A good rule of thumb is to plant your seeds at a depth three times their width.
For example, if you’re planting a small seed that’s a quarter of an inch wide, you would plant it about three-quarters of an inch deep.
If you’re unsure how deep to plant your seeds, err on the side of shallower rather than deeper.
Once you’ve planted your seeds, gently water them with a spray bottle or watering can. Be careful not to overwater.
Place Your Cups in a Warm, Bright Location
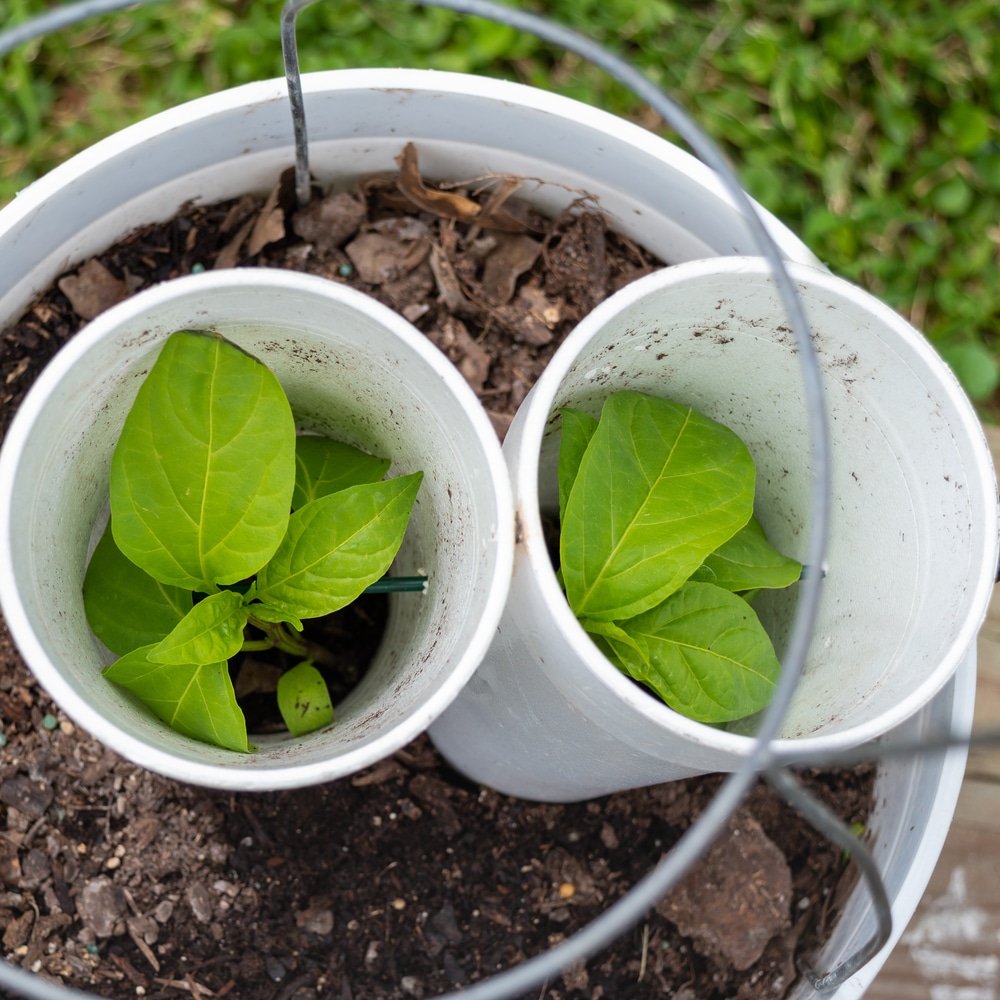
Once you’ve planted your seeds, it’s time to find them a good home. Place your cups in a warm, bright location out of direct sunlight. If you have a greenhouse or sunroom, this would be a perfect place to put them.
If you don’t have a greenhouse or sunroom, placing your cups on a windowsill that gets lots of sunlight will work just fine.
You might also want to put your cups on top of a heat mat if you’re having trouble keeping the temperature warm enough. Just make sure the mat doesn’t get too hot, as this can damage your plants.
Keep an Eye on Your Seeds
Once you’ve found a good location for your cups, it’s time to wait for your seeds to germinate. This can take anywhere from a few days to a couple of weeks, depending on the type of seed you’re growing.
Keep an eye on your seeds and make sure they’re getting enough water. The soil should be moist but not soggy. If the soil starts to dry out, lightly mist it with a spray bottle or watering can.
Once your seeds have germinated, you can remove the heat mat and continue growing them under their original conditions.