How to avoid root rot? While plants require air, light, and water to thrive, they also need good drainage for the roots to remain healthy.
Without proper drainage, the pore spaces in the soil can be filled with water instead of air, hindering oxygen from reaching the roots. This can cause the roots to rot and kill the plant eventually.
So, if you’re planning to have a plant in a pot, you should take the necessary measures to avoid waterlogging. We’ve created this article to help you learn how to enhance the drainage in your potted plants
Ways to Ensure Excellent Potted Plant Drainage
Here’s how you can ensure that your plants have good drainage:
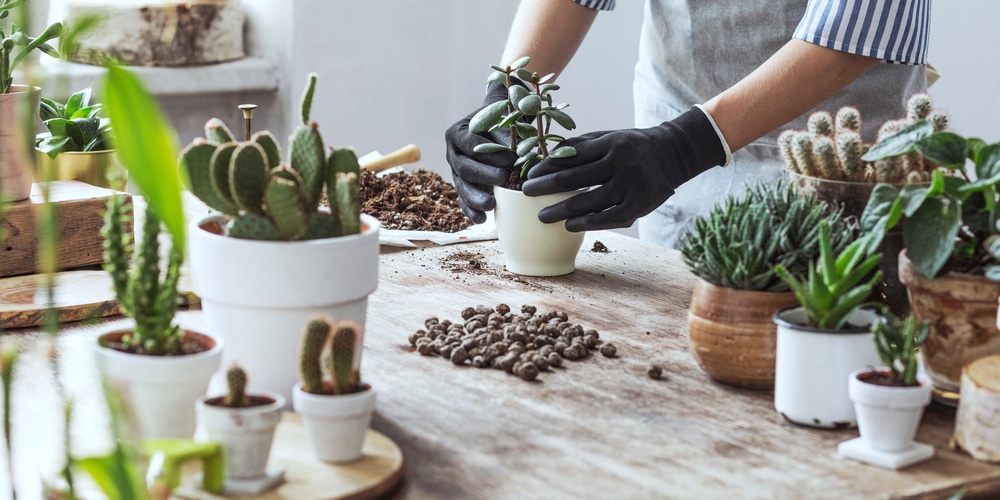
Create and Use Well-Draining Pot
Excess water usually seeps into the earth when you plant a garden bed. That’s not the case with potted plants. Containers restrain water from draining away, and that can hinder the roots from getting the required oxygen. Thus, it’s vital to create and use a well-draining pot to prevent water from over-saturating the soil. Here’s what you can do:

Clean the hole
Most plant pots have one or two holes at the bottom. So, it’s vital to check them to see if buildups have blocked them. Clean the buildup even if it’s a partial blockage.
Drill holes in the pot bottom
Many people grow lavish gardens using repurposed vessels such as milk jugs. However, these containers lack drainage holes and require you to drill small holes into them. You can drill ceramic pots and teacups using a ceramic drill bit or use a utility knife for plastic pots.
Build a pedestal
Sometimes, the ground beneath the pot could be blocking the drainage hole and cause drainage issues. In such instances, you can build a platform for the pot to sit or drill holes along the pot’s side. The drilled holes will serve as more outlets to release any excess water.
Try double potting
Double potting means placing the plants in a smaller pot with drainage holes and then placing it inside another larger pot. This method is effective if the large pot can collect and hold water and still ensure it won’t touch the plant roots. You can use gravel in the bottom of the larger pot as a medium to collect and hold the draining water. Remember to empty the larger pot occasionally.
The Pot Is Over-Draining, What Do I Do?
Sometimes, the soil mix and potholes might over-drain, causing too much water to wick away. This causes the soil nutrients to drain and could create a mess every time you water the plants. Here’s what to do to remedy the issue and keep the water draining properly:
Cover the holes: Before planting, you can cover the holes from the inside with a piece of mesh or screen, folded cheesecloth, or a coffee filter. These materials act as filters but will also allow water to drain.
Use a saucer: Find a saucer that fits under your pot or container. You can also repurpose items such as plates or old cakes and painters’ trays. They’ll cover the drainage holes and collect any water sipping through the soil mix. Remember to empty the saucer to avoid your pot sitting for too long in this moisture.
Can I Use A Pot Without Drainage Holes?
While it’s not advised, it’s possible to plant your crop in a pot without drainage holes. It can be used for a small houseplant as long as you’re careful about watering the plant. However, it shouldn’t be used for outdoor plants as they experience uncontrollable rainstorms, temperatures, and humidity.
Avoid Drainage Materials in The Pot Bottom
Many people use drainage materials like gravel, sand, and rocks at the bottom of the container to improve drainage. That’s based on the notion that drainage materials are commonly utilized in construction areas to allow water to drain properly. However, these materials aren’t ideal for potted plants since they can hinder proper drainage. That’s because:
- Rocks, gravel, and other similar materials cannot soak up water.
- Layers of rock can block the drainage holes, and that creates a water-loaded pot.
- A study has shown that the more coarse and jagged the material used at the bottom of the pot is, the worse the drainage.
- The drainage material will take up room in your container that the plant’s roots would have used. An inch of the rock layer in an 8 x 8-inch container can take over 12% of the plant root room.
1. Check Your Pot Materials and Size
The size of your pot can affect the drainage significantly. A deeper container will allow gravity to drain away from the excess water. Besides, a taller pot can ensure that your plants have more soil and air and consequently enhance aeration even if the base layer is saturated.
When it comes to materials used, here are the most commonly available pots and how they rank in proper drainage:
- Unglazed terracotta containers: These are made of porous materials and drain away water from the potting medium. They are excellent for plants that require high drainage.
- Plastic pots: These will lose water only through the drilled drainage holes. Since they tend to retain more moisture, they’re ideal for plants that require more moisture.
- Self-watering pots: These are unique pots designed to reserve water at the bottom of the pot after watering and draw it into the soil without waterlogging. Water is drawn up using the duct mechanism via rope wicks, small soil columns, or moisture sensors.
2. Use the Right Growing Medium
This might sound controversial, but simply because your courtyard garden is thriving doesn’t essentially mean that the soil in it is a good planting medium for your potted plants.
The ground outside is usually well-aerated, and even if it may be saturated, the water can drain and run off into other areas with causing issues for the plants. Besides, the roots for your plants in the garden have plenty of room to grow into the ground.
Containers have limited space and hence don’t have this luxury and will require soil with excellent drainage. Therefore, instead of the dense garden soil, you need a potting mix containing lightweight materials, good aeration, and water drainage.
You can find the combinations that suit your plants at your local home garden or nursery store. If you are unable to use the potting mixes, you can consider adding these materials to your soil to make it lighter and well-aerated:
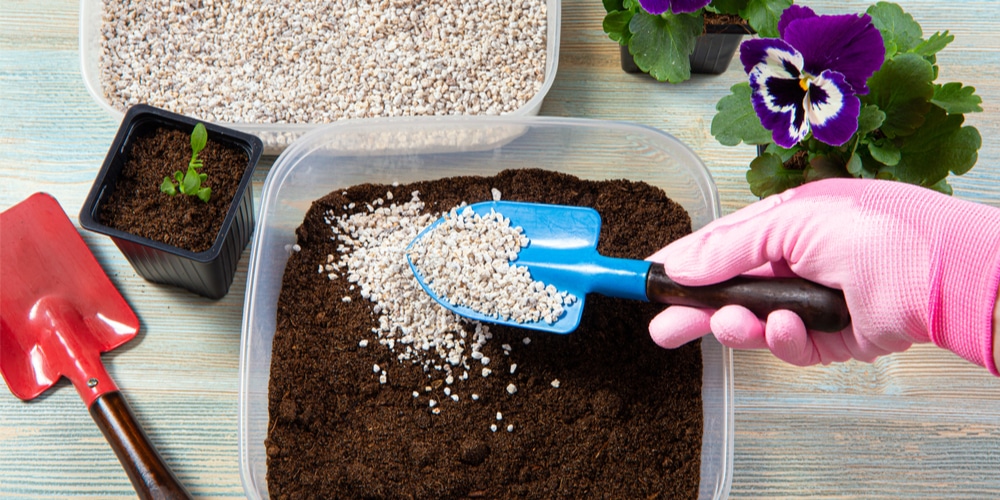
- Perlite: This is a lightweight, highly porous, white material produced through the heating and expansion of the volcanic silicate rock. Perlite can easily absorb water in the plant container.
- Vermiculite: Like perlite, vermiculite is made by heating the chips of the layered mineral mica. The result is pellet-shaped and lightweight material with good water-retention and aeration properties.
- Peat moss: It’s a super light and fibrous material that holds water and releases it to the plants as needed.
Please Note: The University of Illinois recommends mixing these lightweight materials with garden soil on a one-to-one ratio to make an ideal potting mix.
3. Don’t Overwater Your Plants
When it comes to caring for potted plants, studies show that watering is one of the areas that cause the most problems. Typically, plants will require water, but underwatering can cause them to stop growing or die, while overwatering can result in root problems. Excess water lowers air levels in the soil, chokes the roots, and prevents them from getting the food they need from the soil. Besides, a waterlogged pot can become an ideal breeding ground for bacteria and fungus. Therefore, you should do your due diligence and understand your plant of choice needs before you start watering it. But typically, how frequent you water your plant will depend on aspects such as:
- Temperature
- Sunlight exposure
- Season
- The humidity of the environment
- Quality of your soil
What Is Root Rot, and How to Avoid Root Rot?
The University of Georgia Extension defines root rot as a disease typically caused by overwatering and poor drainage. Some of the signs of root rot include:
- A nasty smell: If the soil in your potted plant has a foul smell, the roots could be rotten.
- A plant doesn’t thrive: Rotten roots will cause the plant to deteriorate. If you’ve been caring for your plant properly and it still looks stunted and drooping, root rot could be the culprit.
- Visible rotten roots: Typically, roots should be light-colored or white and firm. So, if the plant roots appear soft, squishy, dark-colored, or brown, it could be a rot problem.
How to Avoid Root Rot in Your Potted Plants?
Prevention is usually better than mitigation. So, here’s how to avoid root rot in potted plants:
1. Check plant before buying
You should purchase plants from a highly trusted source. Ensure also that you assess the plants for root rot before you buy them. Furthermore, when potting, use commercial potting mix and avoid garden soils as they may contain fungi and bacteria that cause root rot.
2. Ensure proper drainage
Since the primary cause of root rot is waterlogging, you should ensure that your crop is planted in a well-draining pot. You should also review the abovementioned tips for you to have excellent potted plant drainage.
3. Enable proper soil aeration
Compressed soil chokes the space that holds oxygen, and hence it can cause the roots to rot. You should aerate your soil by digging small pocket spaces to allow oxygen to circulate freely. This will help the soil loosen up and enable the roots to penetrate a bit deeper for a better oxygen flow. Besides, aerated soil makes an excellent well-drained growing media.
4. Check the Soil Regularly
It’s essential to check the soil of the plant before you water it. That’s because some plants might look dry on the surface, but beneath the soil is moist and may need you to hold off the watering. You can check the soil by carrying out a finger test. Simply insert your finger into the potted soil and feel it to examine if it’s dry, moist, or wet.
5. Minimize contamination
You should avoid using the potting mixes and water from the old houseplant container to minimize plant contamination with root rot fungus. Also, you need to clean and disinfect the tools you work with on a potted plant with root rot.
What to Do If a Plant has Root Rot
If you notice the signs of rotten roots early enough, you can save your plant. Follow these steps to fix it:
Trim the roots:
- Take out the plant from the pot and cautiously remove the dirt.
- Identify the damaged roots and trim them using clippers or shears.
- Gently wash the remaining roots under running water.
- Washing is done as the remaining roots could be contaminated with the pathogens that were causing the rot.
- Re-pot the plant: In a container with good drainage, you can re-pot your plant using fresh potting mix (ensure that you water it sufficiently. If you have to reuse the old pot, the University of Arizona Cooperative Extension recommends that you scrub it using dish detergent and sanitize it in a 10 percent chlorine bleach solution. You should also consider pruning so that the remaining roots have fewer leaves to support.
- Clean up: Clean all the tools you were using, place the plant far away from others, and closely observe it. After some weeks, the plant should take root and return to its healthy condition.
How to avoid root rot?: Final Thoughts
Having a potted garden is a simple and refreshing way of growing plants in your home or office. However, this gardening is different from the courtyard since the plant’s roots will have limited space to infiltrate. That makes good drainage highly vital to the health of your potted plants. So, follow the abovementioned tips to ensure you create a well-draining pot for your plants to thrive in and avoid root rot caused by waterlogging.
Root Rot in an Aloe Plant: How to Beat it