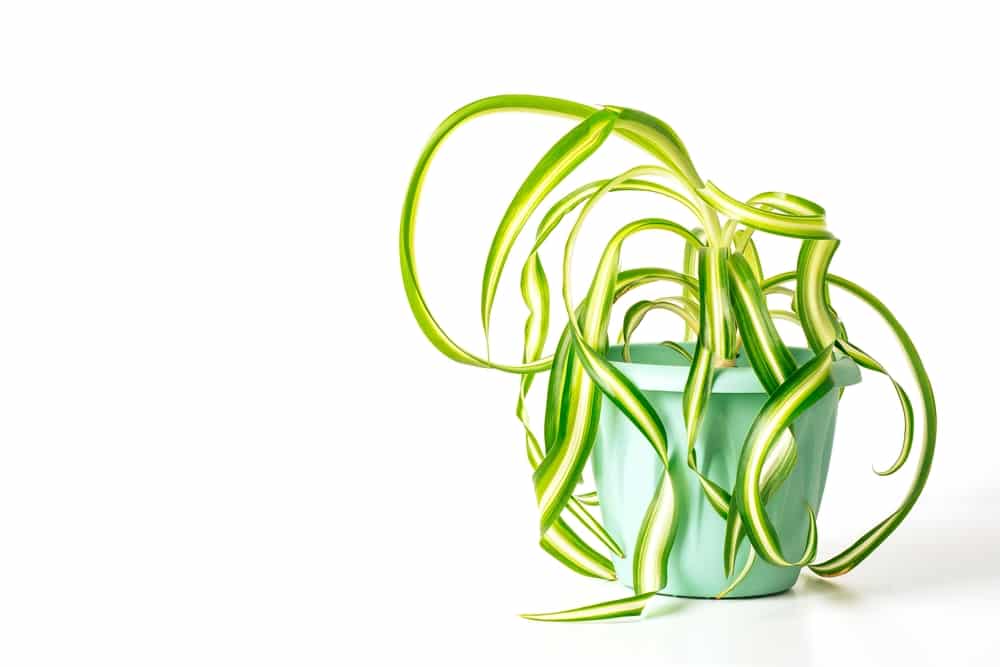
Make way for the curly spider plant. Its interesting curly foliage sets it apart from the regular spider plant. The long, cascading leaves add texture and dimension to any space. Thanks to its uniquely rippled or wavy appearance, the curly spider plant is a great way to add interest to your indoor jungle.
Looking for a plant that even beginners can’t kill? Look no further than the curly spider plant! This tough little houseplant can withstand just about anything, from neglect to low light levels. They’re adaptable to a variety of conditions, making them ideal for any indoor home or office setting.
Keep reading to learn more about curly spider plant care.

| Botanical Name | Chlorophytum Bonnie |
| Common Name | Curly Spider |
| Plant Type | Perennial |
| Flower Color | Short yellow stalks |
| Size When Mature | 6 – 8 inches |
| Bloom Time | Mature plants bloom during Spring or Summer |
| Sun Requirements | Partial to full indirect sunlight |
| USDA Hardiness Zones | 10 – 12 |
| Soil PH Range | 6.0 – 7.0 |
| Soil Type | Loamy, moist and well-draining soil |
| Water Needs | Medium |
| Native Area | South Africa |
What You Need to Know About Curly Spider Plant
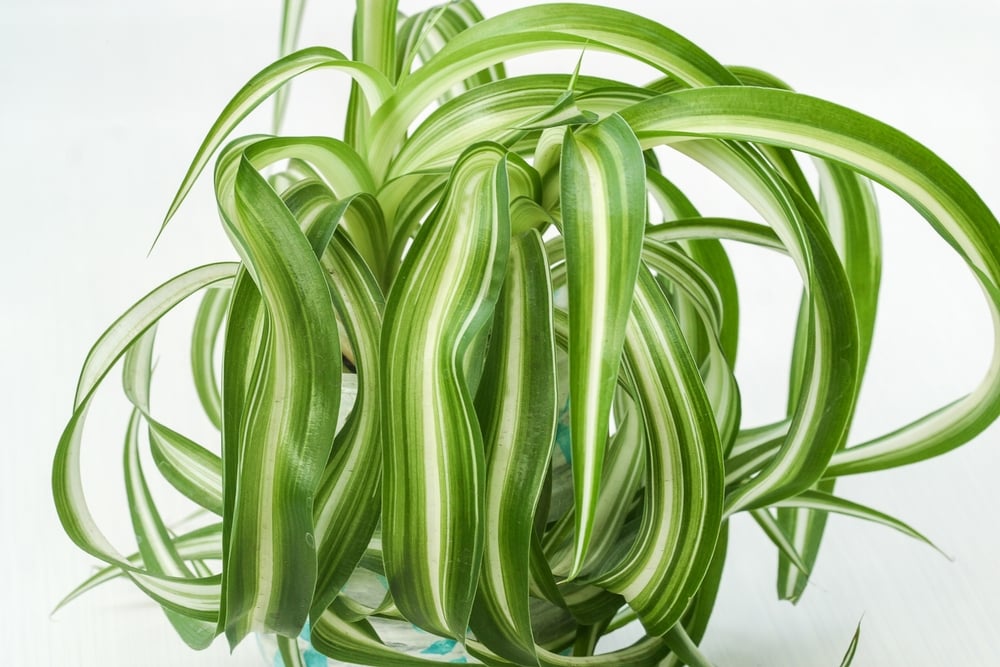
Unique and curly leaves are what give the curly spider plant its name. The curly spider plant is the curly variety of the more common spider plant (Chlorophytum Comosum Bonnie). It’s a fast-growing, evergreen perennial that is native to South Africa.
Doted as the modern version of its spider plant counterpart, the curly spider plant has all of the easy-care qualities that make spider plants so popular. They’re low maintenance, tolerant of neglect, and can even survive in low light conditions.
The long, slender leaves of the curly spider plant have a rippled or wavy appearance. The leaves are bright green with white stripes running down the center, adding a touch of contrast.
While these plants seldom bloom indoors, they do produce small yellow flowers that are followed by miniature plantlets. They’re not grown for their flowers, though. Its foliage is the main attraction.
Pair the curly spider plant with other easy-care houseplants, such as pothos, snake plants, or philodendrons. All these indoor plants share similar care needs and will thrive in similar conditions.
When it comes to curly spider plant care, less is more. These tough little houseplants can tolerate just about anything!
How to Care for Curly Spider Plant
Here’s everything you need to know about growing and caring for a thriving curly spider plant:
Light
Filtered bright light is best for the curly spider plant, but it will also tolerate low light conditions. If you want your plant to remain compact and full, give it plenty of bright light. If you’re growing it in lower light levels, expect it to become leggy and sparse.
Either way, it’s nearly impossible to kill a curly spider plant with too much or too little light. These adaptable plants will do just fine in a variety of lighting conditions.
Water and Soil Needs
Drought-tolerant, the curly spider plant is not a heavy feeder. Water when the soil has dried out, but don’t let it become bone-dry. These plants are susceptible to root rot, so be sure to provide good drainage. It’s better to leave the soil well-drained rather than soggy.
A general potting mix will do just fine for the curly spider plants soil. If you’re growing it in a container, ensure that there are enough drainage holes to prevent the roots from sitting in water.
It can tolerate a wide range of soil pH, from acidic to alkaline, ranging from 6.0 to 7.0 on the pH scale.
Temperature Requirements

The curly spider plant can survive in USDA climate zones 10-12.
As for its temperature and humidity needs, the curly spider plant will do just fine in average room temperatures. It can be anywhere from 60°F to 75°F. It’s not picky about humidity either and will tolerate both dry and humid conditions.
Fertilizer
The best fertilizer to use on a curly spider plant is a balanced, water-soluble, or granular fertilizer. Generally speaking, any fertilizer that’s suited for houseplants will do just fine.
Remember to apply fertilizer sparingly. These plants are not heavy feeders, and too much fertilizer will result in burnt leaves.
Common Diseases
Fortunately, the curly spider isn’t susceptible to serious diseases or pests. The main problem you might encounter is root rot, which can be caused by overwatering. This will cause your spider plant leaves to wilt.
As long as you’re providing adequate drainage and not letting the roots sit in water, you should be able to avoid root rot.
Although rare, some aphids and pests might take up residence on your plant. If you notice any pests, treat them with an all-natural pesticide as soon as possible.
Curly Spider Plant Propagation
Curly Spider Plants are the perfect houseplant for those with a busy lifestyle. They are easy to care for and only need to be watered every week or so. And the best part? Propagation is fairly easy to do.
Here are a few different ways you can propagate a Curly Spider Plant:
By Division
One of the easiest ways to propagate a Curly Spider Plant is by division. When dividing the plant, always remember that its own root system plays a vital role in its health and growth.
To divide, simply remove the plant from its pot and gently loosen the roots. Next, use a sharp knife or gardening shears to divide the plant into 2-3 sections.
Replant each section in its own pot filled with fresh potting mix. Water well and place in a bright location.
By Stem Cuttings
If you’re not comfortable with division, you can also propagate your Curly Spider Plant by stem cuttings.
To do this, remove a stem from the plant and cut it into 2-3 inch sections. Ensure that each section you’ll use contains at least 2 leaves.
Dip the cut end of each stem in rooting hormone and plant it in a pot or container filled with fresh potting mix. A rooting hormone is optional, but it will speed up the propagation process.
Water well and place in a bright location. Keep the soil moist but not soggy and within a few weeks, you should see new growth.